Teacher Resources!!
I have a passion for content creation and sharing my knowledge with others. I like to do so in the form of video!
BCTEA Conference 2018 - Creating Video Tutorials for the Classroom
This workshop covers the basics and introduction to creating video resources using digital cameras or/your phone and a computer that can be viewed by your students and other teachers for either safety, project tutorials, demonstrations, etc.
We cover the basics of script preparation, audio capture, camera setups, and simple editing, and online sharing that makes your video enjoyable and easy to learn from.
Supplemental Materials/powerpoint/video,etc below!
PDF version of my Powerpoint presentation during the BCTEA 2018 Conference
| BCTEA 2018 - michael_holbrook_-_video_tutorials_for_the_classroom.pdf |
| BCTEA 2018 - Michael Holbrook - HANDOUT - creating_videos_for_the_adst_classroom.pdf |
PDF Version of my Powerpoint presentation for SFU Ed Tech Learning and Design
| sfu_ed_tech_HANDOUT_creating_videos_for_the_classroom.pdf |
| sfu_ed_tech_-PRESENTATION_video_tutorials_for_the_classroom_michael_holbrook.pdf |
"Audio Test footage video"
The purpose of this video is to show some camera angles, different sources of audio, and a raw look at how I set up cameras and then conduct a "lesson".
We cover audio sources all recording at the same time and which one to pick based on what you are trying to accomplish.
1. Zoom H1 with a Lav Mic
Use whatever gets the job done. Content is king and as long as your audience can understand and see what is happening that works!
The purpose of this video is to show some camera angles, different sources of audio, and a raw look at how I set up cameras and then conduct a "lesson".
We cover audio sources all recording at the same time and which one to pick based on what you are trying to accomplish.
1. Zoom H1 with a Lav Mic
- This Lav mic clips onto my shirt and picks up audio super close to my mouth (and beard). Plugged into the Zoom H1 (or your phone with a recording app) it records in mono (one channel) and then I sync it up with my footage in post (I edit with Adobe Premiere Pro CS6). This gives me great clear audio and I can speak and be heard clearly even when the lathe or other machines are running
- The video footage looks much nicer when filmed with a REAL camera but it is the most expensive option. A cheap DSLR with kit lens that can record video is really all that would be required. I do a lot of video work on the side so that is the only reason I have expensive gear like this. My choice of the video mic pro is again because I have it for the event work I do on the side. It is an improvement on the build in camera microphone but still not as good as the cheap $20 lav mic for this purpose.
- The majority of the videos I have filmed have been with my phone. It is always in my pocket and easy to make a quick video and upload directly without editing (unless I want to). The built it mic works well if I am standing close to it but useless to try and talk with a machine running. It does very well in poor lighting and it gets the job done. When editing I transfer the footage to my computer and edit in Adobe Premiere Pro Cs6.
Use whatever gets the job done. Content is king and as long as your audience can understand and see what is happening that works!
Clips from a current video I am working on
This quickly edited video just shows some different angles I use when filming. The reason behind every shot is to allow the viewer to see all the important information. If they can't see it what is the point of filming in the first place? In movies they leave things to the imagination but for tutorials we should cover everything from safety, measurements, techniques, types of tools, optional procedures, etc. This isn't a college lecture where they need to know the science and boring theory behind everything. A little theory is ok if it is relevant but we need to keep the attention of our viewer.
This video is pretty much unedited and not meant to be used as a tutorial for a student, just examples of ways that I might film.
Here is some drone footage that I might try and incorporate into my final tutorial video or for use in future videos.
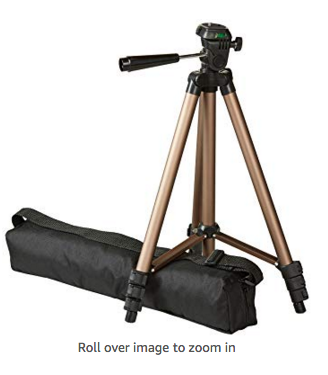
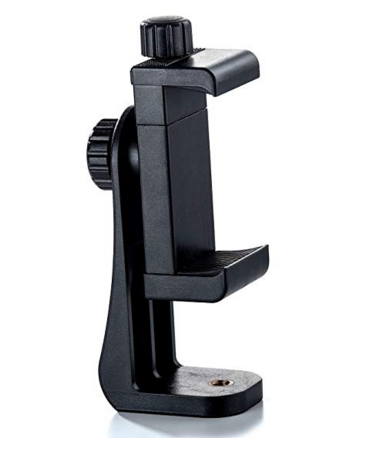
Tripods!
|
|
Click the images above for links to super affordable tripods and my current favorite cell phone adaptor for a tripod! I personally have some heavier duty tripods since I also use them for my other work where the extra stability and durability is required!

|
|
Some videos I have made!
|
|
|
|
|
|
|
|
|
|
|
|
|
|
|
|
|
|
