3D printing ----> into Metal!
This video shows my first attempt at using a 3d print as a mold for "Lost Wax Casting" with a centrifugal spin caster. I used Tinkercad online (free account and easy to use cloud based browser 3D modelling) to resize a 3d print file I found on Thingiverse. I was not using a very high resolution printer which is why you can see the print lines (layers) in the mold and the final product. This was just a very quick one day project and I would like to explore these options some more once I get the chance.
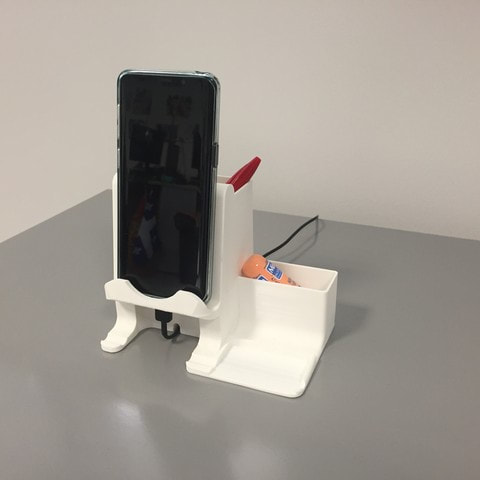
I used Merlin gold which is cheaper than real gold and still looks decent while learning how to cast jewelry or other objects. It doesn't melt as nice as real gold but that wasn't the purpose of this project. I didn't have a chance to film the finished product after taking a spin in the tumbler (see pic below video) and polishing it up!
How to get started:
After watching the video try creating a free Tinkercad account and following the first tutorial. I'm not sure if any of you have had a chance to play with any 3D software yet but tinkercad is pretty intuitive and has lots of resources on youtube with tricks. Try creating some shapes/rings/etc or try importing downloaded STL 3d files from another website like thingiverse.
Student Assignment for this week:
This technique can be used for making many small parts out of metal that we might normally have a hard time machining using other tools. If you had a 4 axis mill I'm sure you could machine this little ring (shown in the video) but I do it here for a fraction of the price with some simple casting. Watch the video before moving onto the activity questions.
What you need to submit:
What you need to submit:
- Design a part or simple solid project (can be more than one piece if you really want...) that you think we could print using a 3D printer
- You can sketch some drawings or attempt to create a 3D model using tinkercad.com (make a free account and share the link of your creation)
- You can have a few drafts if you need to (I like seeing progress and I give credit for that!) but your "final" version should be nice looking (straight lines should actually look straight). The goal would be to actual build your idea when we get back to school and can use our resources, materials, and tools.
- Send me a picture of your design in your google doc response. It can be a screenshot, link to your 3D model (original creation not stolen), or some way that you have conveyed your plans. You don't actually need to build anything. This is just a design activity
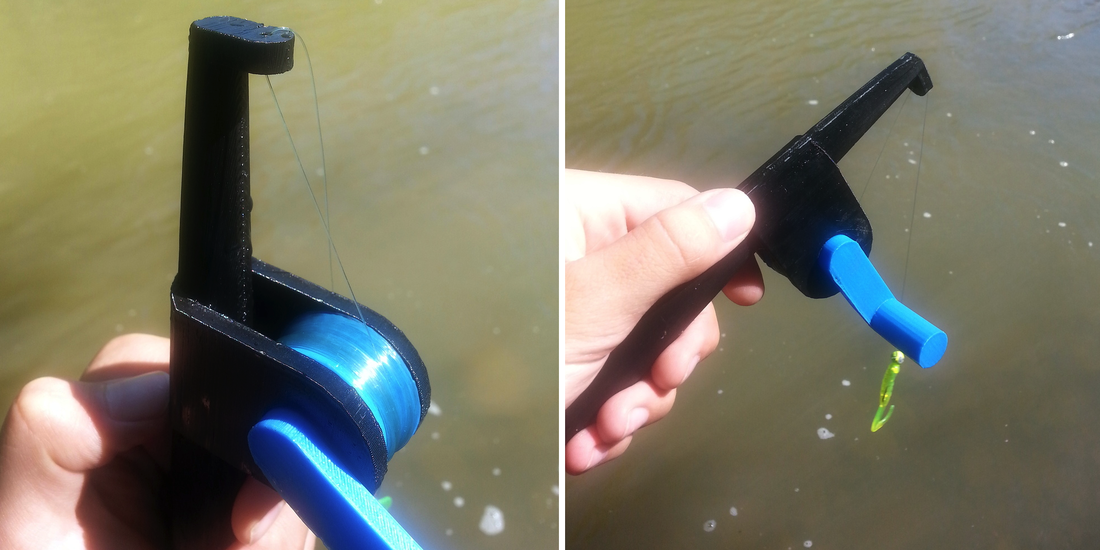
- The part should be something that is useful to you. It could be a piece of jewelry, a custom bracket for a dirt bike, shifter knob for a vehicle, custom part for fishing equipment, etc. In reality we could potentially print your part and cast it from aluminum (read this page if you are interested in how SAND CASTING work https://www.beamler.com/what-is-sand-casting/) using a sand casting instead of the investment casting you see in the video. The goal here is to design something that would normally be difficult to machine but maybe 3D printing would help in the process
|
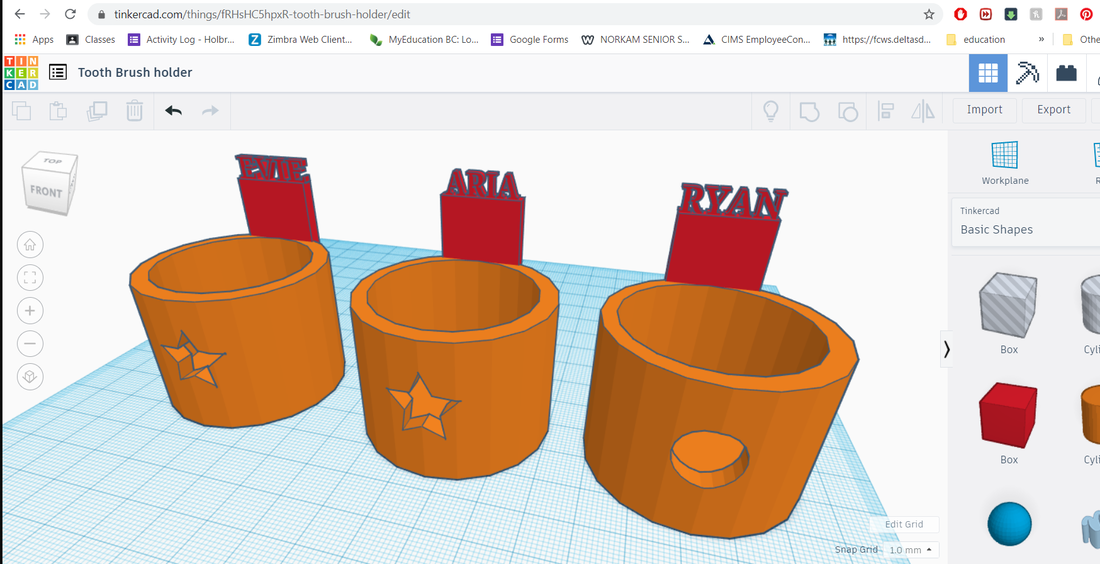
Here was my idea:
I wanted a place for my kids toothbrushes to stay so I designed a set of toothbrush holders. The complex shapes (writting) would be the hardest part to machine by hand. The basic cup shape could be easily made with a piece of pipe with a welded cap for the bottom but adding the star design and text would be too difficult without a mill or some sort of laser/plasma cutting. These are small enough that I could cast them (sort of like in the video below) out of metal and protect it with some food safe paint. **HINT** If you try something with Tinkercad you don't need to draw by hand! |
|
|
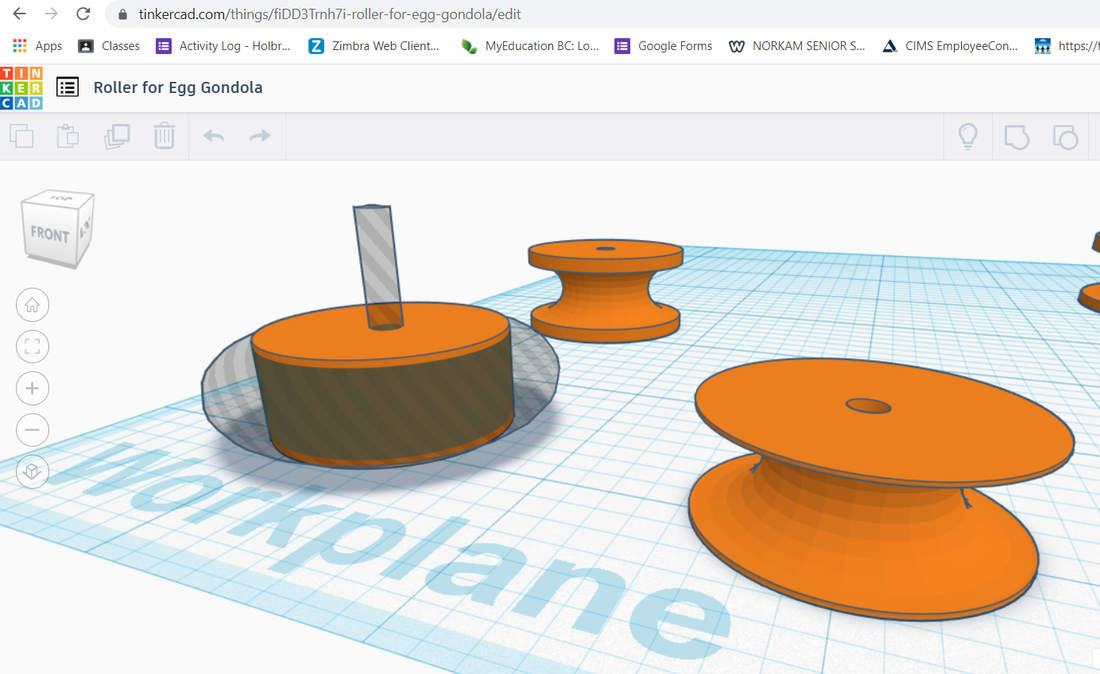
Another Idea:
This next design was my attempt at trying to create some custom pulleys for a Gondola project I did with students last year. We found the 3D prints were okay but we ended up just machining them on the lathe. This shows that sometimes a traditional way of building will be better. Tinkercad was helpful in digitally "prototyping" my design and getting the sizes the way we wanted. Getting the rounded curve took a bit of figuring out as Tinkercad can be a little clunky to work with sometimes. |
|
Casting video with 3D printed stuff
|
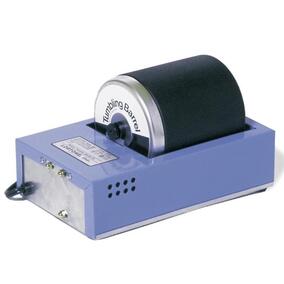
One of the many tools that makes our life a little easier. The tumbler is filled with steel shot and a special soap (burnishing compound) that is great for getting into some of the smaller nooks on rings or small cast projects. It helps smooth them out using the abrasive shot and soap
|
|
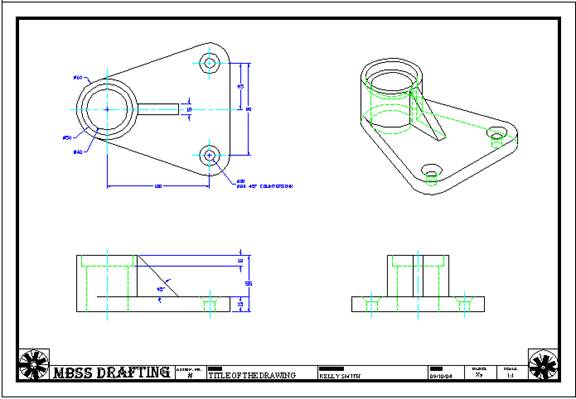
Blueprint/plan ideas
|
|
|
|
