Belt Buckles
Materials:
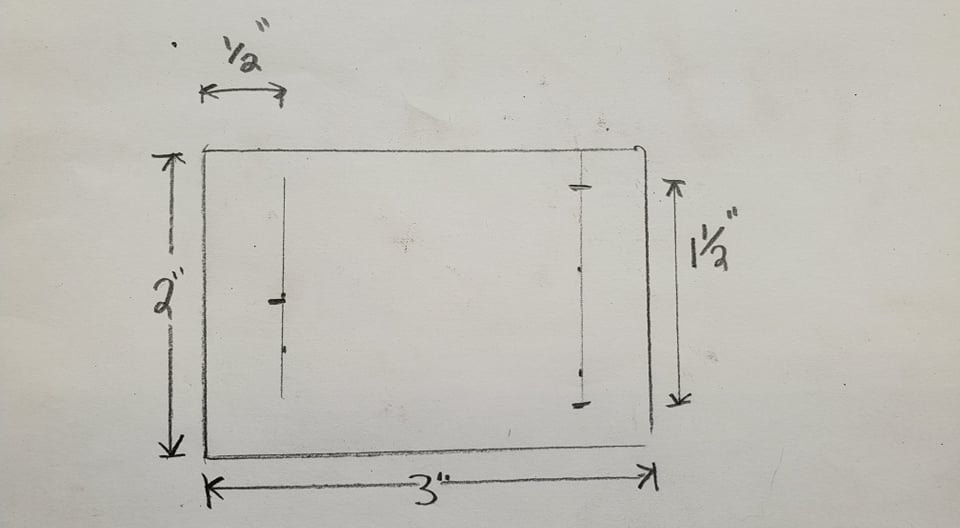
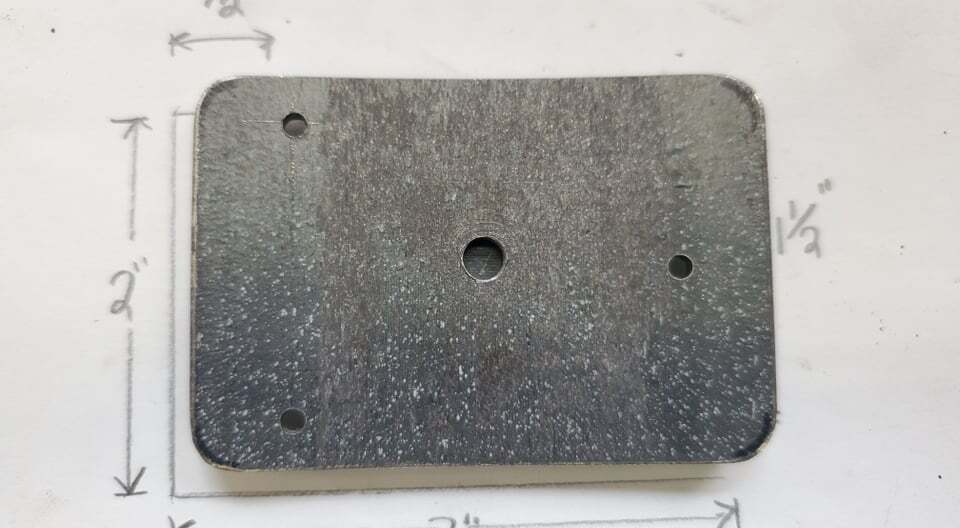
3" wide flat bar cut down to 2" long resulting in a 2"x3" piece
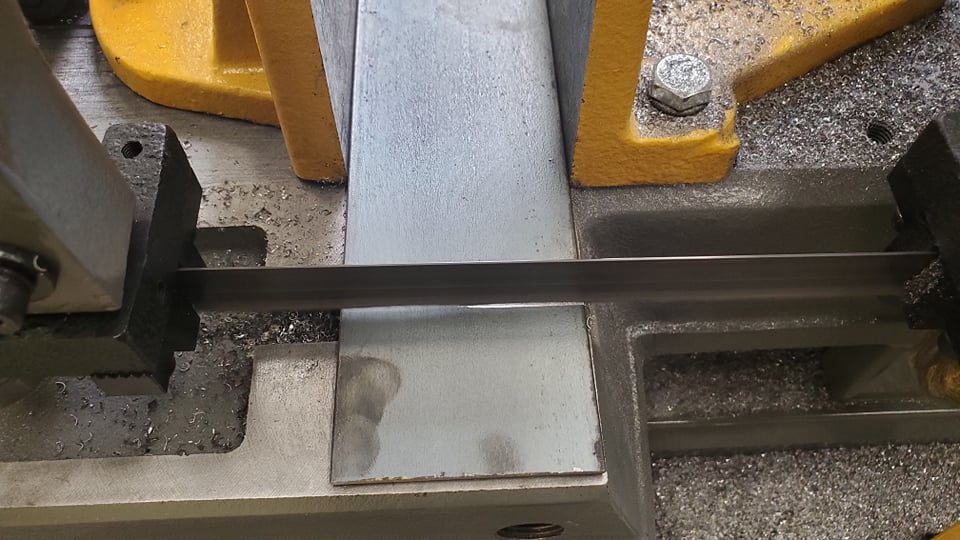
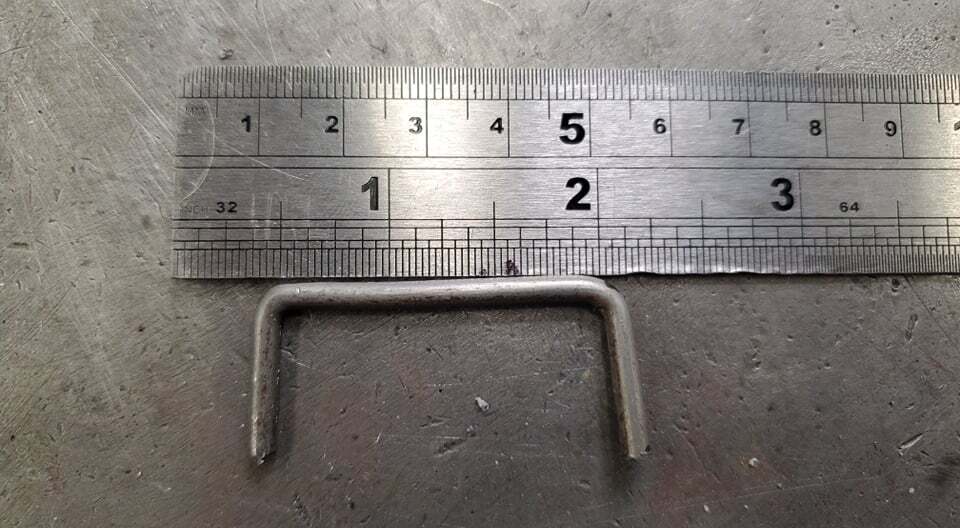
1/8" steel round rod for the hook and loop pieces
3" wide flat bar cut down to 2" long resulting in a 2"x3" piece
1/8" steel round rod for the hook and loop pieces
Layout drawings for the pieces I have designed
|

|
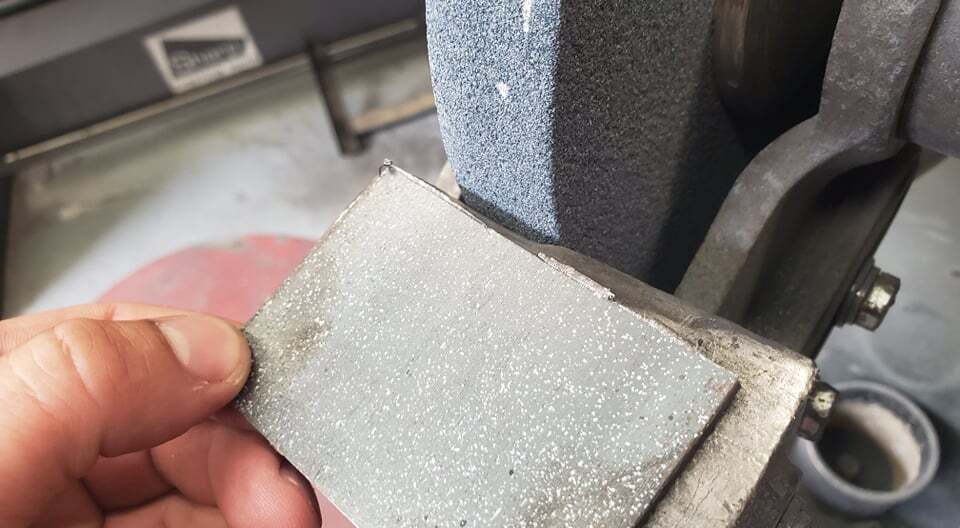
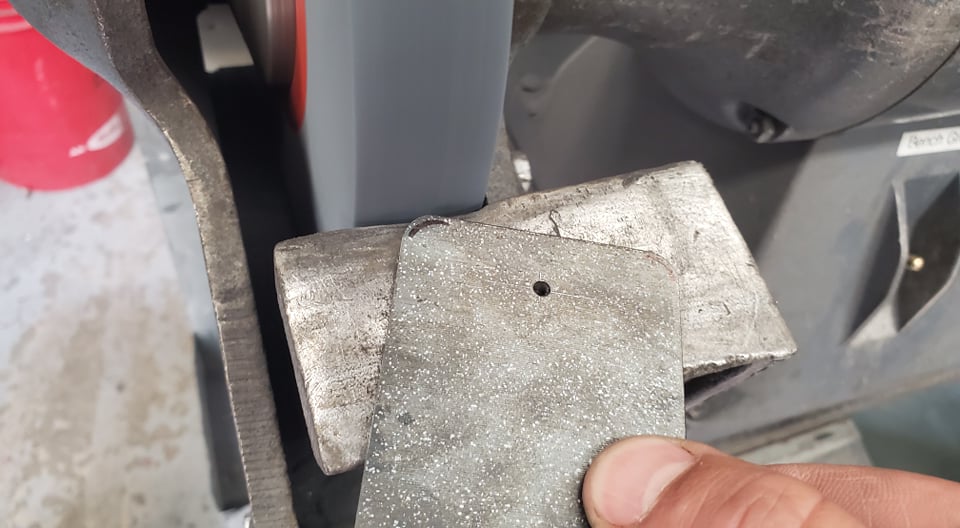
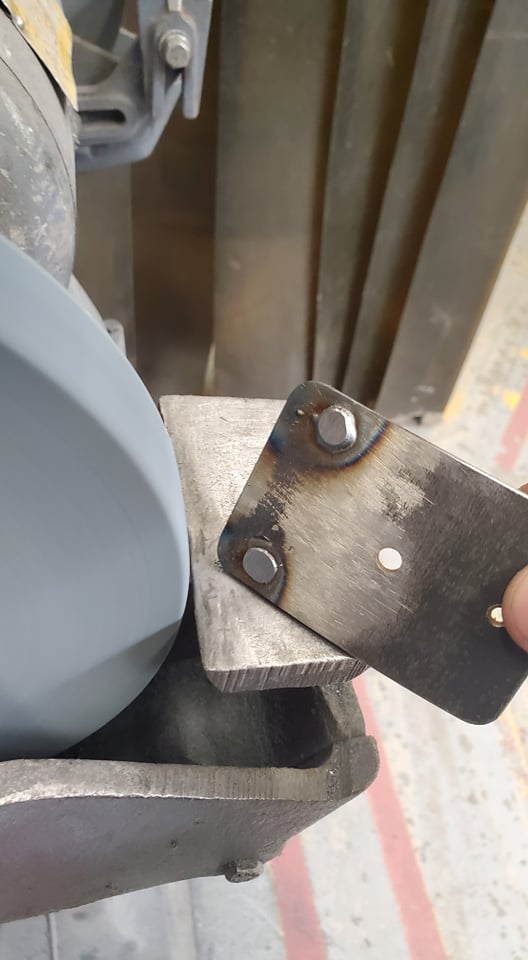
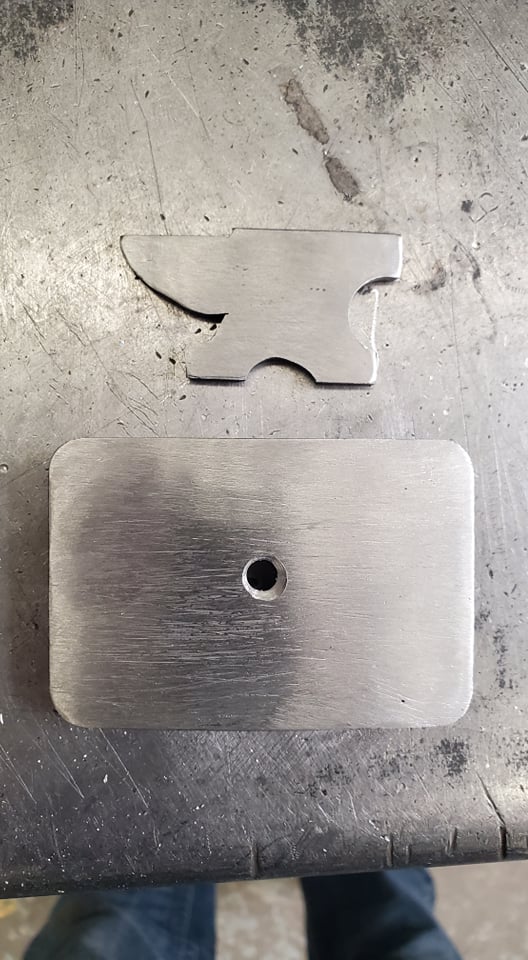
Piece cut on bandsaw and rough/sharp edges smoothed on bench grinder
|
|
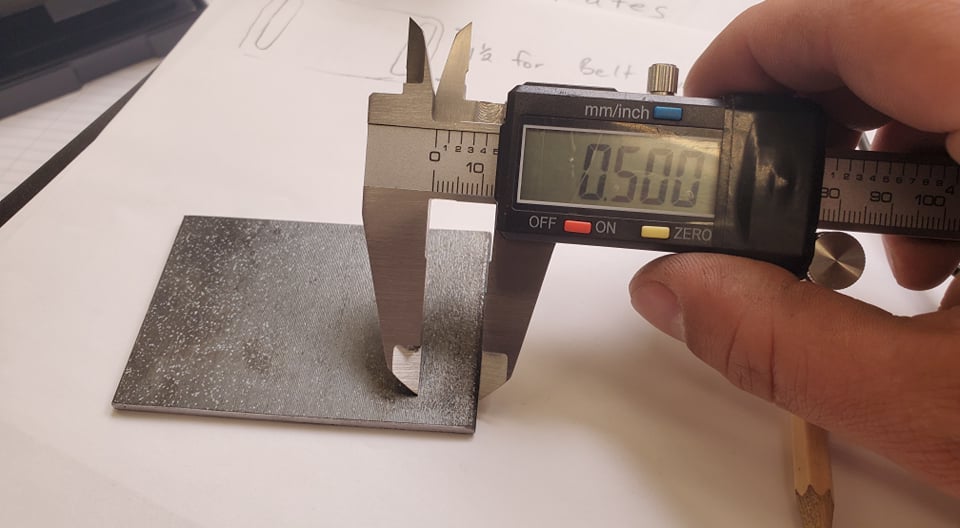
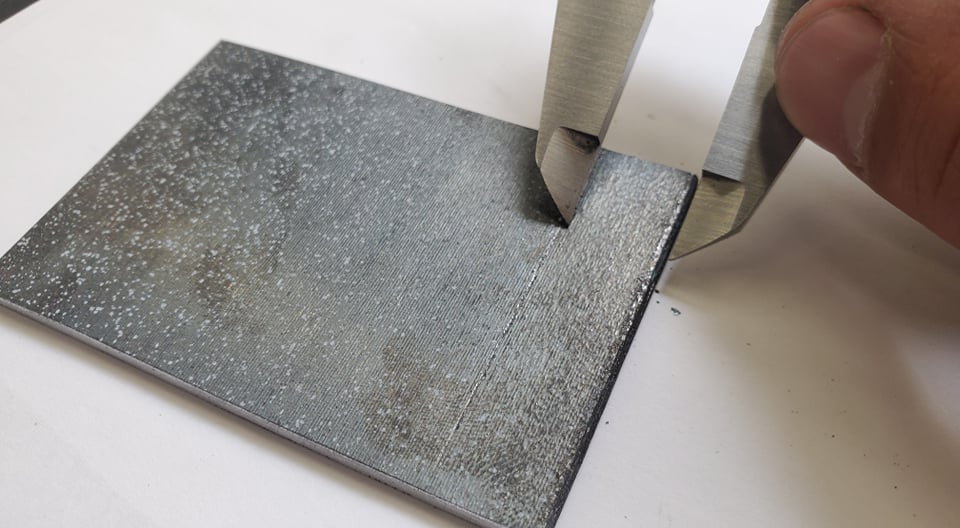
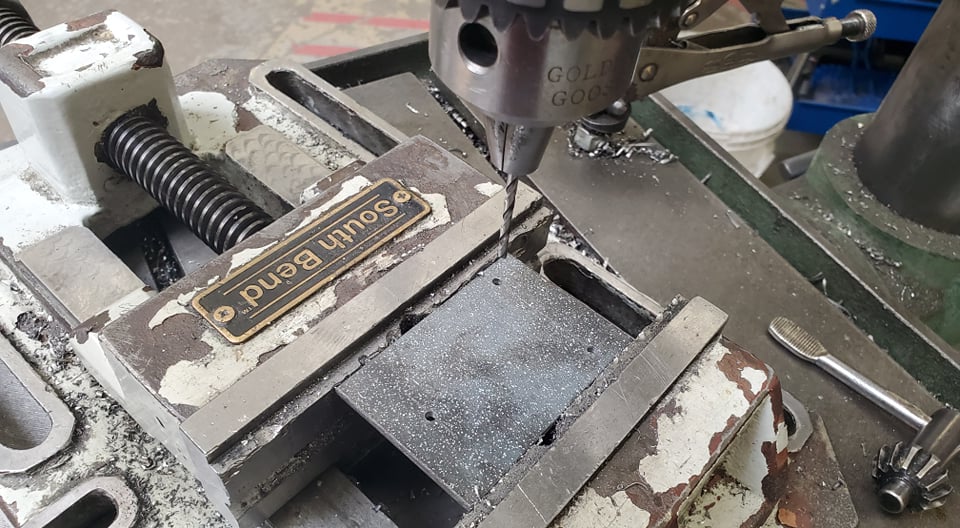
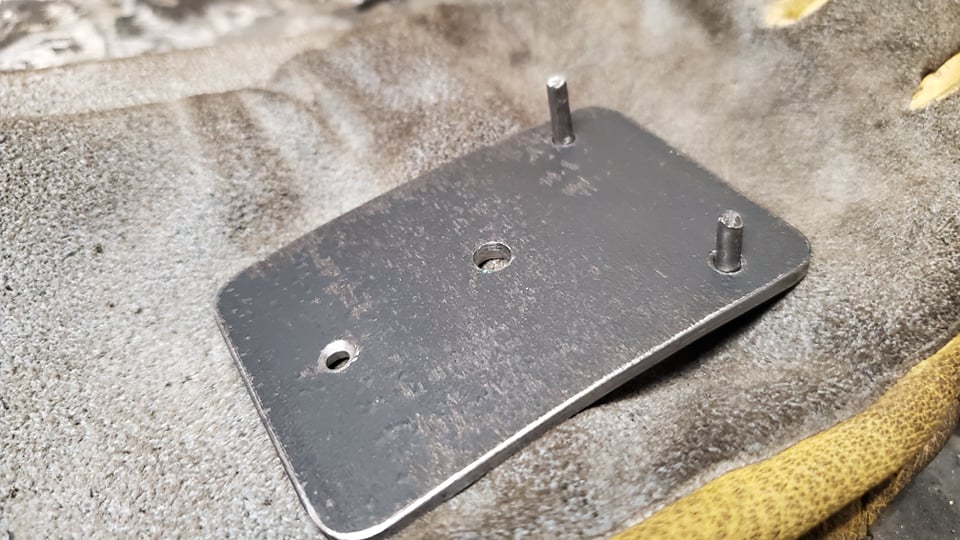
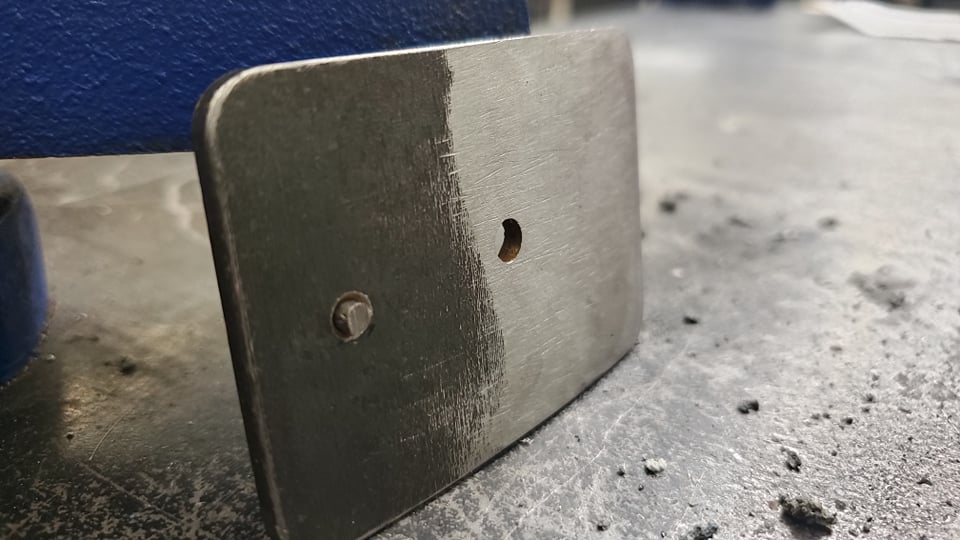
Layout with digital caliper for the 3 main holes. The wire will be put through, welded, and then filed/sanded smooth to feel like one piece.
|
|
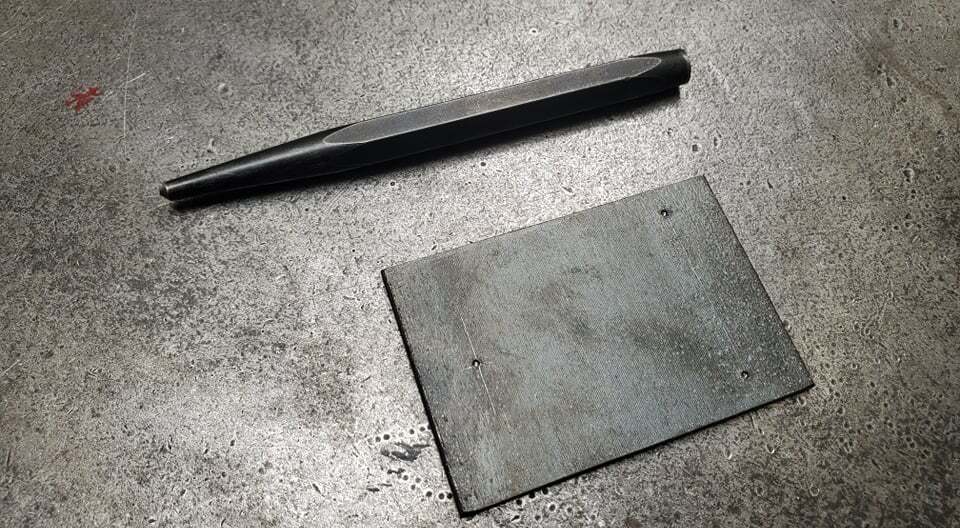
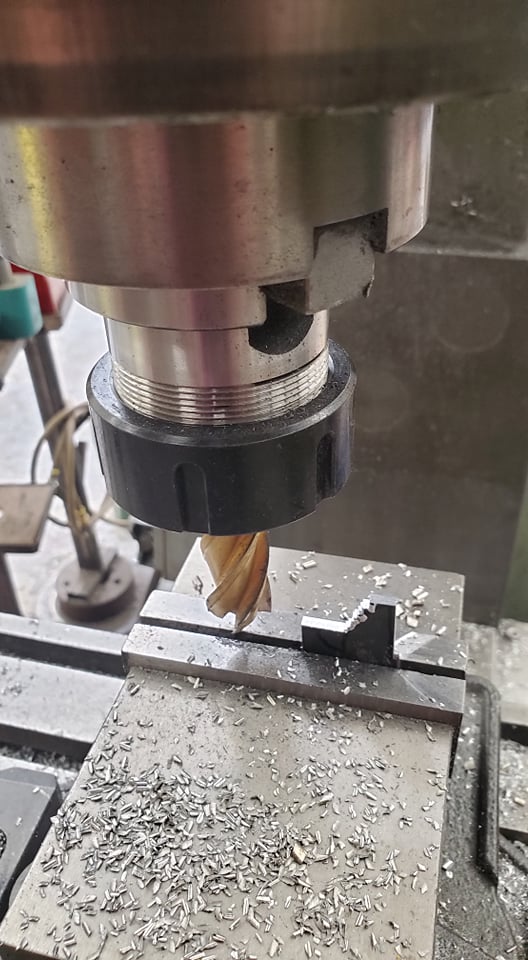
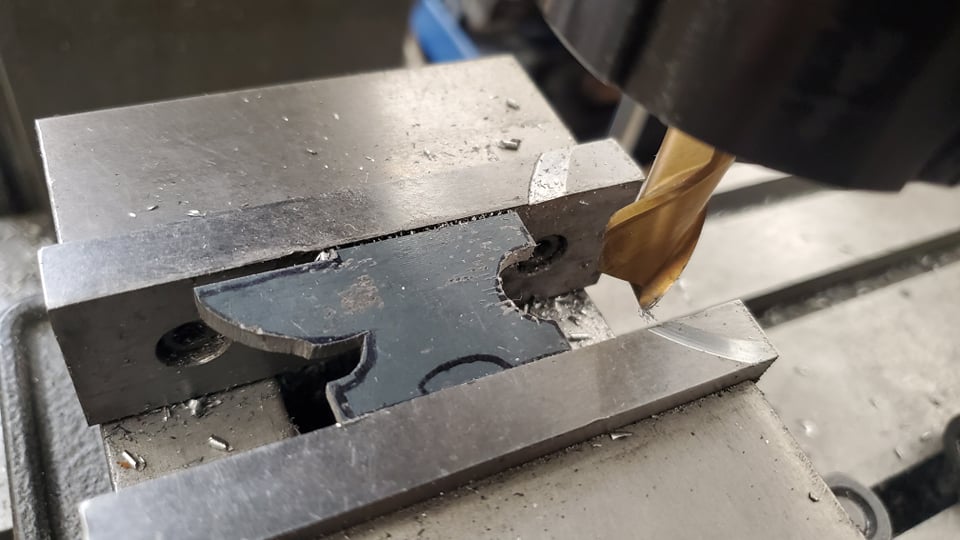
Center punch and drill with a 9/64" drill bit
|
|
I used the circle templates to draw some rounded guides onto the corners of the flat bar and used the bench grinder and file to round over.

|
|
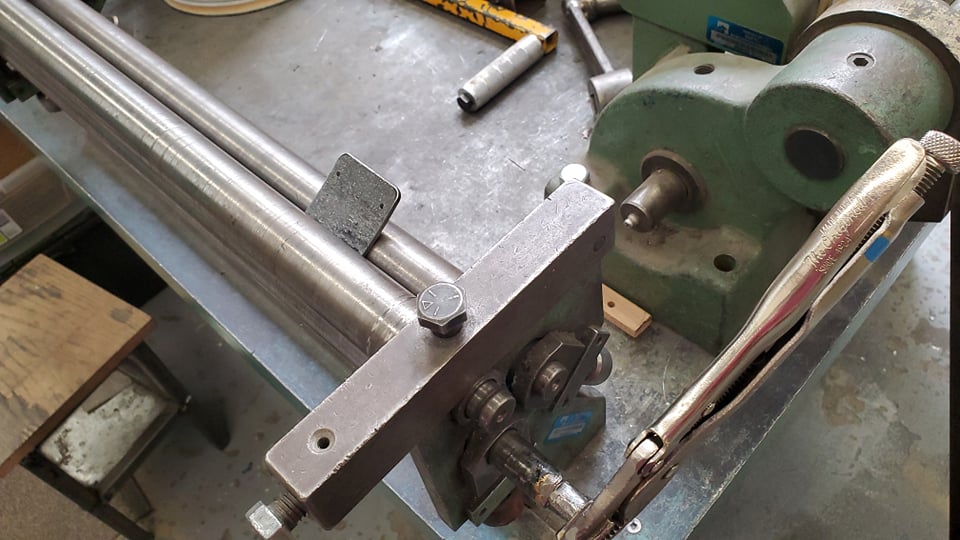
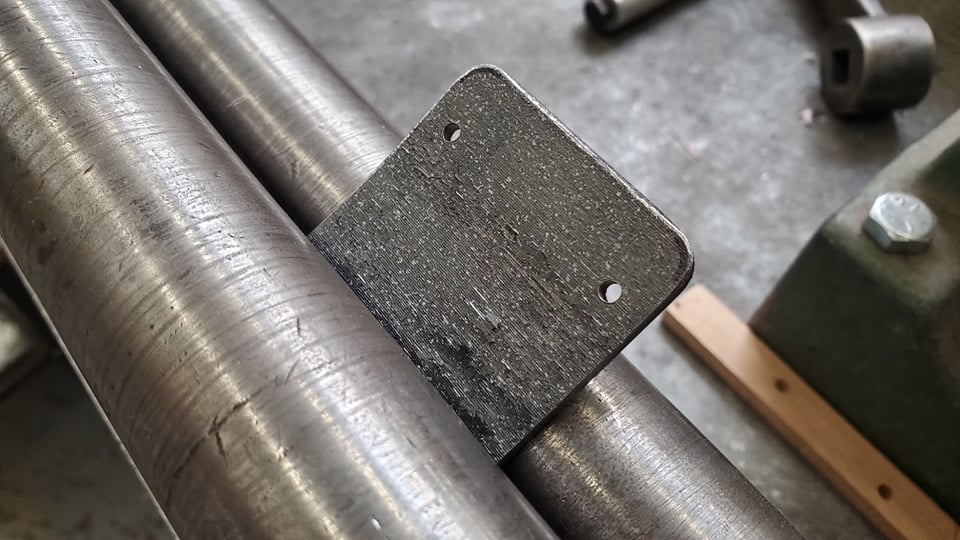
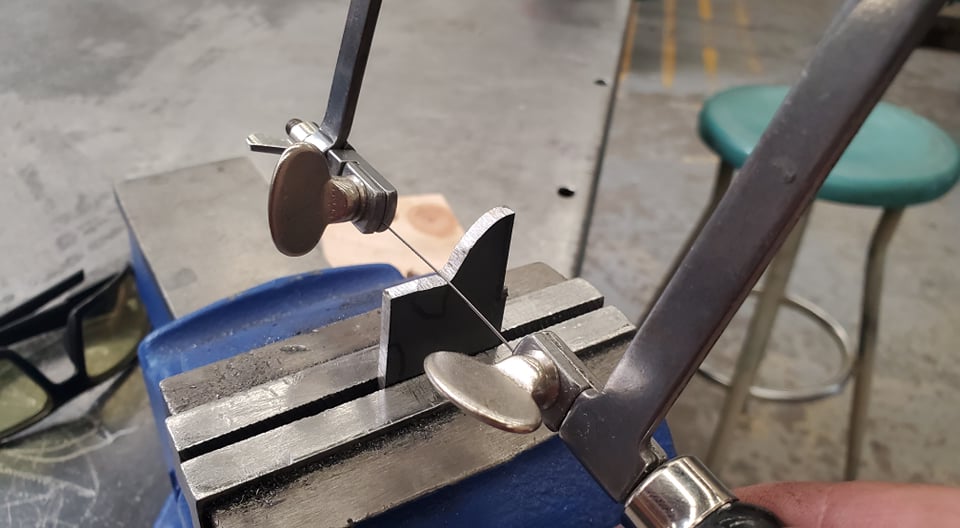
Small curve added in the rollers. I also did this to the anvil piece except with a bending jig and hammer because it was a small size
|
|
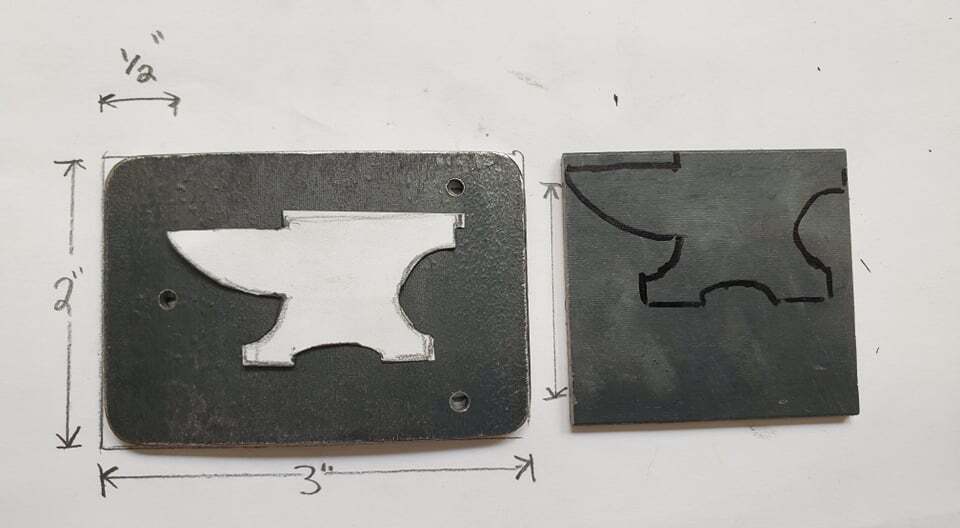
The center hole is for welding a rosette from the to hold the anvil on and not see the weld. Anvil template cut out and traced onto flat bar.
|
|
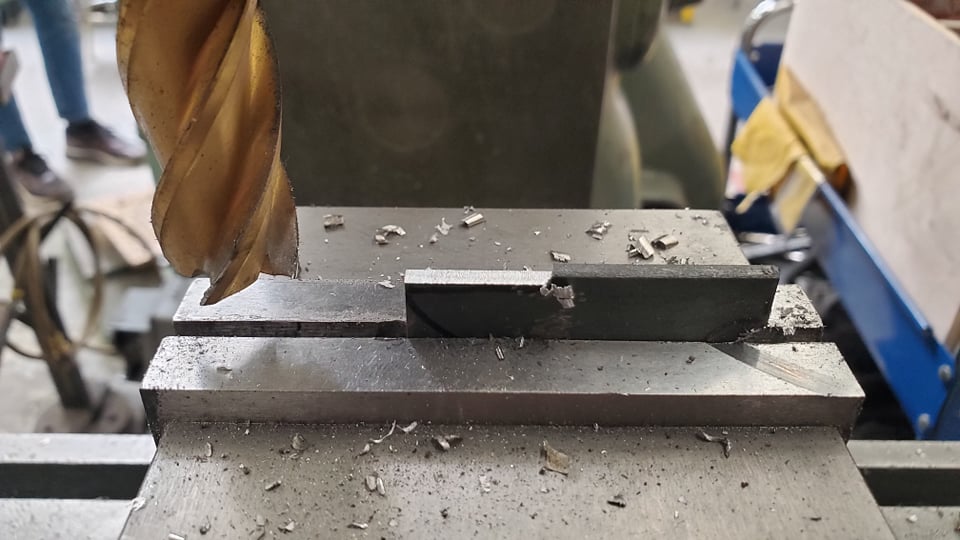
I used a variety of tools to cut out the anvil including the milling machine, hacksaw, jewelers saw, files, and bench grinder.
|
|
|
|
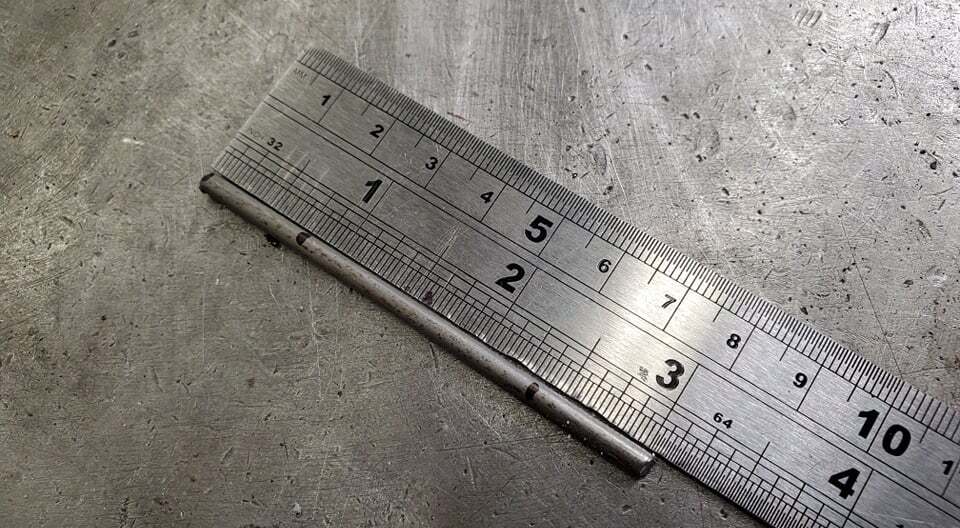
I am designing this to fit a 1 1/2" wide belt and have left 3/4" on the end of the round wire to have room for adjustements
|
|
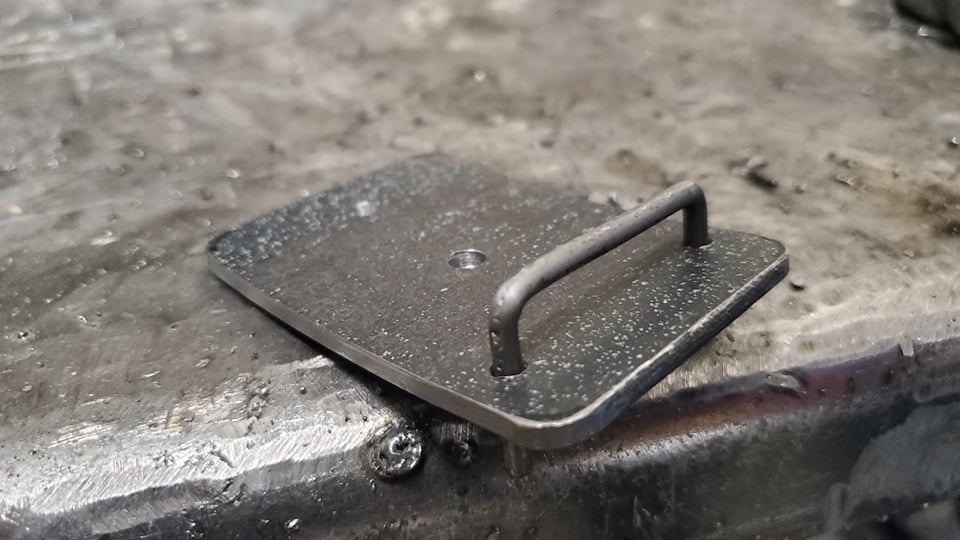
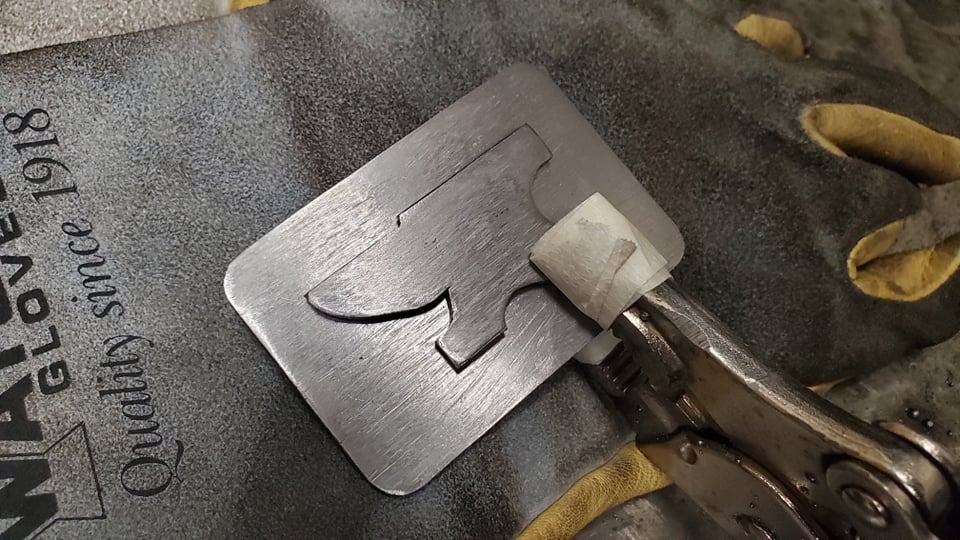
This took some tweaking to get it right and lined up with the holes on the main buckle piece. The wholes have been counter sunk to allow for the welds to have more surface area. When pushing the pieces through I made sure to check that there would be enough room for a belt to fit (thickness and width).
|
|
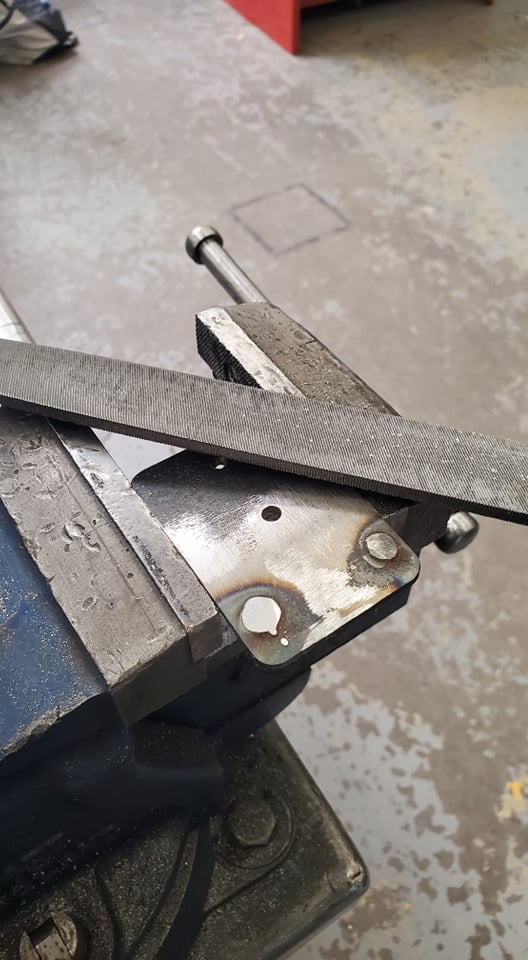
I set our welder to 18V and 210 wire speed to get the welds to fully penetrate and melt so after filing there would be no gaps.
|
|
Rough grind on the bench grinder and mill bastard to smooth out so it felt like one smooth piece.
|
|
|
|
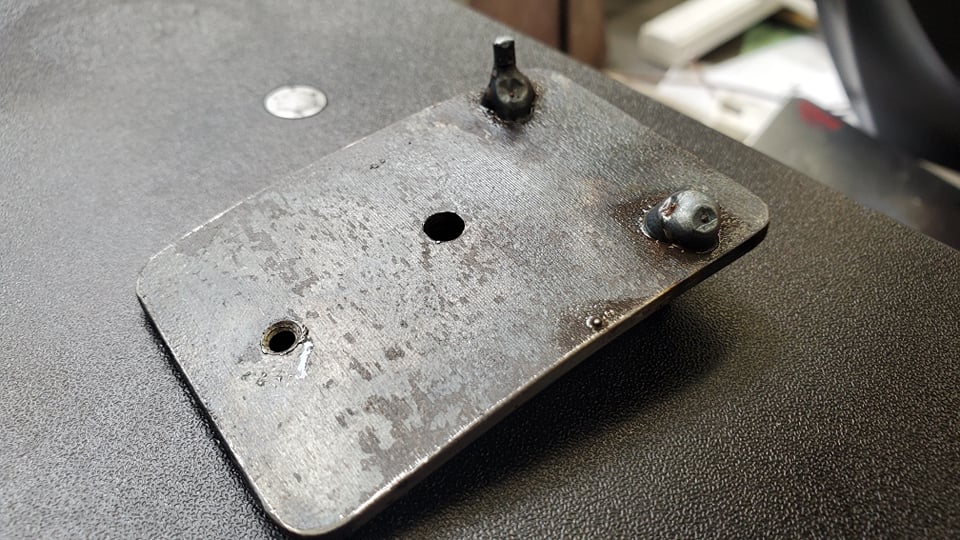
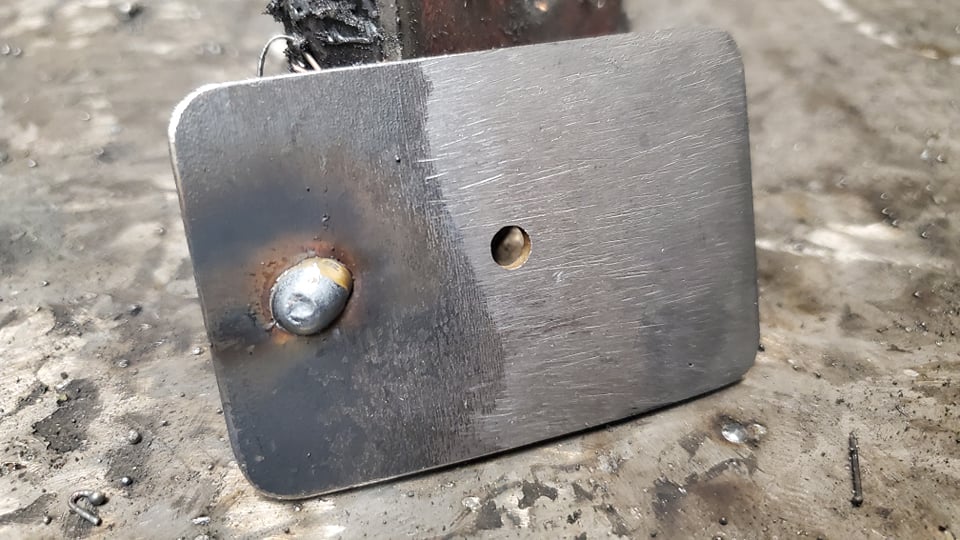
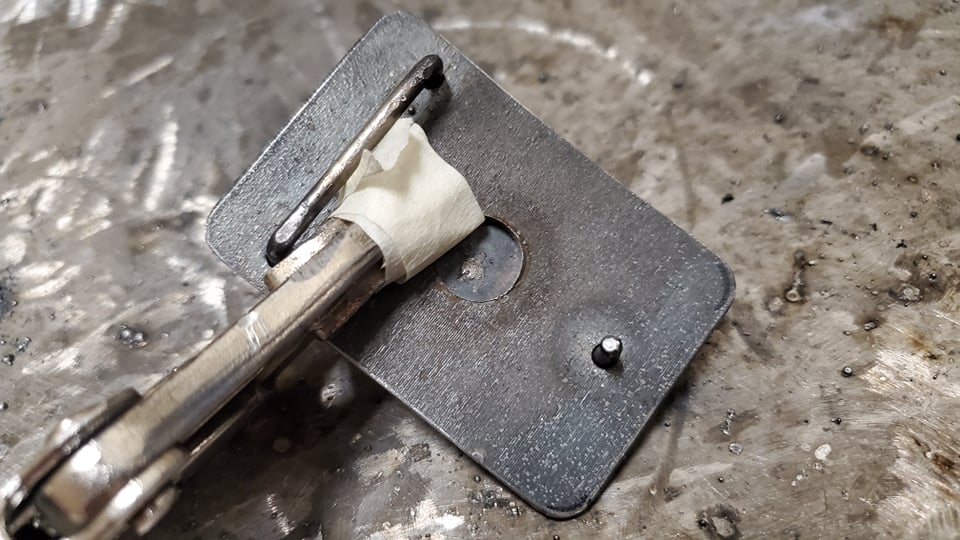
Next was the pin. make sure the pin is long enough to grab the hole in a belt. Welded at 18V and 210 wire speed
|
|
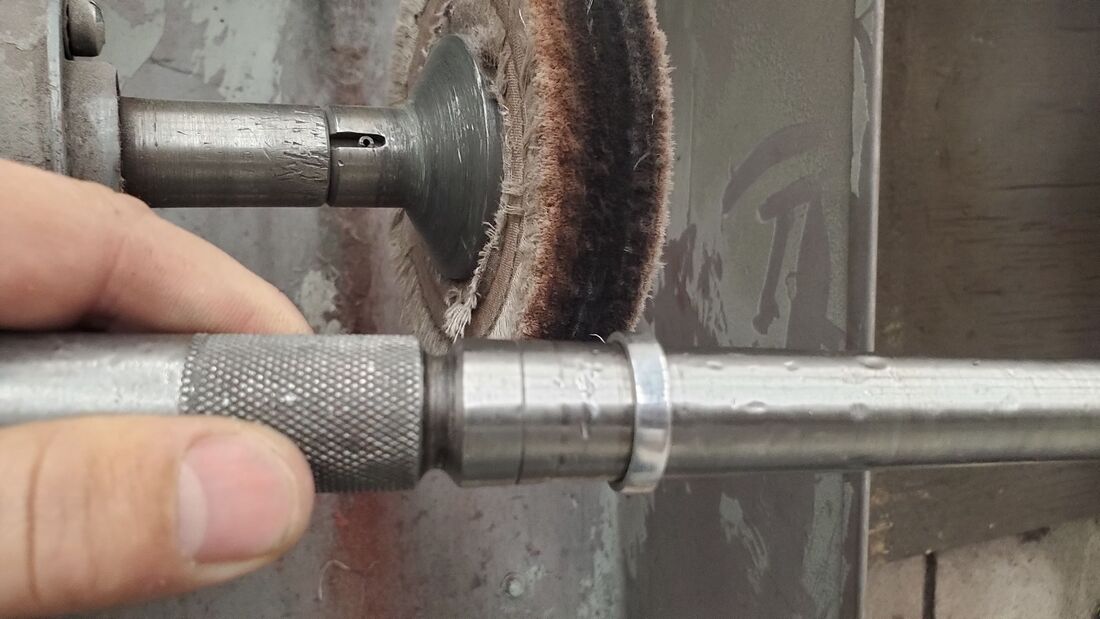
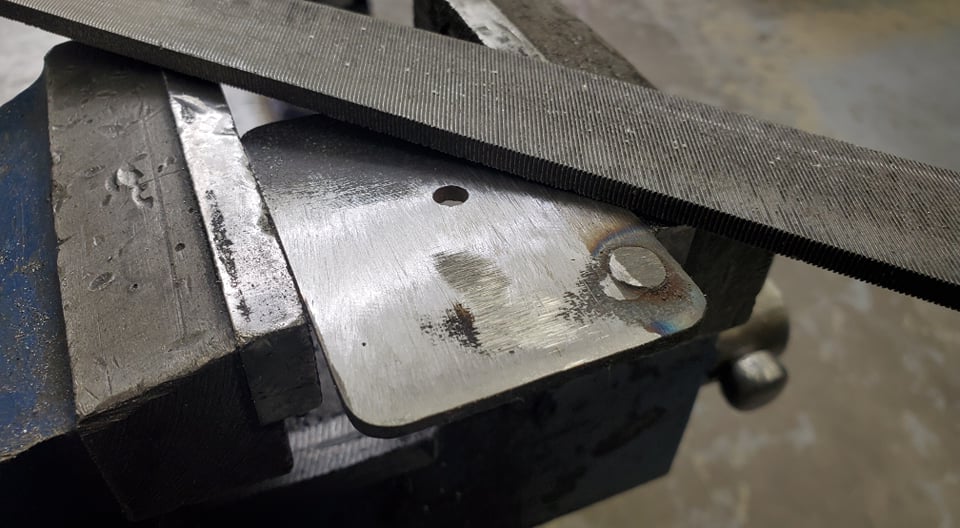
Bench grind and file until smooth.

|
|
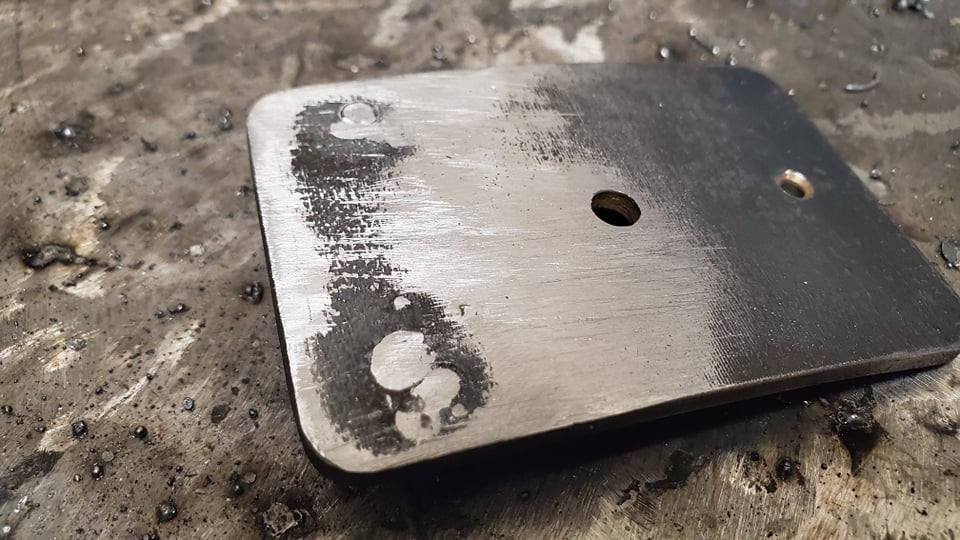
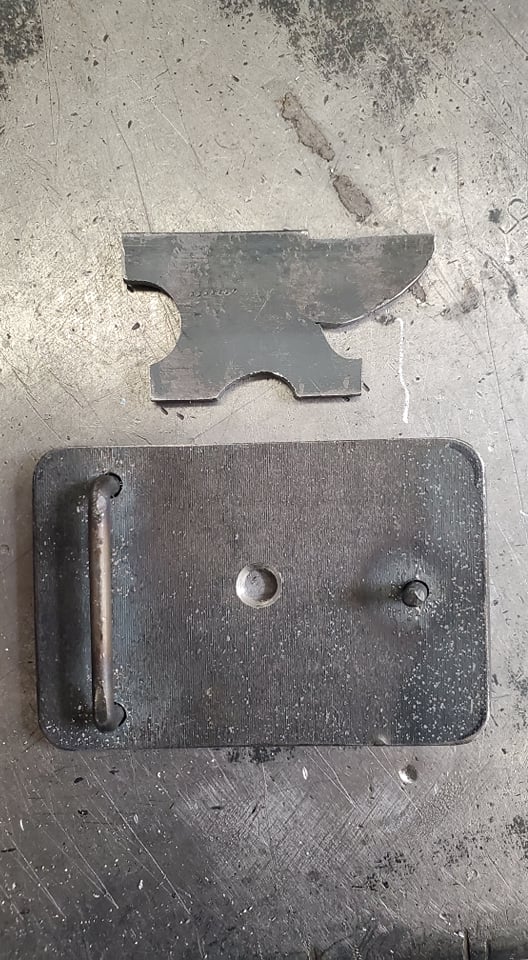
Back and front of each piece shown. I filed and sanded these prior to welding since it would be difficult to file them after due to different heights.
|
|
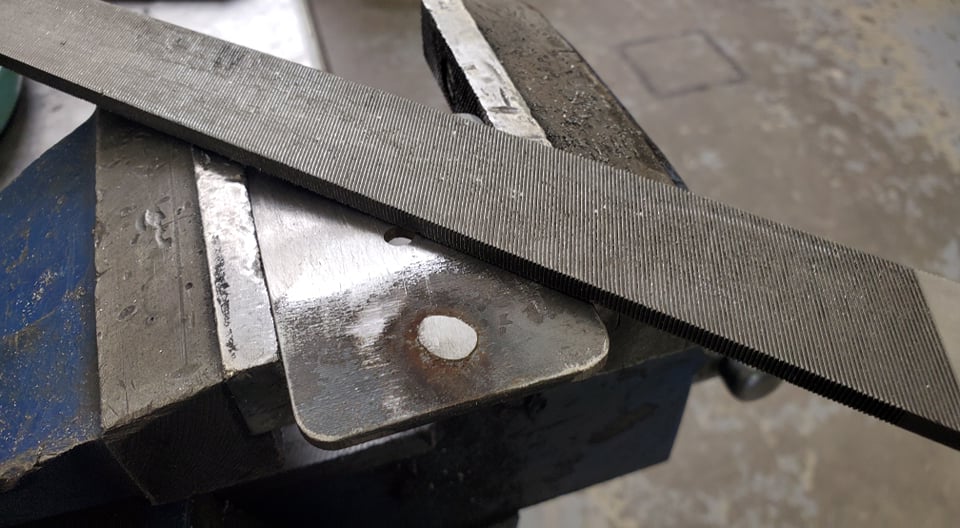
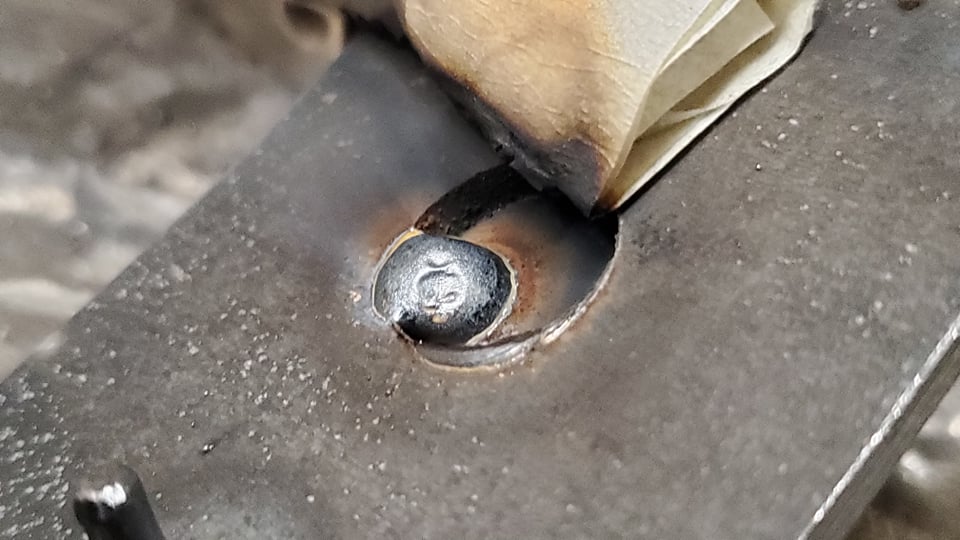
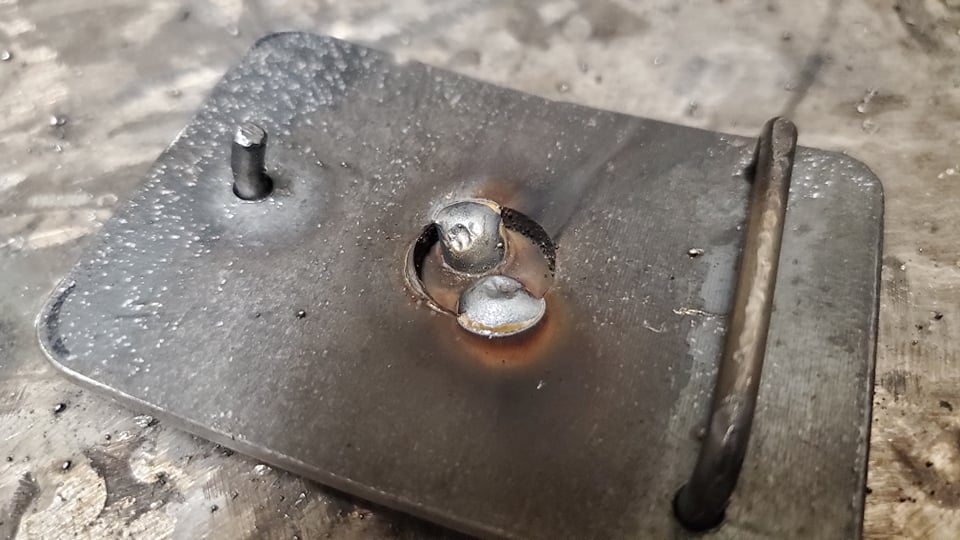
The hole was originally only 1/4" but that would not be enough room for a rosette. I drilled a larger 5/8" hole (not shown) to give more space to weld but not too big to show through the other side. I taped the teeth of the locking pliers/vice grips to hold but not mark the piece while welding. Watch out for fire!

|
|
Welder set to 19V and 220 wire speed. Ensure that the weld penetrates the anvil piece and then 'creeps' over to the main buckle. After two solid welds I fully filled the hole (not shown)
|
|
|
|
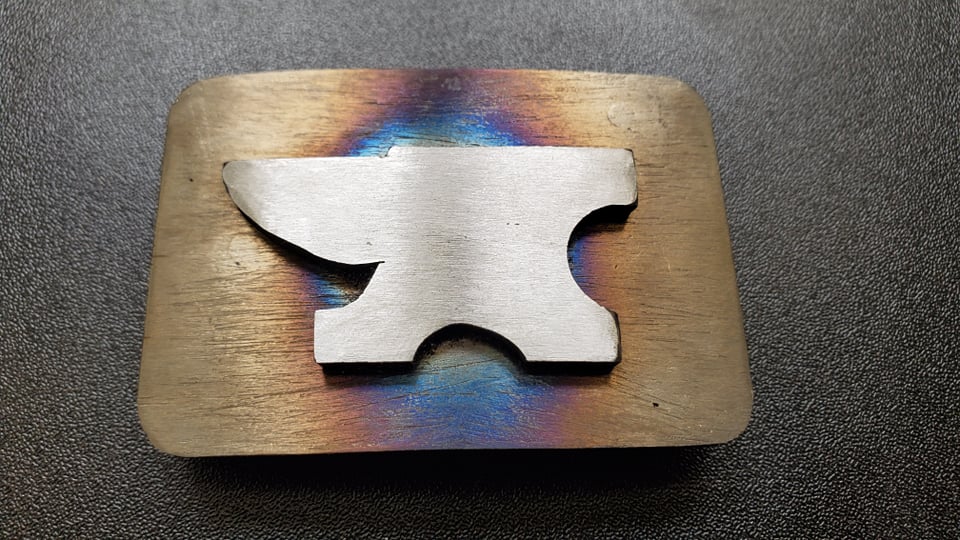
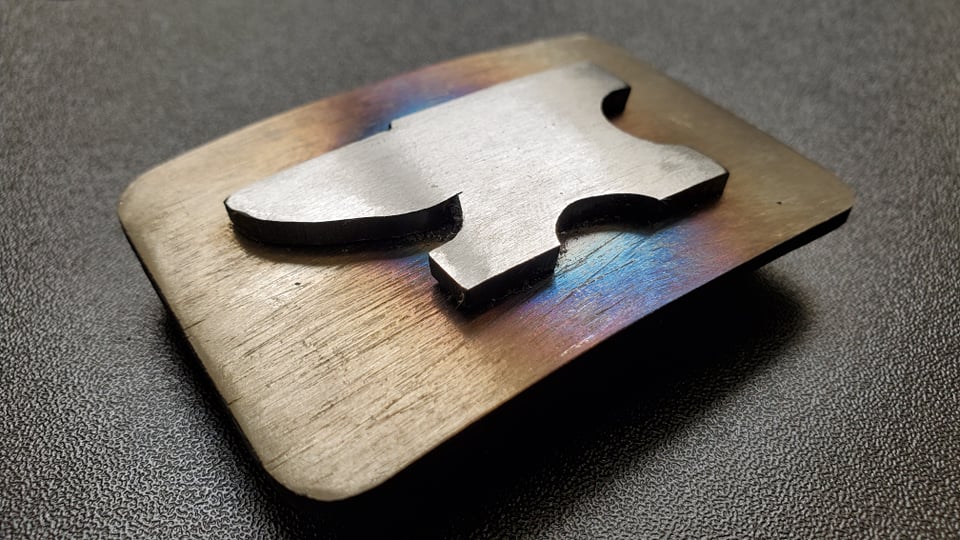
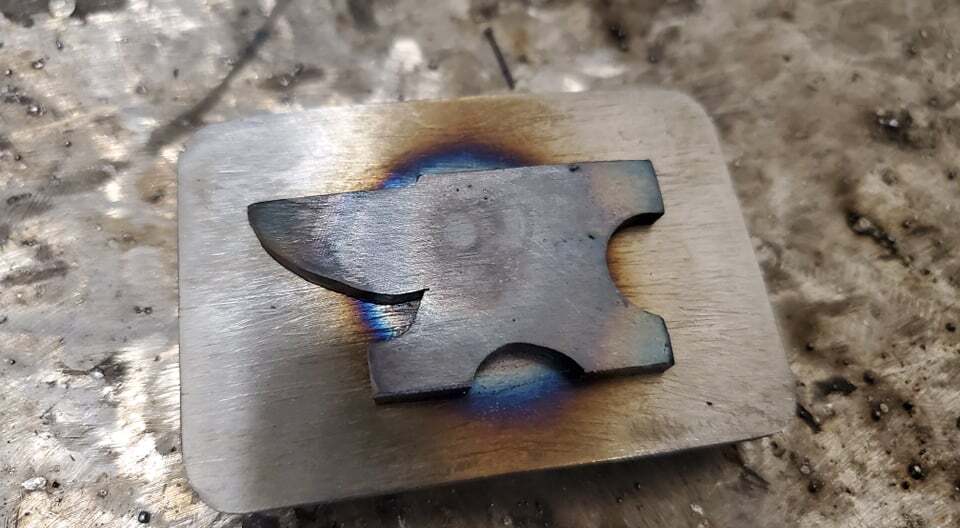
Anvil filed with the mill bastard to add a contrasting color compared to the buckle. I'm going to keep the burn marks and add a clear coat after a bit more sanding.
The back of the project (welds, etc) will be smoothed out as well.
The back of the project (welds, etc) will be smoothed out as well.