Balancing things
| metalwork_balancing_project.pdf |
| balancing_things_holbrook__supplimental.pdf |
Some people strive to achieve balance through meditation, religion, exercise or philosophy. This class uses physics.
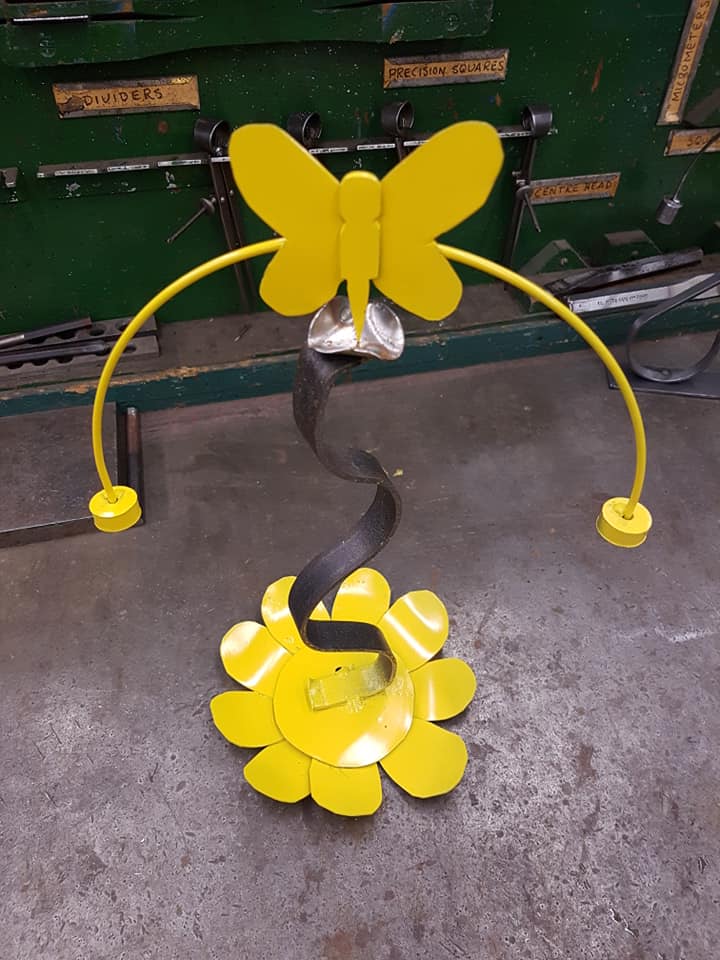
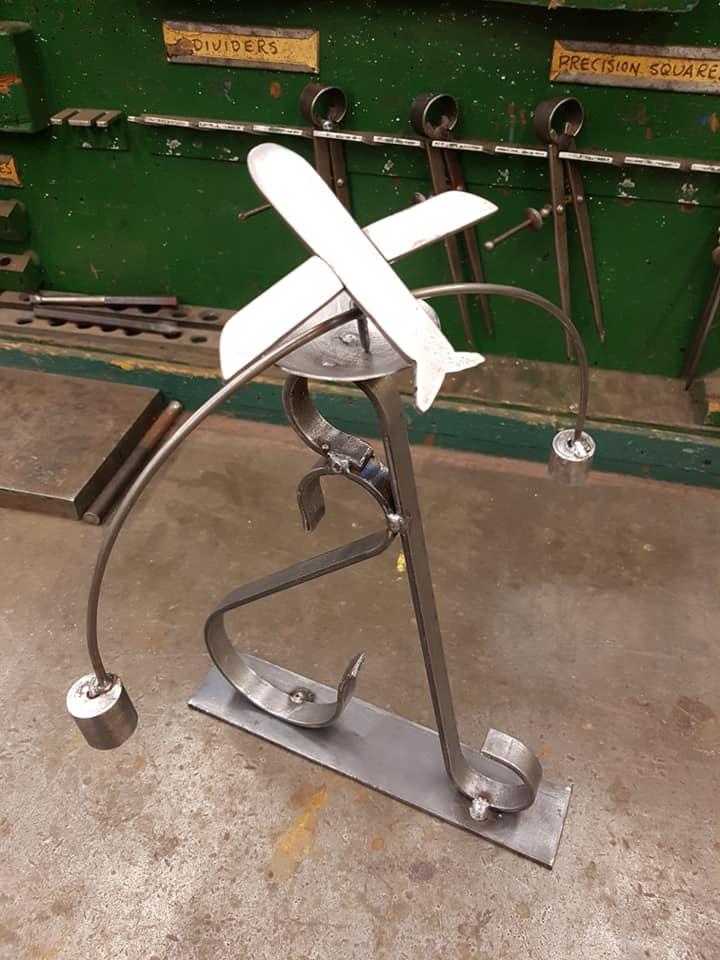
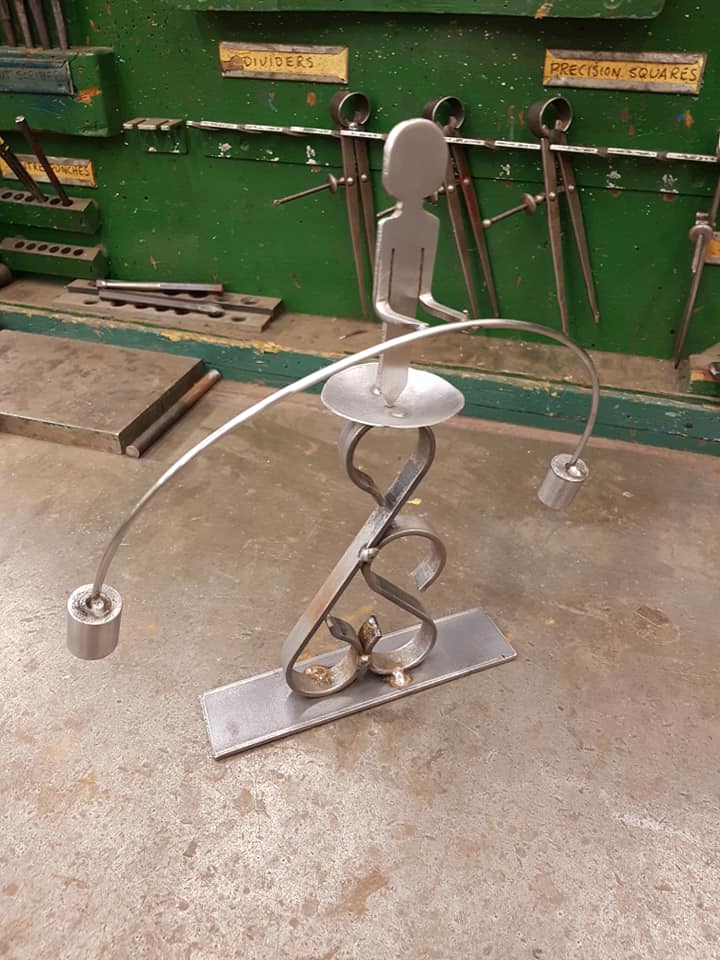
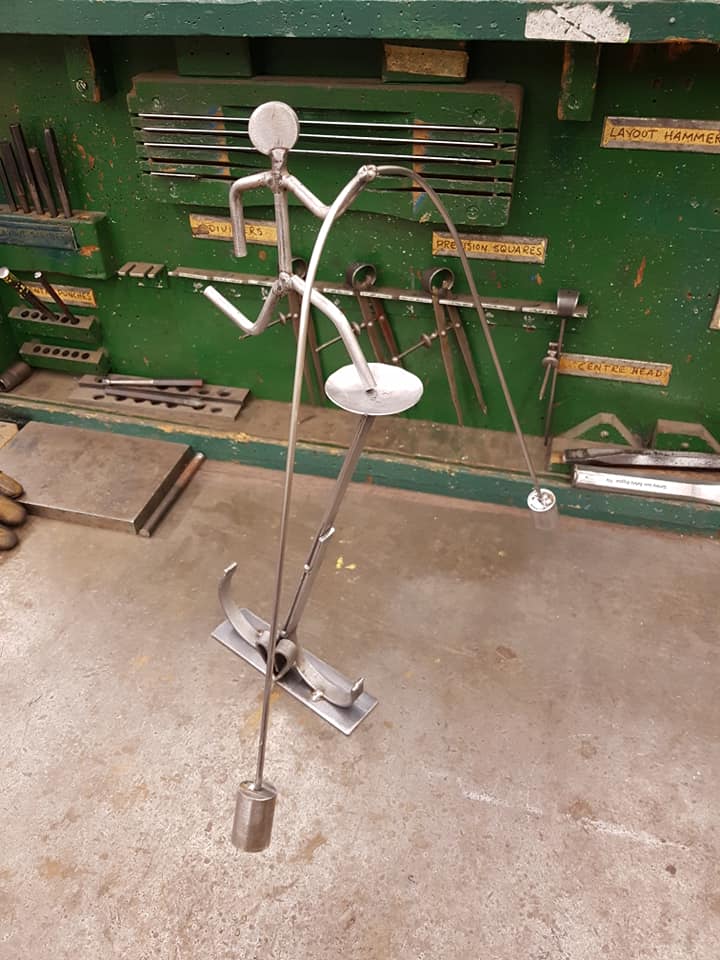
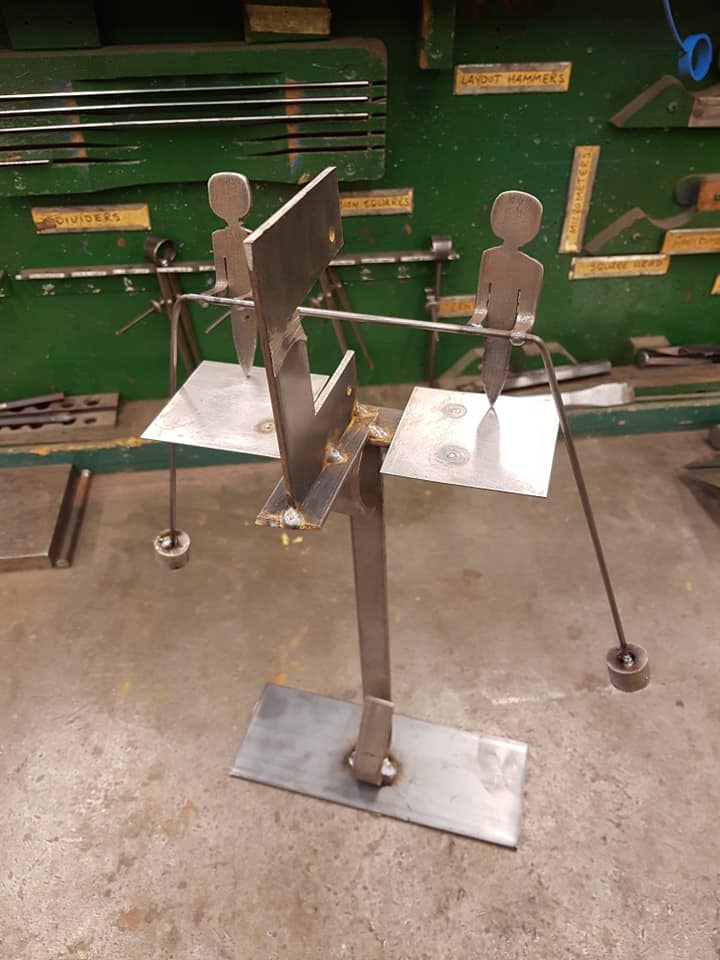
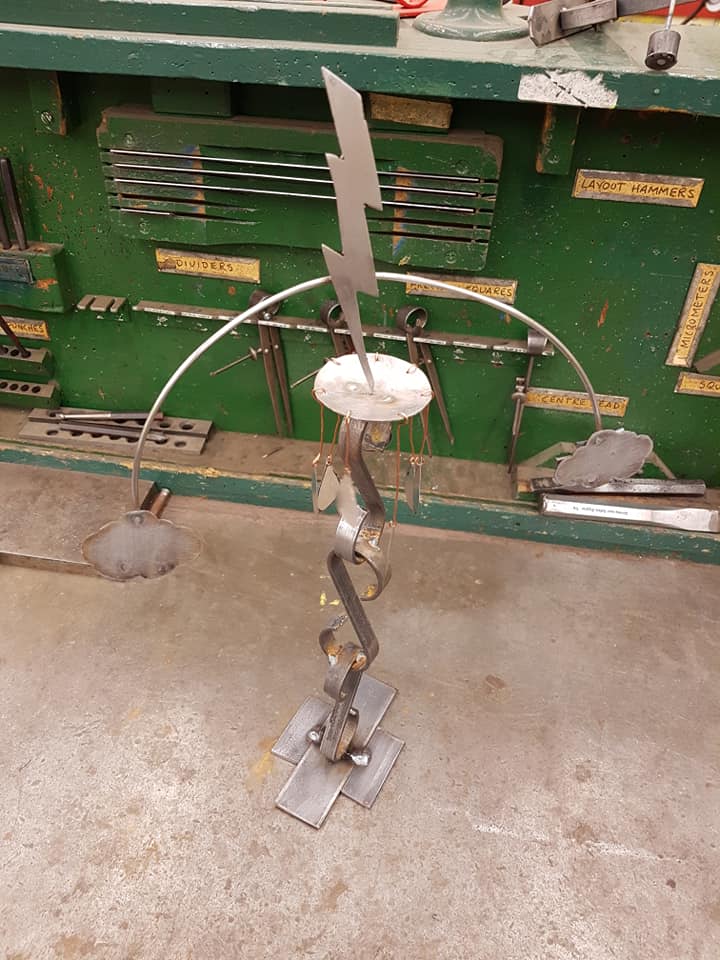
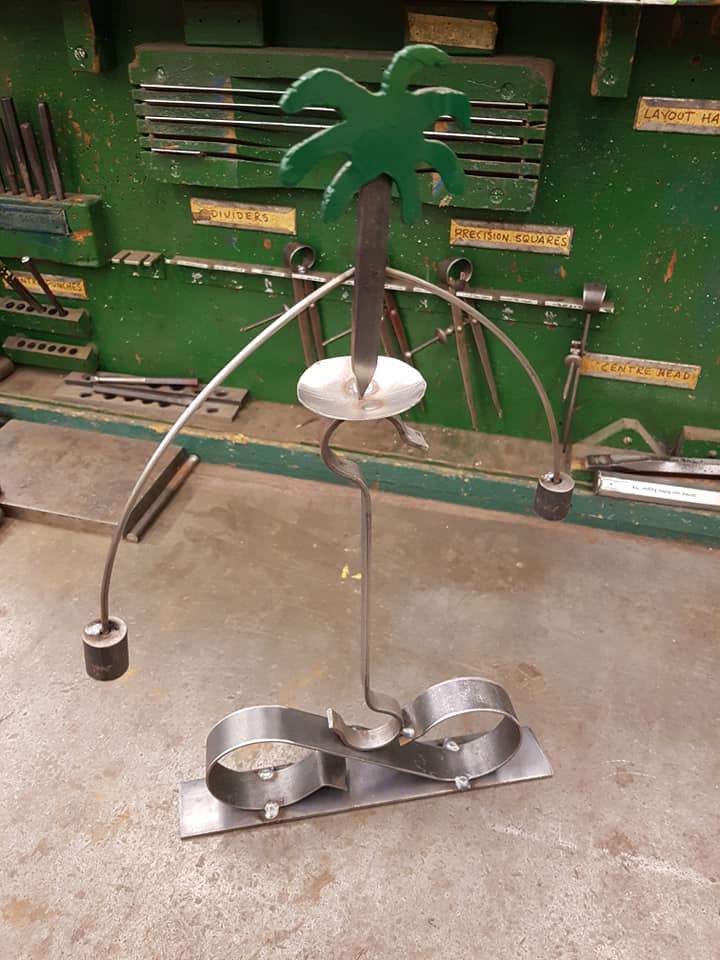
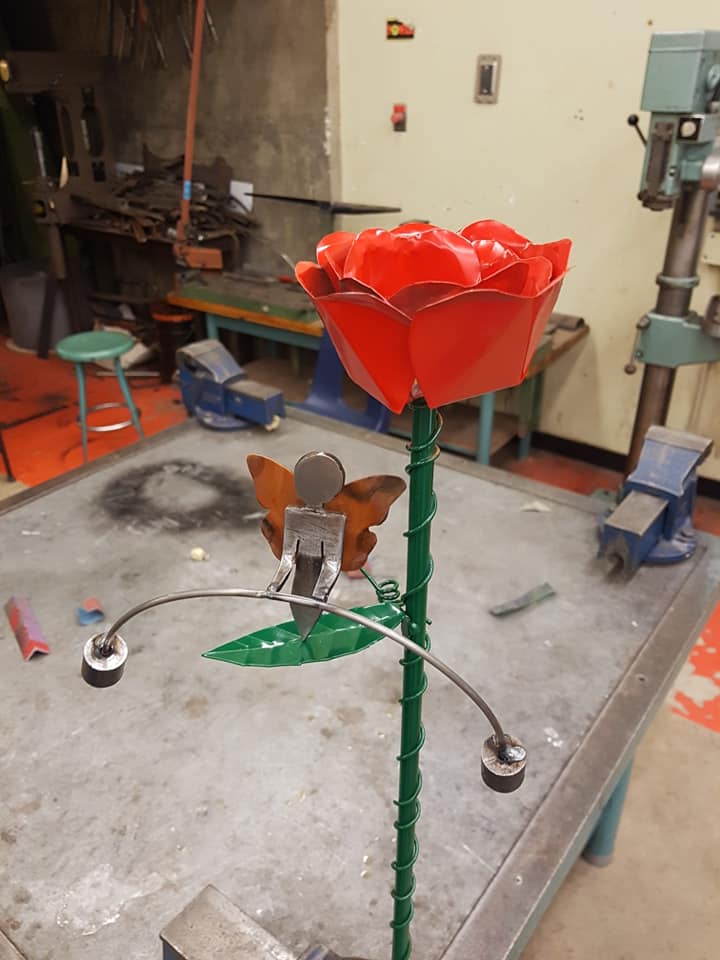
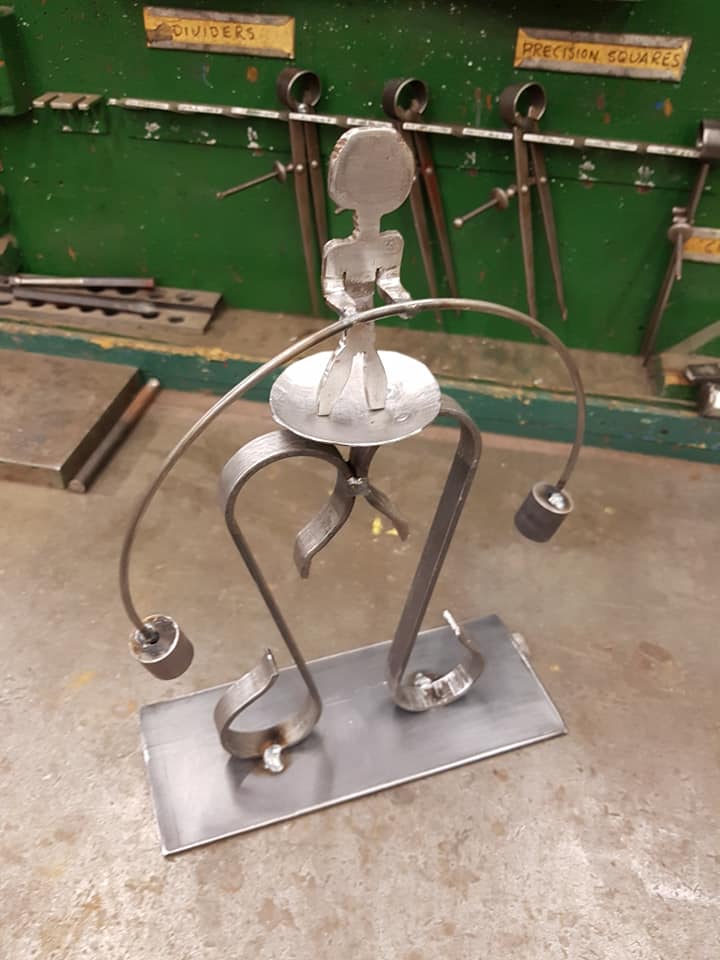
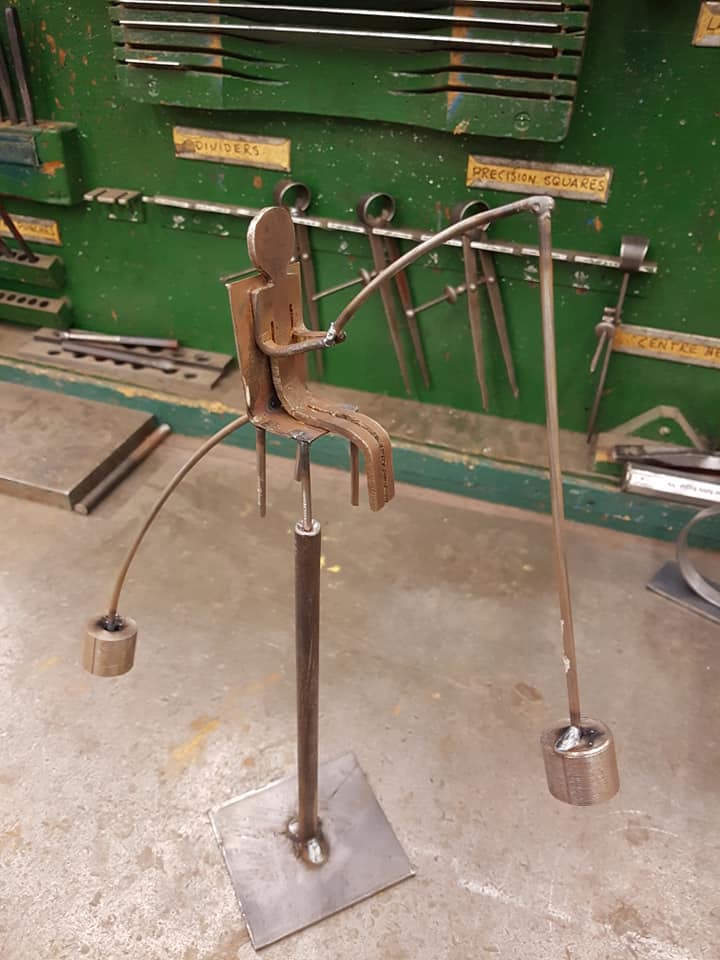
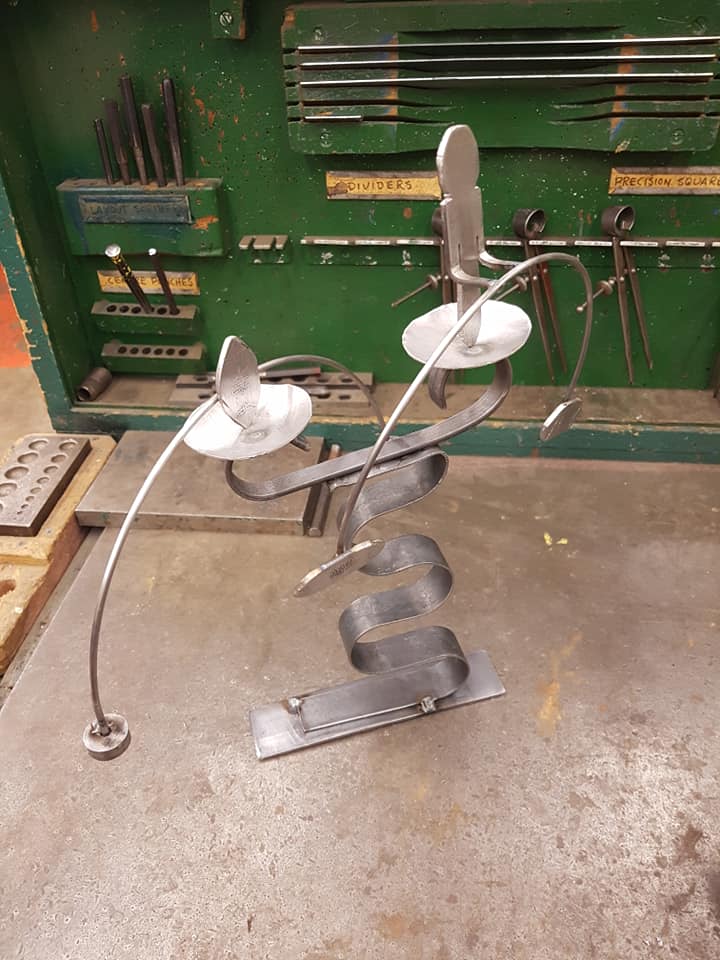
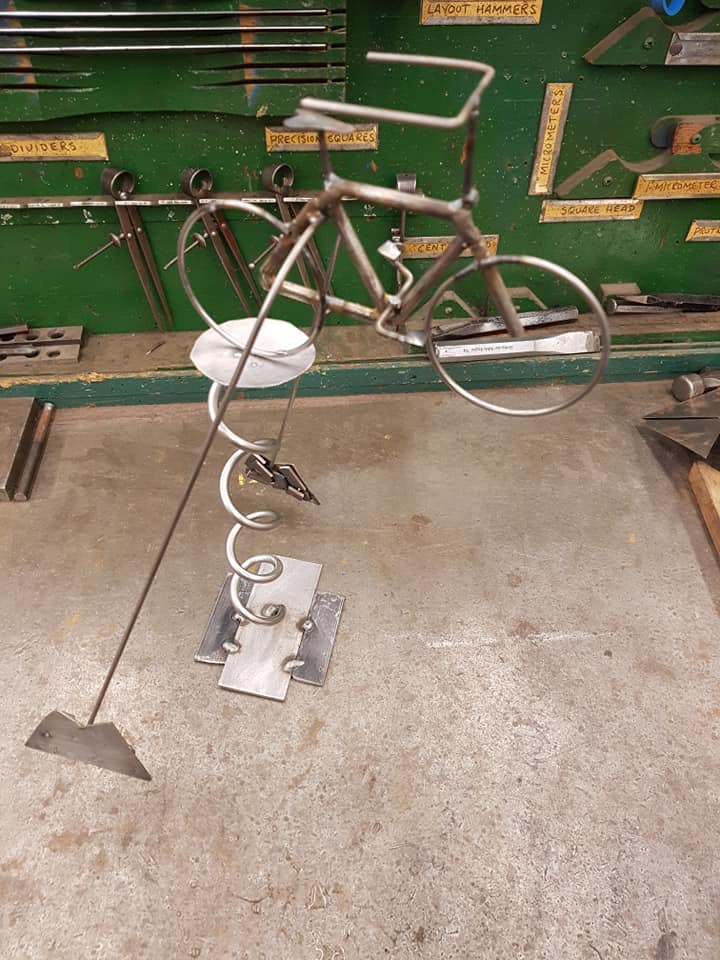
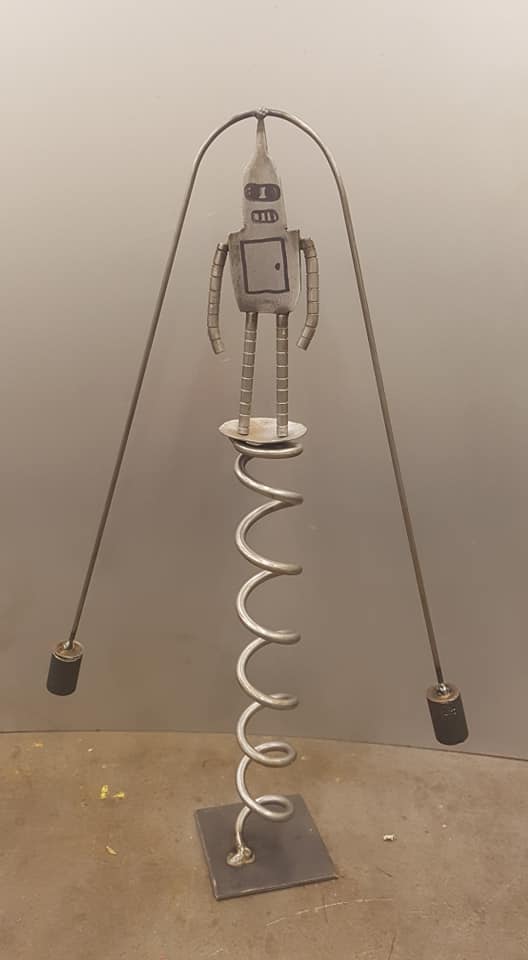
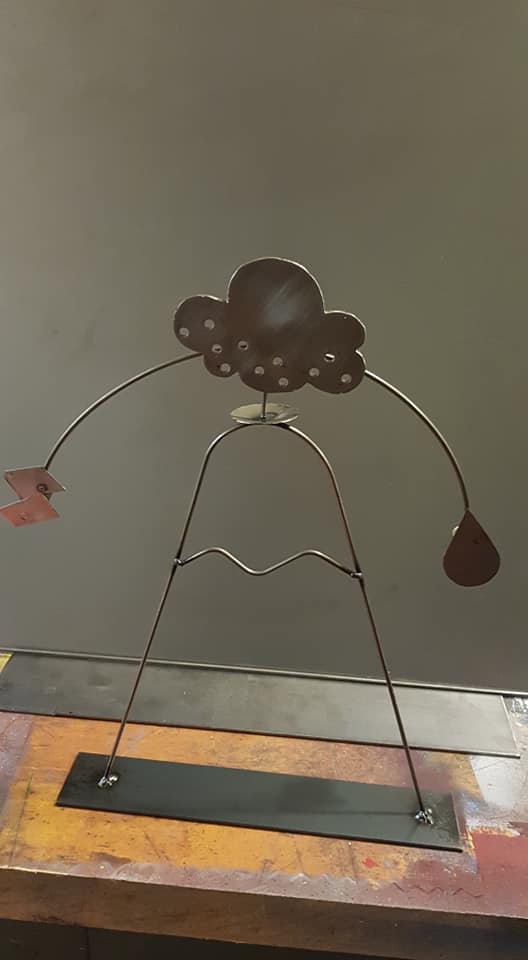
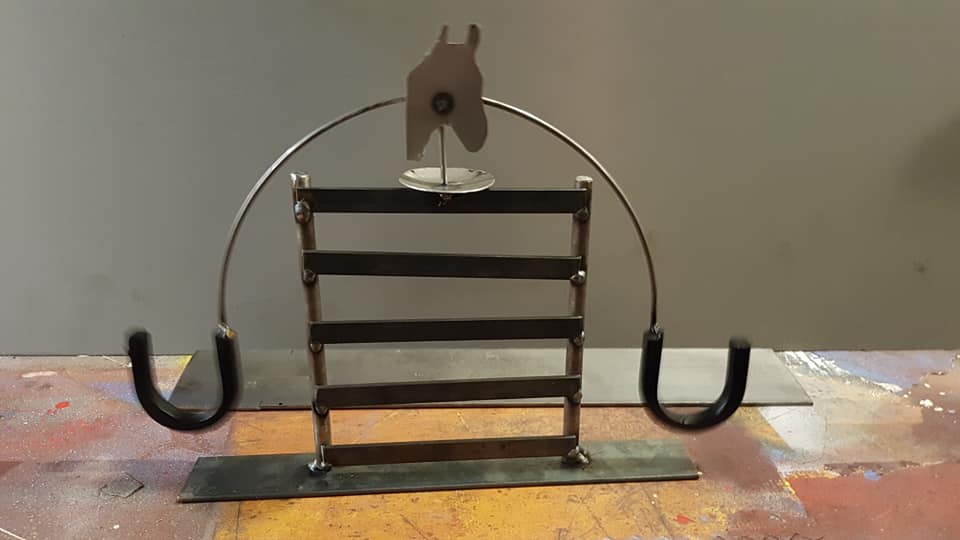
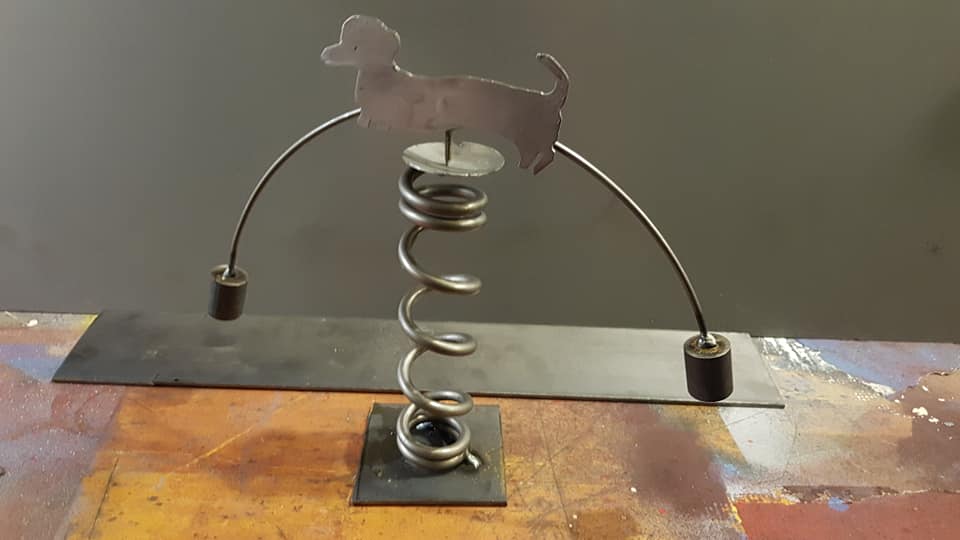
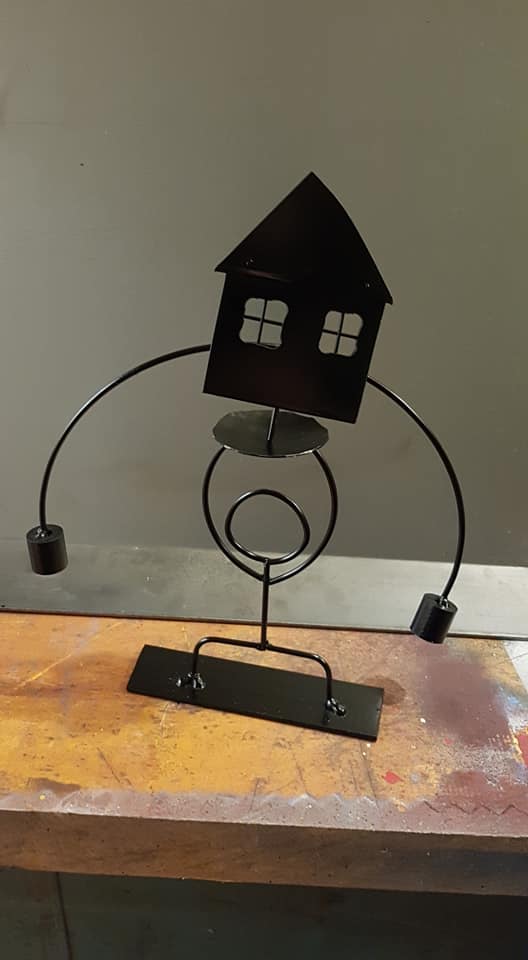
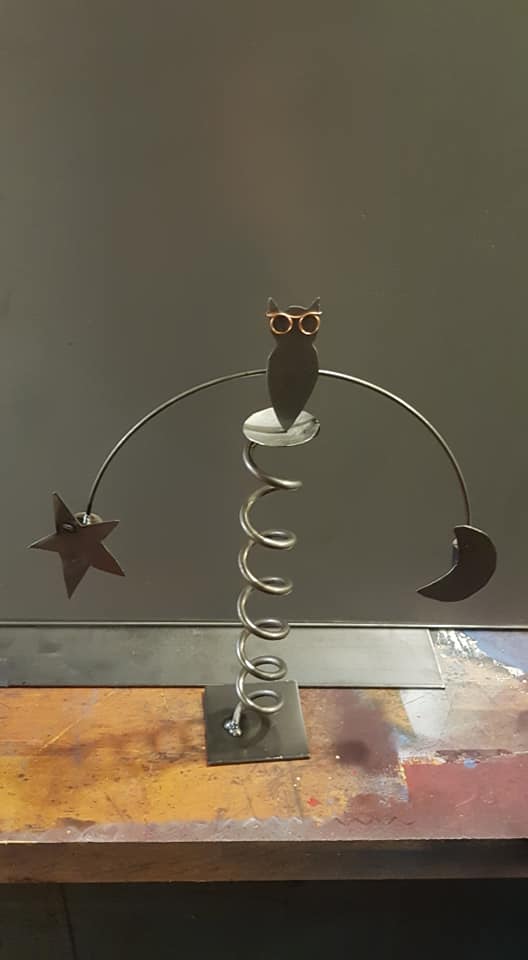
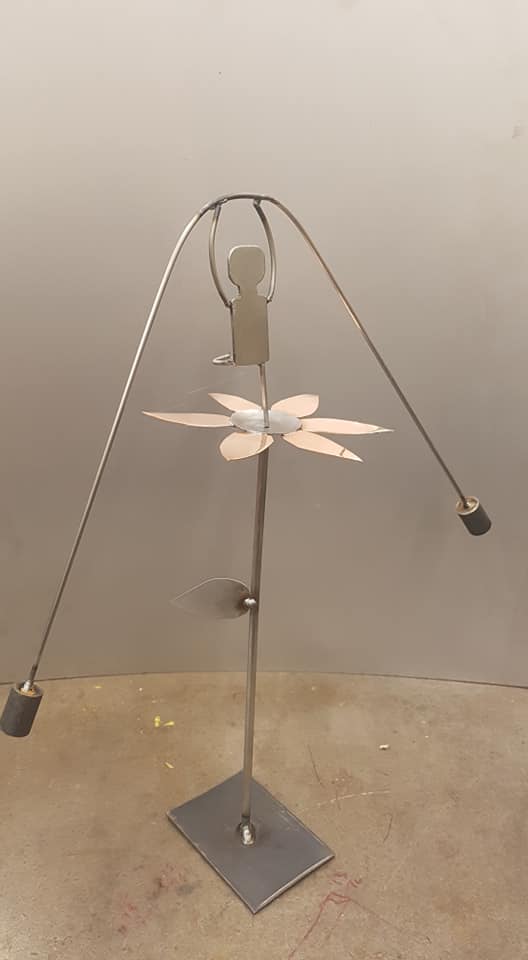
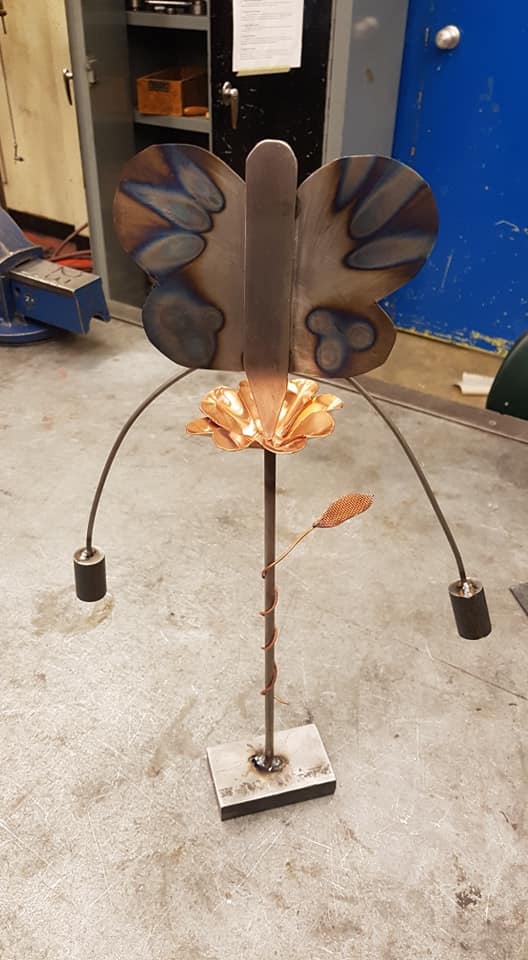
See some examples below from S. Lonsbrough's class
See some examples below from S. Lonsbrough's class
|
|
|
|
|
|
|
|
|
|
|
|
|
|
|
|
|
|
|
|
photo credit and idea thanks to S. Lonsbrough
Metal Balancing Projects have been made for a very long time. Get good at these and you could even make some money building these simple projects.
The basics:
You need a few things to make this project come to life:
Standard simple design materials needed:
18" round stock (1/8" or 3/16" thick) for the pole
5" x 2" 16g sheet metal for the body of your character
3/4" solid round steel for counterweights
1/2" flat bar for base/stand
The basics:
You need a few things to make this project come to life:
- Counterweight(s)
- a pole (similar to what you see a tightrope walker holding)
- a pivot point that is usually part of the main center piece or sculpture.
- A base to display and hold it on
Standard simple design materials needed:
18" round stock (1/8" or 3/16" thick) for the pole
5" x 2" 16g sheet metal for the body of your character
3/4" solid round steel for counterweights
1/2" flat bar for base/stand
Step 1:
Draw and design time
Design your character by sketching some ideas.
Step 2:
Layout character drawing on your sheet metal or flat bar or thin round stock
You can get as detailed as you want but make sure we have the tools needed to actually cut it out
..... to be continued
Draw and design time
Design your character by sketching some ideas.
- Ideas for those that don't want to think: Surfer, flower, animal, band logo, see-saw, airplane, bicycle, dirt bike, ballerina, car, arrow, butterfly
- You can even have two characters on either end of the bar acting as counterweights to each other. Have a pin in the middle or balance point to act as the pivot area.
- If you character will not include the pivot/balance point then you will need to add a one underneath with your character welded to it
- If making a stick character your person should be made from 3 pieces instead of every limb being a separate piece that needs to be welded. Head and body together, arms, legs. Plan out your bends so that your person is simple and easy to put together without too much frustration.
Step 2:
Layout character drawing on your sheet metal or flat bar or thin round stock
You can get as detailed as you want but make sure we have the tools needed to actually cut it out
..... to be continued
| grade_8_balancing_project.pdf |
