Metal Wind Chimes
Student Designed
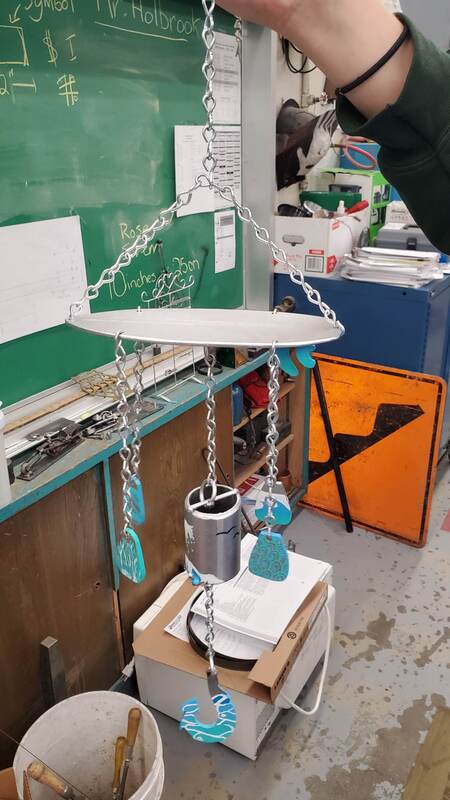
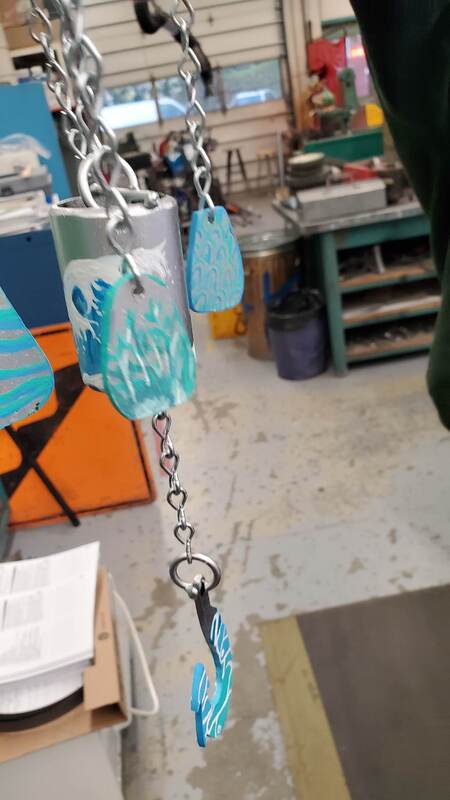
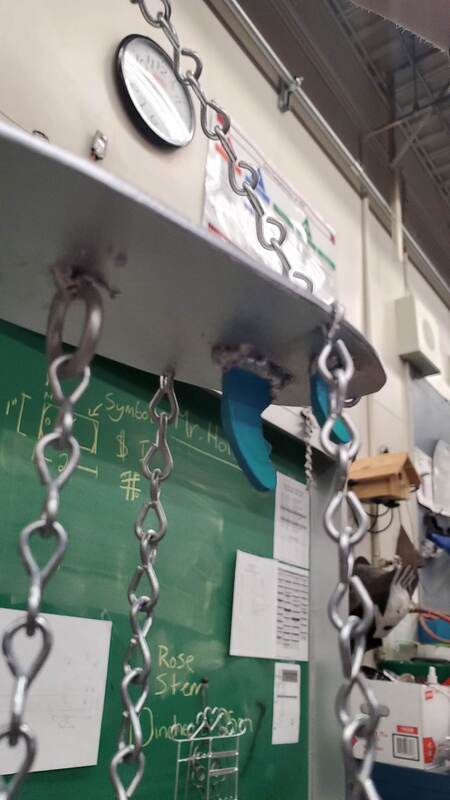
The below images are from a fully student designed windchime using flat bar, pipe, and chains bought at a hardware store

|
|
|
|
|
|
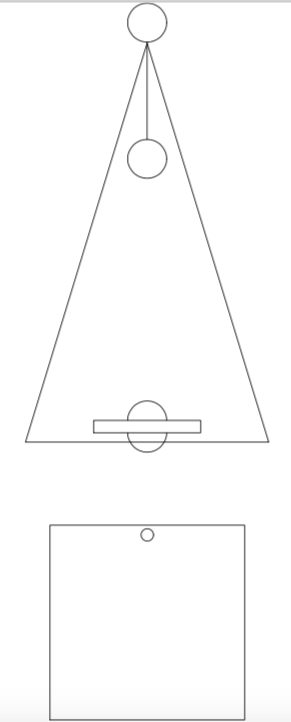
Basic Classroom design procedure for our "Triangle Wind Chime"
| metal_wind_chime_plans_and_procedure.pdf |
|
Half-Round pieces and connector rod:
1/8” steel rod Main body: 1/8” flat bar 5 inches wide or thicker sheet metal depending on shop supply String/Chain: Thin ‘non-welded’ chain from Home Depot OR “hemp string” Brass chain is $2/foot from Mr. Holbrook or you can purchase from a store yourself. Clapper: ¼” thick steel. We can weld two thinner pieces together as well or use wood. The one in the demo piece is made from plastic. Experiment with different materials to change the sound! Feather: 20-24g Sheet metal or wood |
|
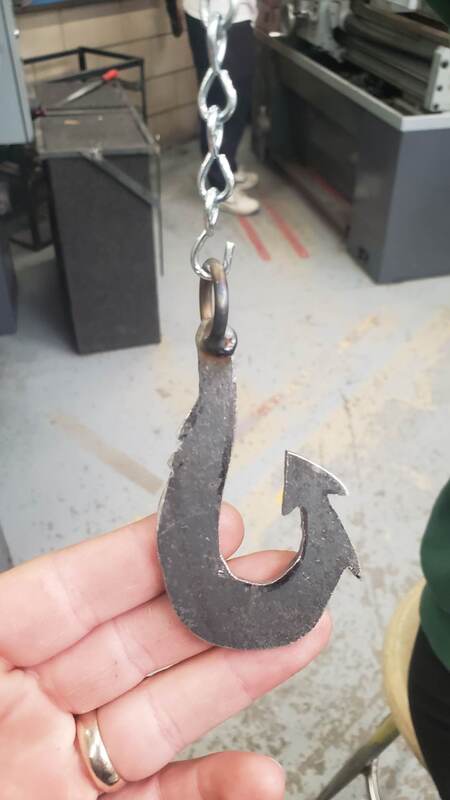
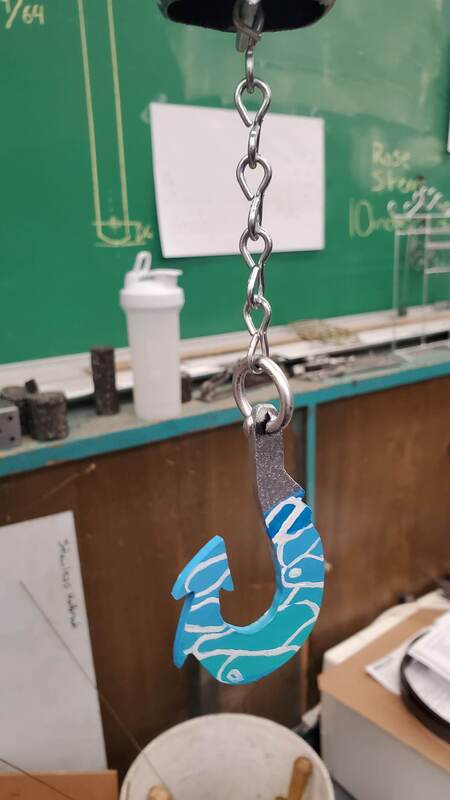
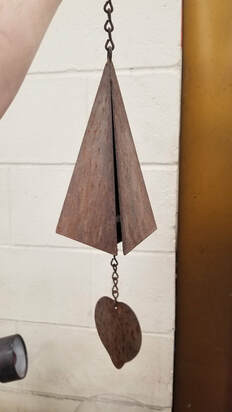
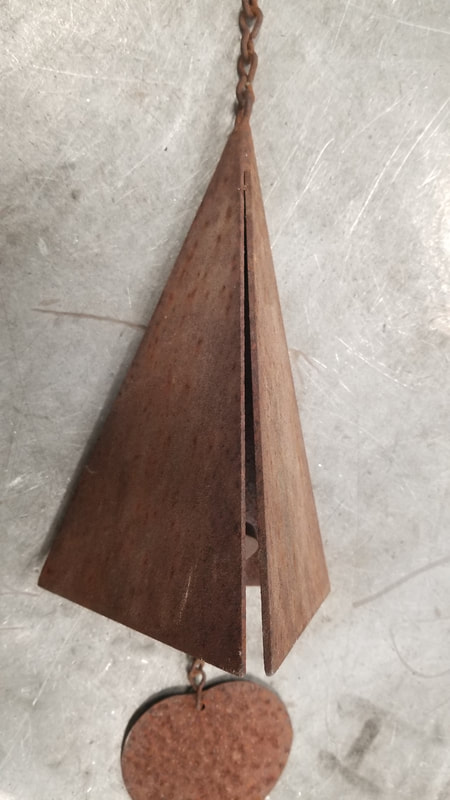
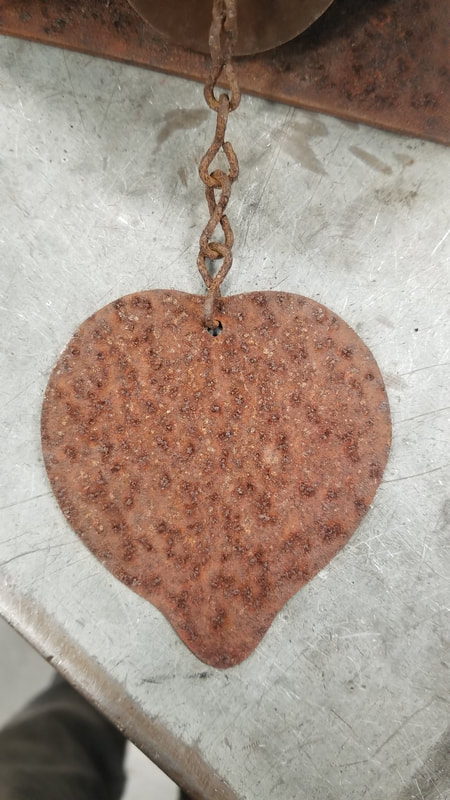
Photos of finished and 'rusty' project
|
|
|
|

|
Procedure
While you can make this project with mixed materials (wood, plastic, metal) this procedure will only cover steel and what can be welded together
|
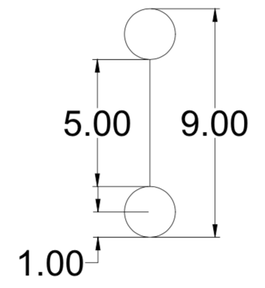
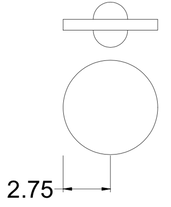
Round Pieces and connector rod:
|
|
|
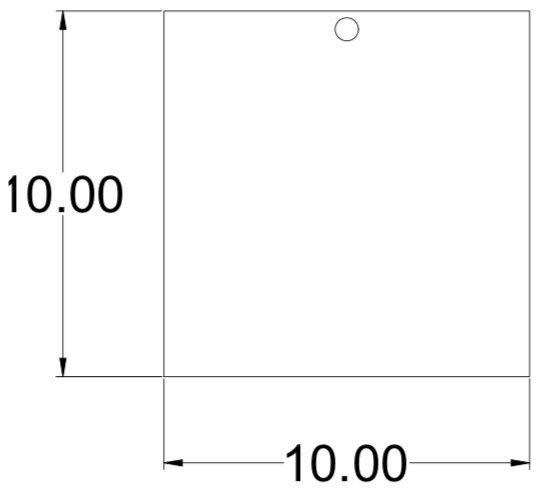
Main Body
|

|
|
Clapper:
This piece will hit the inside of the main body
|
|
|
Feather:
|
|
Chain/String
Welding the body
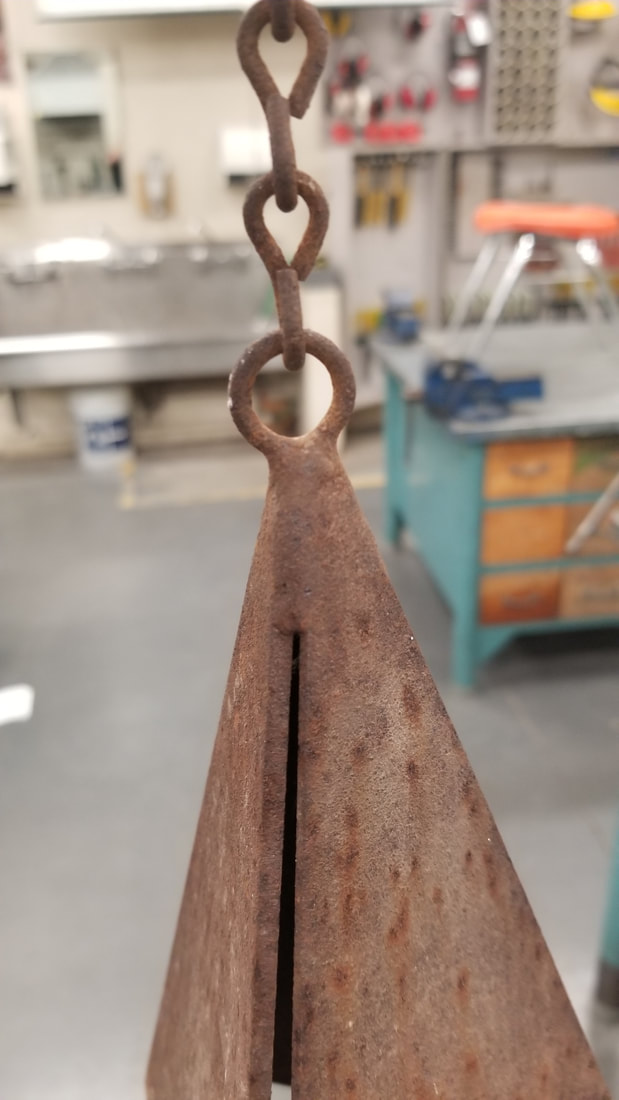
1)You may need to file down the top of the triangle if the pointy bit is interfering with the connector rod
Assembly:
- Cut your chain into 3 pieces based on how long you need them to be. Make sure you are able to open a loop and close it after it is attached to the other parts of the wind chime!
- Top chain to attach to house: 12cm
- Middle chain between connecting rod and clapper: 12cm
- Bottom chain between clapper and feather: 8-9cm
- THESE MEASUREMENTS MAY NEED TO BE DIFFERENT BASED ON YOUR BUILD!
- Attach the middle piece to the connector rod and clapper
- The other chain pieces can be attached for finished assembly once the body has been welded
Welding the body
1)You may need to file down the top of the triangle if the pointy bit is interfering with the connector rod
- Weld the connecting rod piece to one of your triangle pieces on a slight angle (see sample)
- Make sure you don’t add too much weld. Just a tack.
- Attach the middle chain to the Connector rod now as it will be difficult to do this after the body is welded
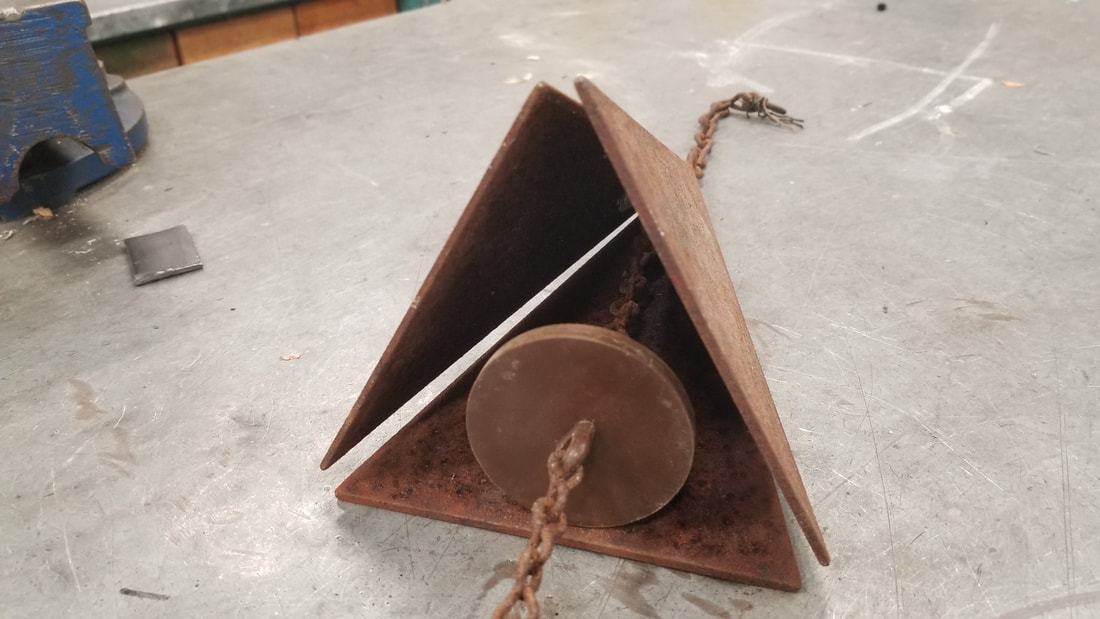
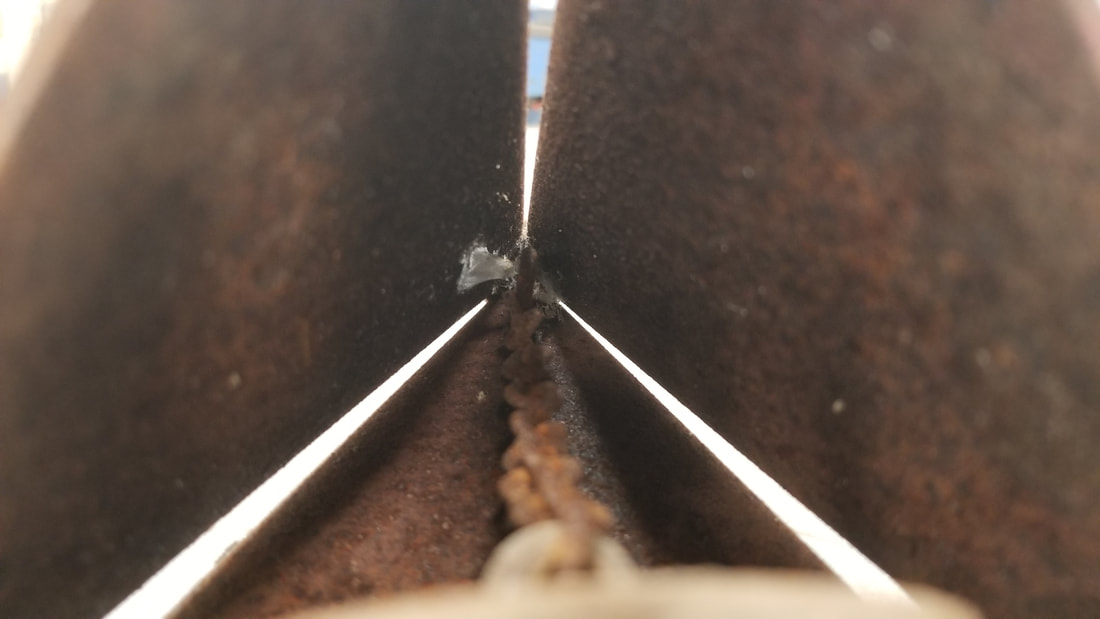
- Lean your other triangles together into a ‘TEE-PEE’ shape and tack weld only the top area to hold the shapes together
- Make sure you have a gap that gets gradually wider to the bottom
- The space between the pieces at the bottom should be approximately 5-8mm
- You may bend your pieces
- Once spacing is correct finish with a weld bead no longer than 2.5cm (1 inch) on the three sides
Assembly:
- Attach clapper and close chain. The clapper should not hang out the bottom of the main body. Shorten your chain one link at a time if needed.
- Attach the bottom chain and feather. Close links.
- Attach top chain and test out!
Assembly of pieces without chain