Pi Arcade 101 |
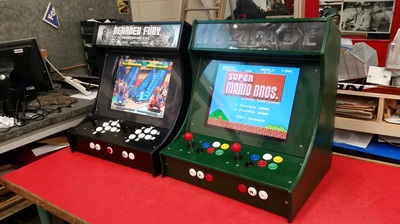
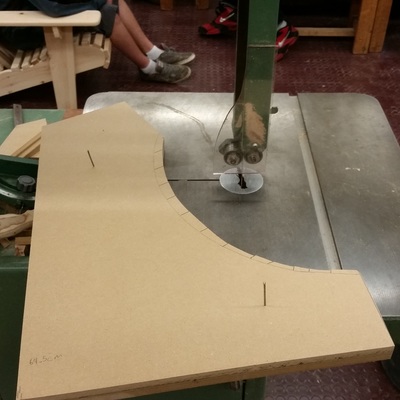
This cross curricular project involves collaboration from many different subject areas. Woodwork and metalwork for the cabinetry, electronics for wiring and parts, and some computer programming with software understanding.
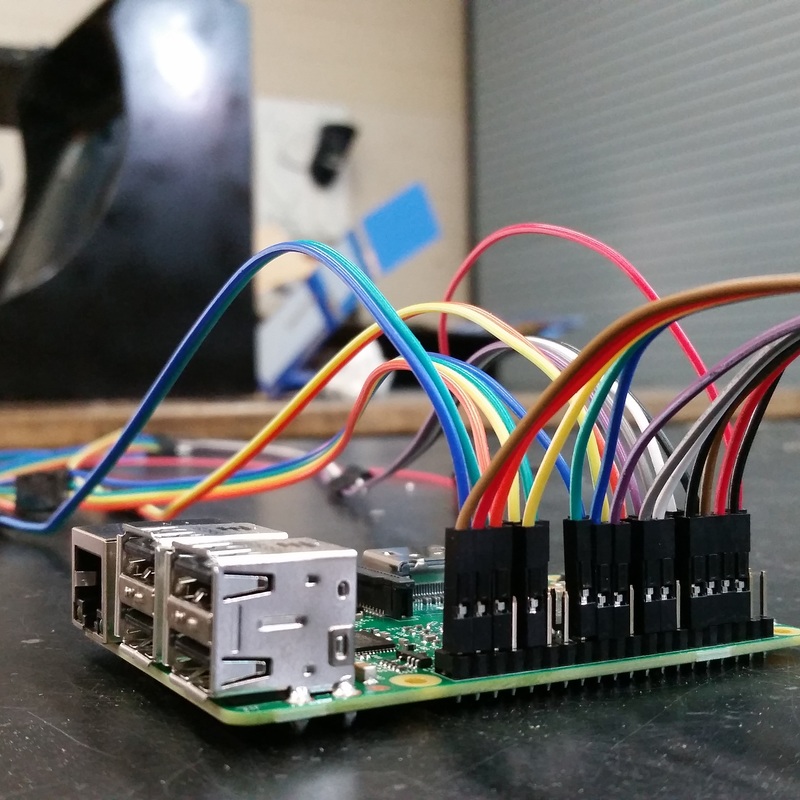
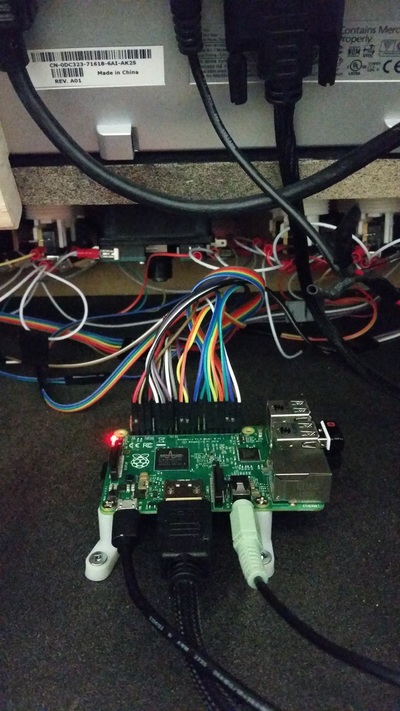
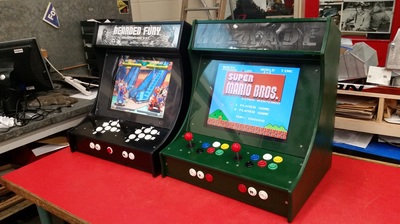
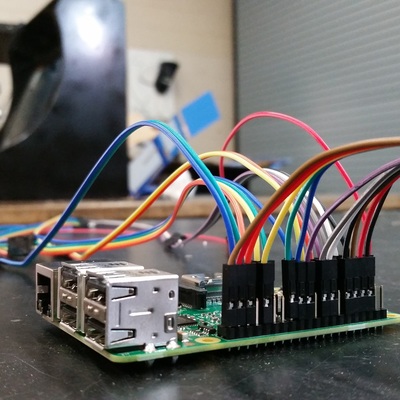
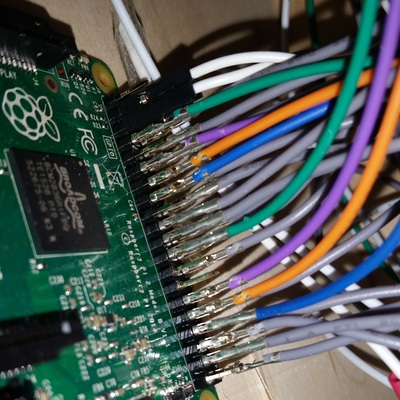
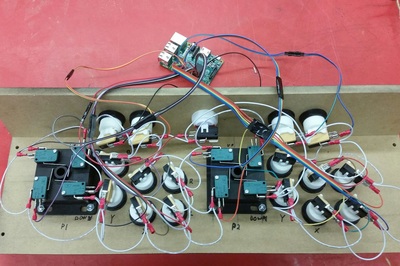
This arcade system runs completely from a Raspberry Pi 2 or 3. With some programming, wiring, and research this small computer can be used for endless projects. We have used it to build a retro gaming system complete with arcade joysticks, buttons, and microswitches all wired to the GPIO headers on the Raspberry Pi. And it has wifi!! |
Write-up for the 2018 Youtube Build Log (28" screen model)
This section is still a work in progress but for now here is a working draft of the Autocad file I used to design my 28" Bartop Arcade Build. This is JUST A DRAFT so there will always be tweaks during the actual hands on build! This file is designed around a specific screen that I used so for the main screen pieces you will have to design your cutout and sizing based on what hardware you plan on using.
This build used better components and electrical that I did not use in the previous builds. I have switched to using USB encoders instead of the GPIO headers since there is more compatibility with operating systems that already have the drivers built it. Recalbox and most versions of Retropie will support many of the popular USB encoders. I usually just use the encoder that comes with the kits I buy on eBay.
This build used better components and electrical that I did not use in the previous builds. I have switched to using USB encoders instead of the GPIO headers since there is more compatibility with operating systems that already have the drivers built it. Recalbox and most versions of Retropie will support many of the popular USB encoders. I usually just use the encoder that comes with the kits I buy on eBay.
| holbrooks_bartop_arcade_-_28_inch_screen_model_DRAFT 2018-04-12.dwg | |
| File Size: | 355 kb |
| File Type: | dwg |
Write-up for the 2016 youtube video Build Log
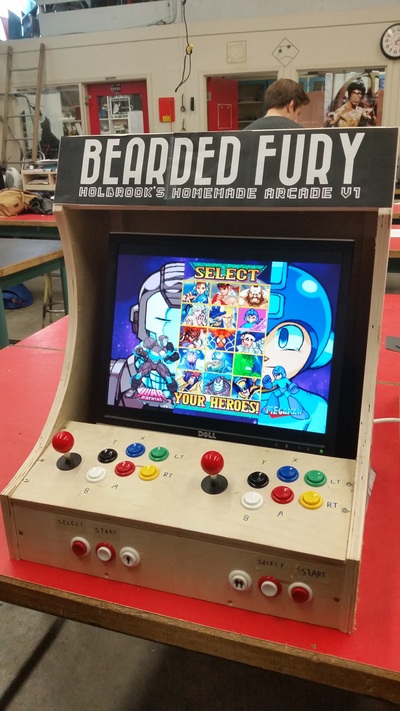
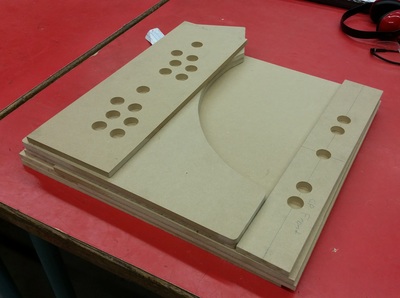
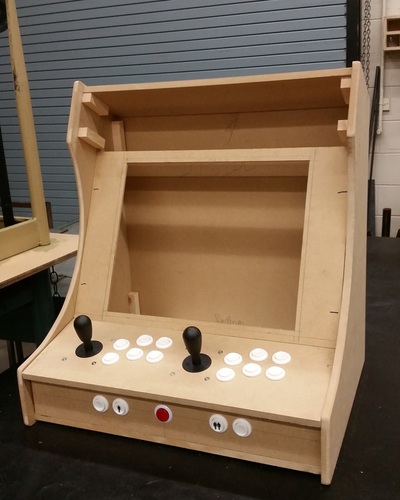
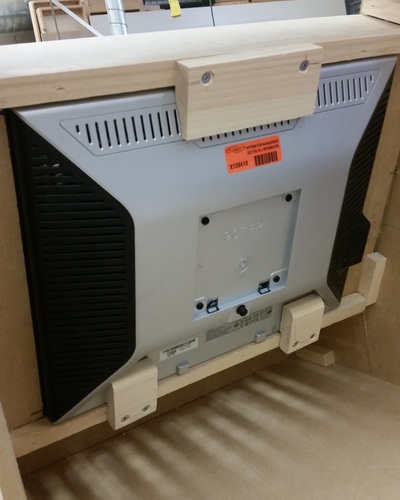
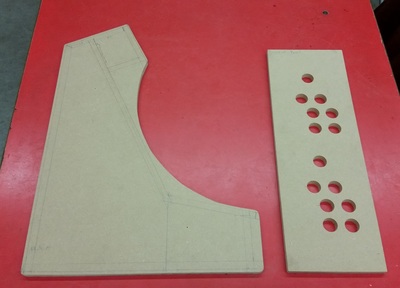
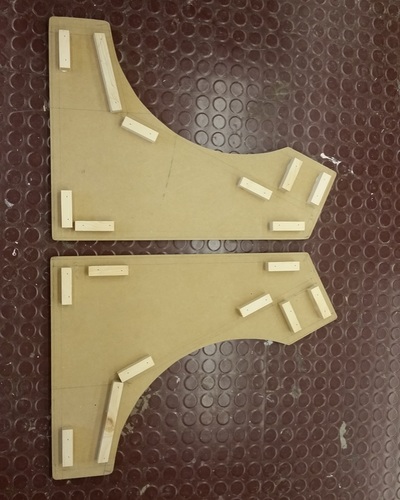
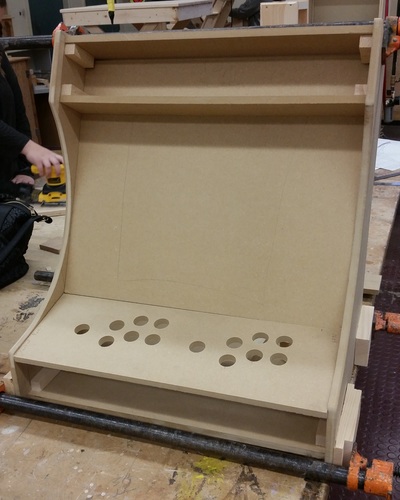
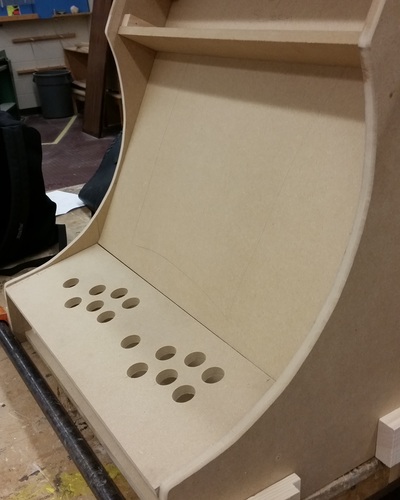
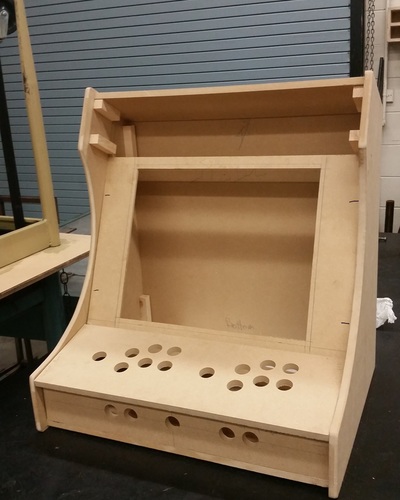
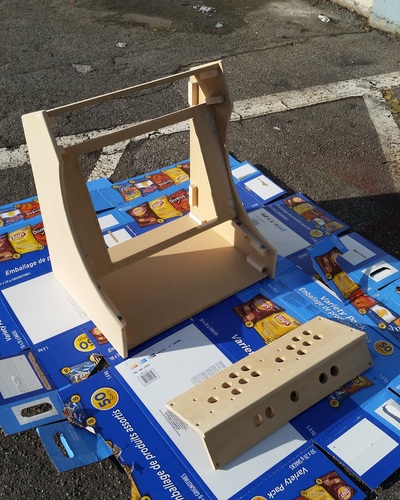
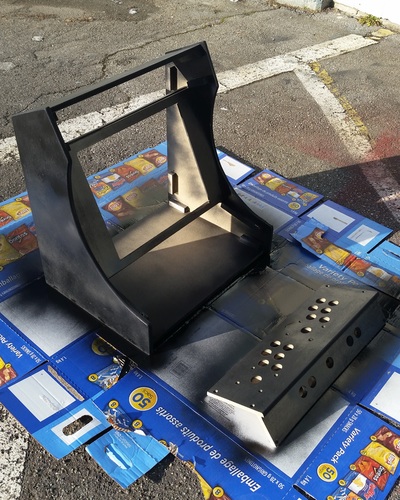
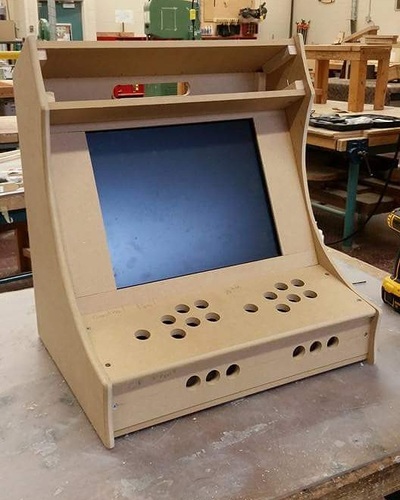
I found a cabinet design on Instructables that I modified based on my monitor and the way I wanted to wire everything. We used a 19” Dell 4:3 monitor from Craigslist since most retro games use a square ratio and I didn’t want the weight of a CRT. I used ½” MDF for the cabinet with ¾ blocks for mounting everything inside (see the videos and build photos on my instagram).
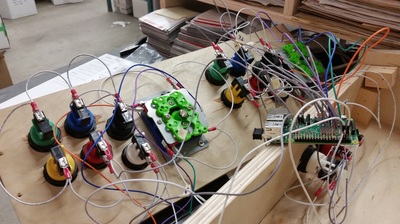
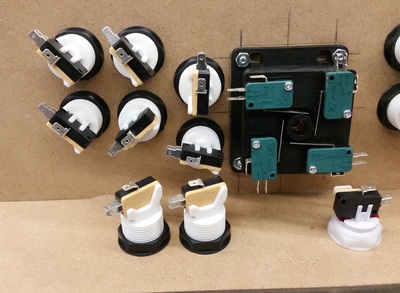
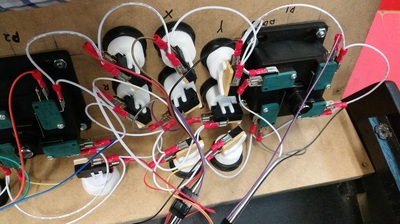
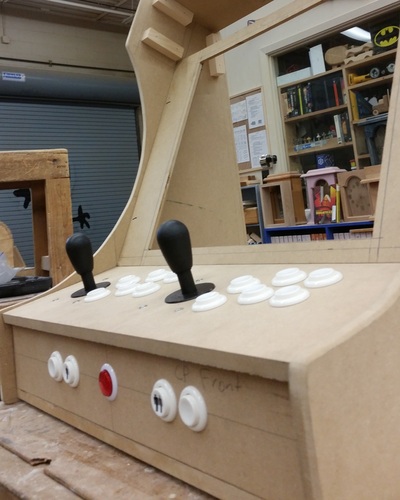
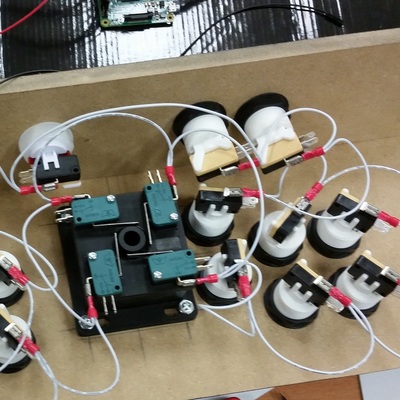
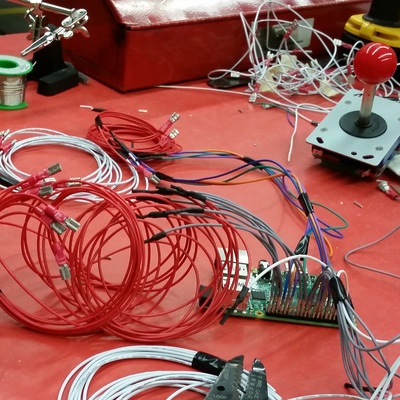
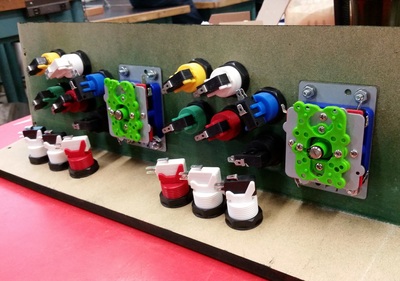
An arcade kit with buttons, joystick, and a keyboard encoder (didn’t need this part) were ordered for around $100 on eBay. My design uses 19 buttons (8 for games, 2 for hotkeys, and a reset button). When the kit arrived I wasn’t happy with the length of connecting wire it came with so I made my own using quick connects (for the microswitches), and dupont connection housings and female pin connector terminals (for the GPIO headers).
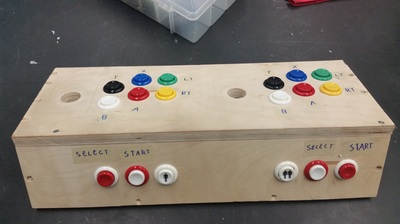
The first prototype felt too cramped and it was difficult to fit the components in without them breaking, which did happen! For my 2nd and 3rd builds I widened the cabinet designs by 2 inches to give me more room to play with. This made cable management much easier and gives a wider playing surface when playing with 2 players during co-op or fighting games.
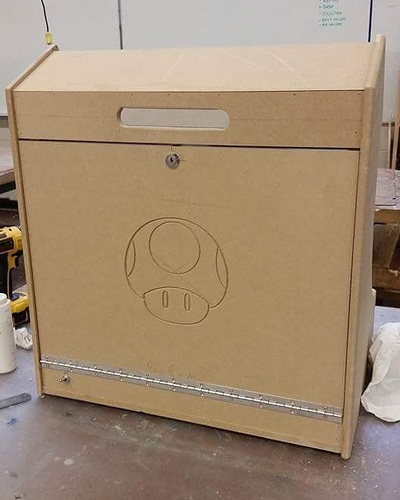
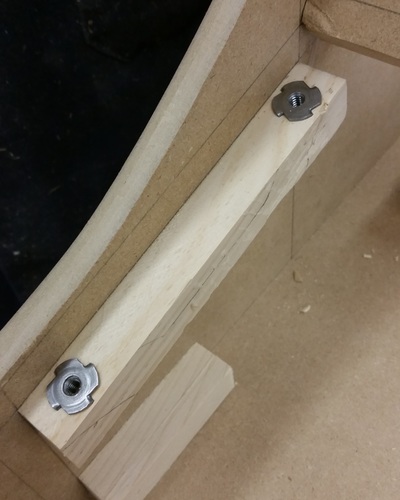
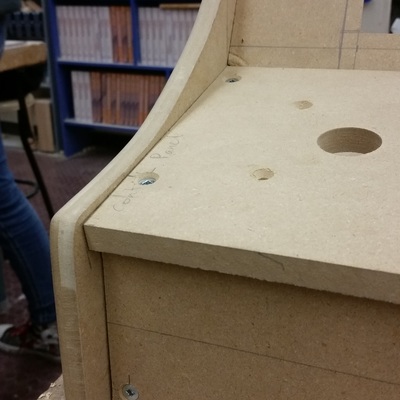
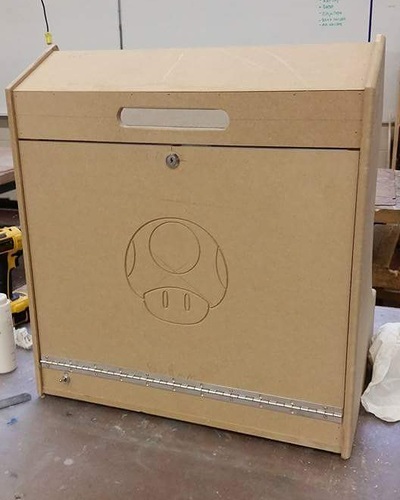
The control panel is easily taken apart for maintenance like replacing microswitches, fixing loose connections, and tightening buttons that sometimes come loose after hours and hours of play. The control panel uses #10x24 machine screws and T-Nuts to hold it in place. The holes are countersunk so the playing surface remains smooth. The rear access panel uses a hinge and camlock system for easy access to the back and so only I can get to it. The speakers are installed just below the marquee area with volume control on the left side by the reset button.
Adding clear plastic pieces in front of the screen and marquee area makes the colors look amazing compared to just the monitor. I used Acrylic because we had some laying around the shop but I would try plexiglass for future builds.
After formatting my micro SD card I loaded up files from https://github.com/recalbox/recalbox-os/releases and stuck it into the Raspberry Pi 2 (3 in my latest build). I am using “recalboxOS 4.0.0-beta3” currently.
The front end is called Recalbox and is based on the GNU/Linux Operating System. I chose this system over Retropie because of its ease of installation and the ability to be up and running in under 30 minutes with minimal programing. Because I am using a monitor with a DVI input I had to edit some configuration files before anything would show up on screen (see instructions in the PDF write up below). The Recalbox community is super helpful with troubleshooting and I solved all of the issues that I needed to get it running the way I want it. Programming can be done directly on the unit itself (via root), via wifi, or by plugging the SD card in a computer that is able to read the volumes partitions correctly.
Eventually we will be adding a custom made marquee, and a vinyl wrap with custom artwork made by the students. Since the project is still in progress we can customize it further until we are satisfied!
These prototypes are meant to inspire students to explore ‘vintage’ ideas and create something new.
I would estimate the total cost of the project to be around $350 without vinyl artwork or t-molding. Proper vinyl wraps and marquee printing would probably bring the cost to around $400. I am able to build one from start to finish in under a week with students taking about 2-3 months. The longest time spent would be building a nice cabinet. Electronics can be put together in about 2 hours if you have to cut and crimp your own connections. I have made 3 arcades so far and all the units have seen hours and hours of gaming fun.
|
PDF print outs of full instructions, and full size plans:
Keep print scales at 100% Use the "Side_Panel_Layout.pdf" for uncropped side print outs! Print the 11x17 Plan package on 11x17 paper. or Print the 8.5x11 Plan package on 8.5x11 paper. |
| ||||||||||||||||||||||||
|
See my feature in the "The Journal of The British Columbia Technology Education Association" (March 2016)
|
| ||||||
Original Cabinet Instructables Plans made by ROFLEBOX.
I modified the width of mine but followed his plans for most of it.
My screen mounting system was different. I wanted to give credit where credit was due!
I modified the width of mine but followed his plans for most of it.
My screen mounting system was different. I wanted to give credit where credit was due!
