Cartoon Character - Art Metal Project
|
|
|
|
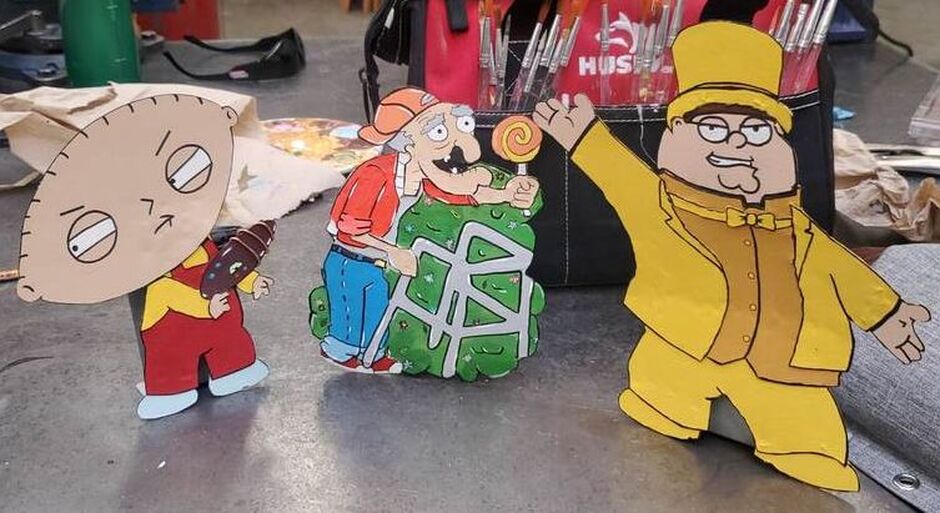
Materials: Sheet Metal, “scraps” from our bin
Estimated Time: Between 5-10 classes depending on complexity and paint
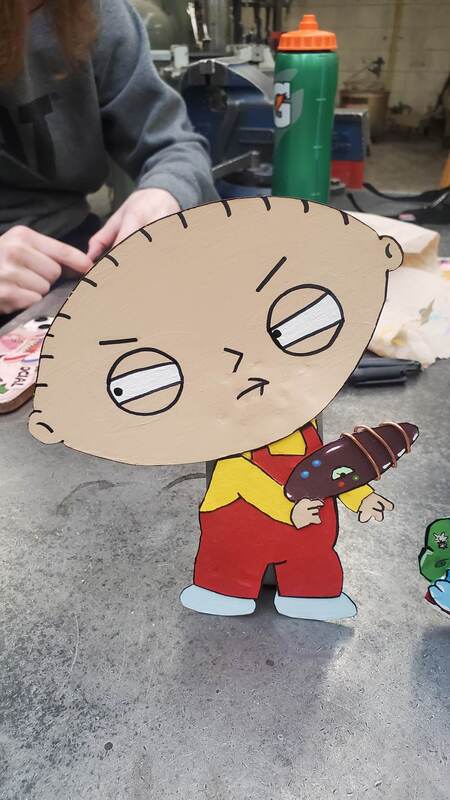
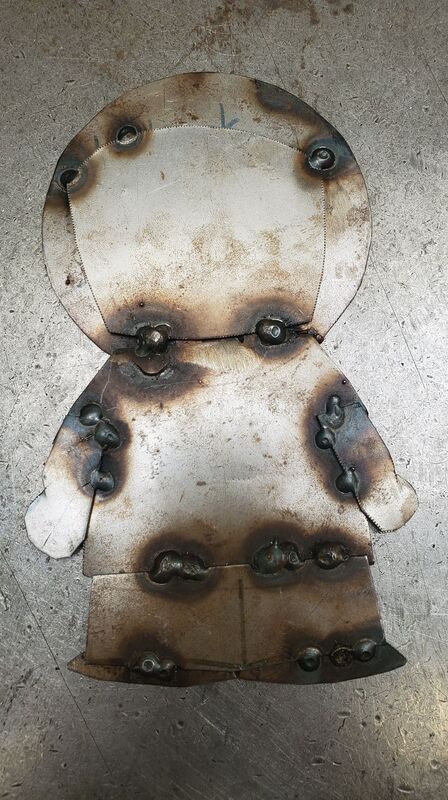
Example shown above: I modeled my self portrait (before I had a beard) off a simple tv cartoon style. This allowed for easy shapes to cut out while still representing something that resembles a person! Shown below the front has been primed and ready for paint.
Estimated Time: Between 5-10 classes depending on complexity and paint
- Choose an existing character or do a self portrait of yourself
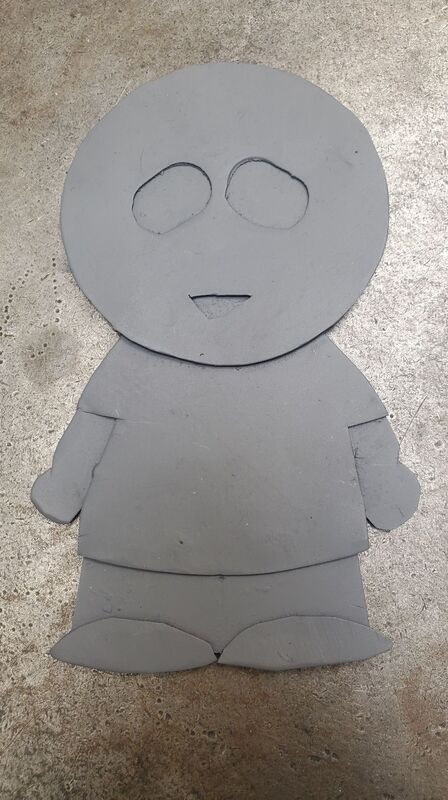
- The pieces should be simply enough that you can cut them out fairly easily using aviation snips, beverly shear, etc
- Draw all the necessary pieces onto paper and cut them out once you have confirmed that there will be overlap (See my sample!) Templates are mandatory before cutting any metal!
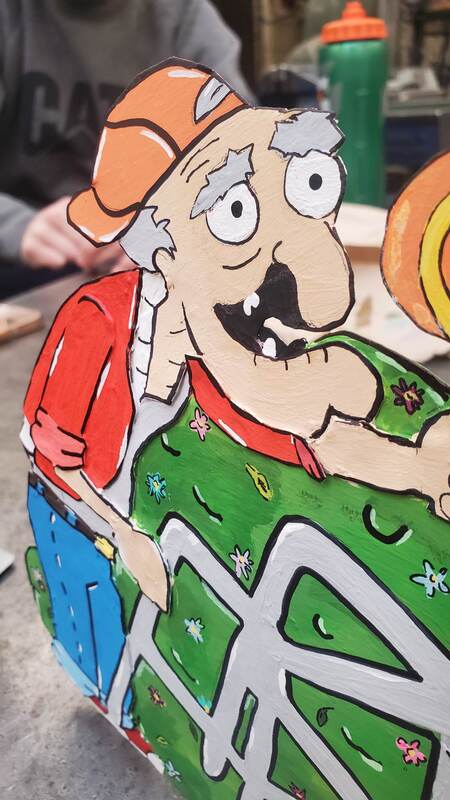
- Draw out your design on paper and ensure that there is enough material to allow your pieces to overlap and give a 3D look (overlap). Our goal is to weld the sheet metal together on the back so that your character looks seamless from the front
- Once you have a paper copy to use as a template you can gather the needed sheet metal and begin transferring your design. Cut out your pieces and add any details needed (peening, holes, texture, etc)
- When welding pieces together ensure they are lined up and try to do most of your welding on the back so that the front looks clean and requires less touch ups
- You may need to “double up” metal for a 3D look (See the eyes in my sample below)
- Paint and finish!
Example shown above: I modeled my self portrait (before I had a beard) off a simple tv cartoon style. This allowed for easy shapes to cut out while still representing something that resembles a person! Shown below the front has been primed and ready for paint.
Student Handout:
| art_metal_cartoon_character student handout.pdf |
