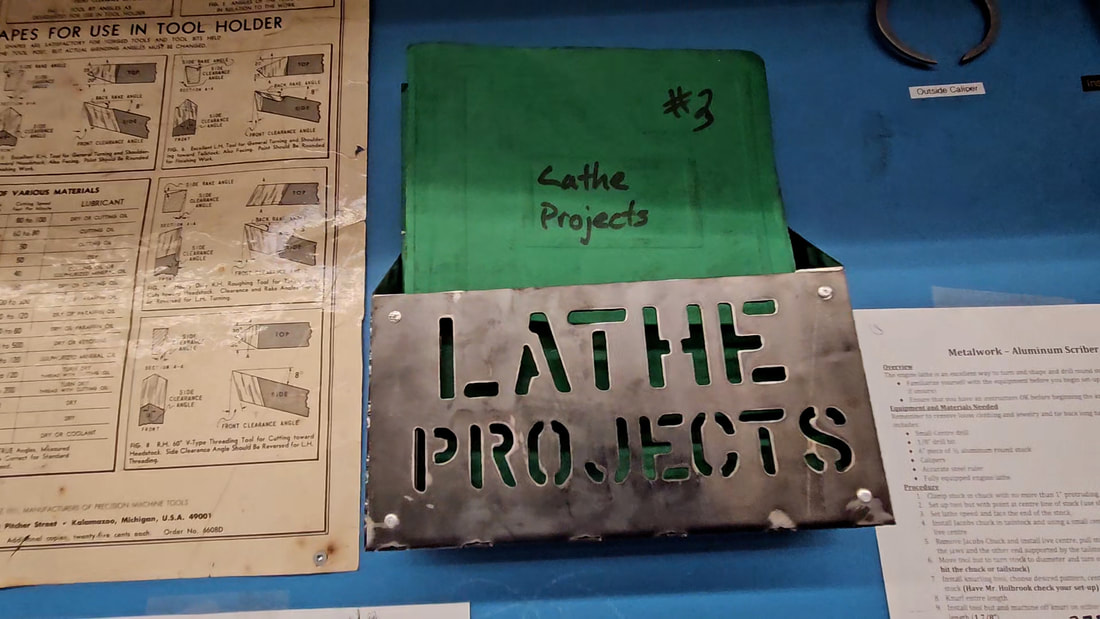
Wall Mounted Duotang Holder
I needed a way to organize some of my project duotangs for student use. This allows for an obvious central storage location of my project booklets.
For a future version I would tweak this to fit better. You can see in the video I had to do some extra cuts as my CAD design does not account for material thickness.
|
Feel free to modify the plans to work for you but don't sell or distribute them. Please link back to my website.
| ||
| duotang_wall_holder.dwg |
| duotang_wall_holder.dxf |
Below are my original sketches before drawing in Autocad.
It had to fit multiple duotangs (rough measure 11.5"x9"). I originally was going to only do 2" for the depth but later in Autocad I changed that to be 2.5" to allow for some extra wiggle room. The front height of 5 is enough to stop a duotang from falling forward and the rear height of 7" was to make it visually appealing as well as allow for an easy access hole that meant I could easily use a screwdriver to install it onto a wall. Even though this is a very simple design and build (by hand or with a CNC) you still have to consider all the little things.
It had to fit multiple duotangs (rough measure 11.5"x9"). I originally was going to only do 2" for the depth but later in Autocad I changed that to be 2.5" to allow for some extra wiggle room. The front height of 5 is enough to stop a duotang from falling forward and the rear height of 7" was to make it visually appealing as well as allow for an easy access hole that meant I could easily use a screwdriver to install it onto a wall. Even though this is a very simple design and build (by hand or with a CNC) you still have to consider all the little things.
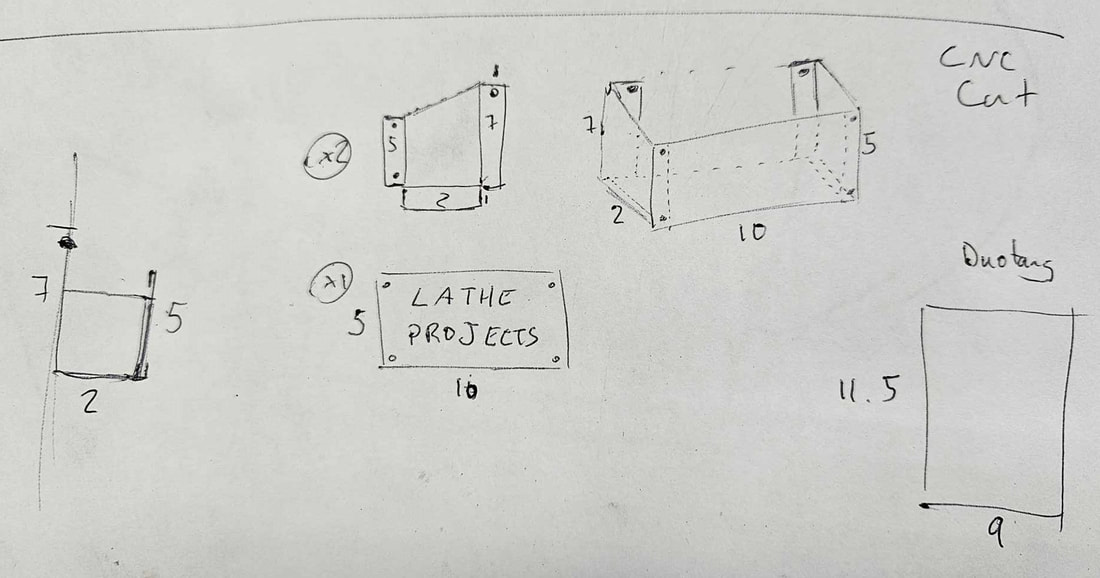
Hems are either 1" or 3/4" wide for support and easy layout. I designed this project using imperial measurements because the other software along the way (Sheetcam and MAch3 for the CNC) show Imperial numbers.
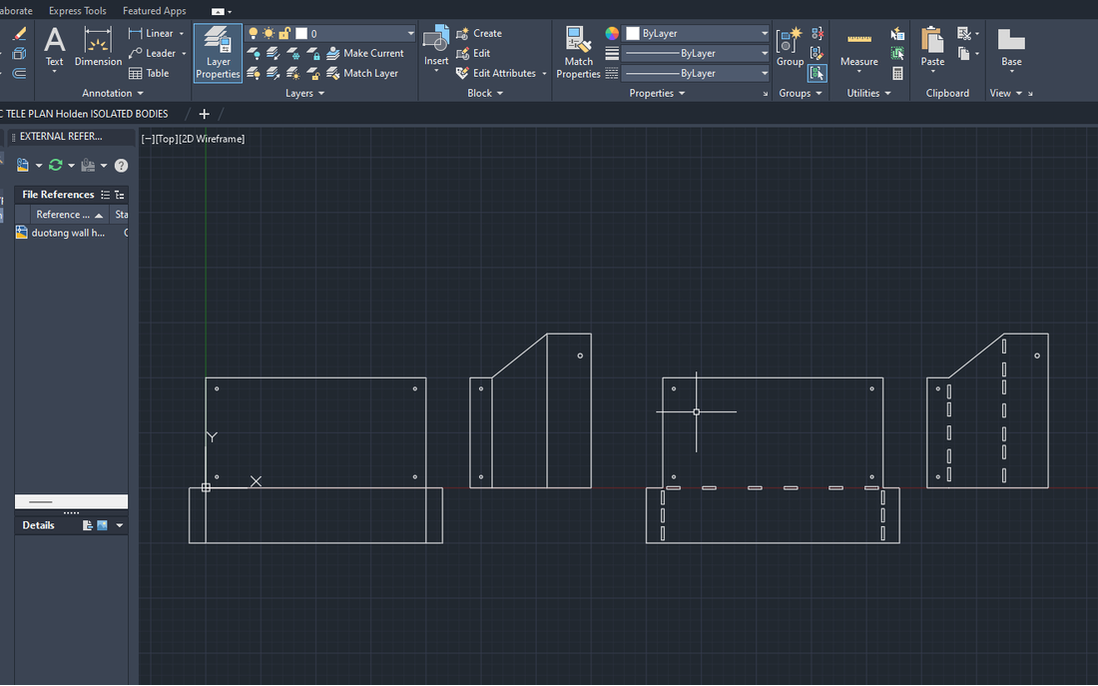
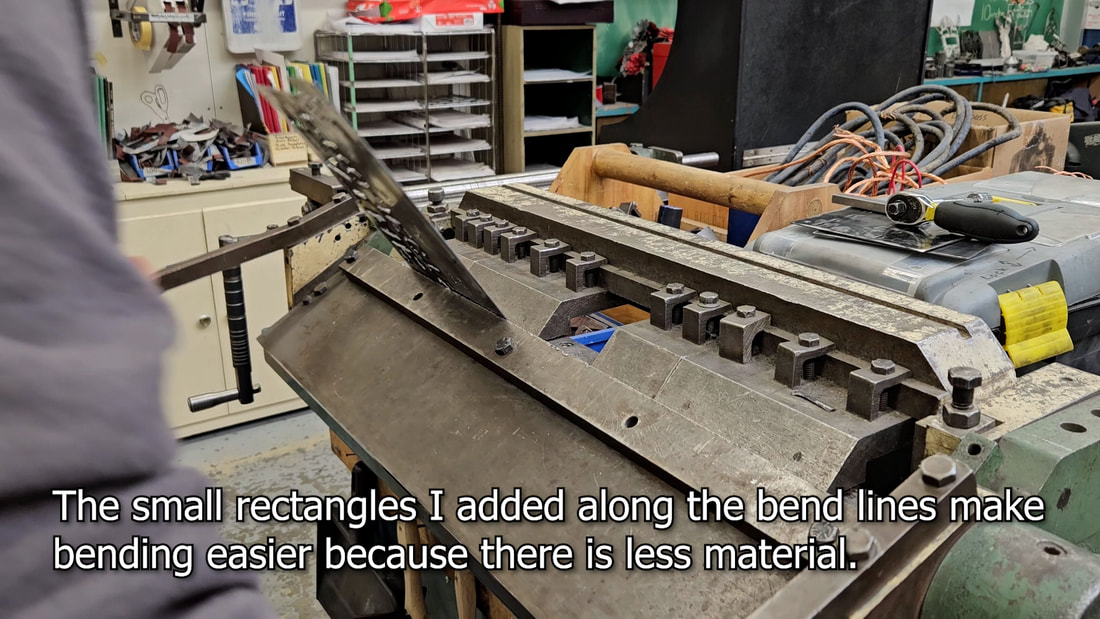
I did my initial design in Autocad based on how I would do a layout directly onto sheet metal. I added rectangle cuts to the right side image so allow for easier bending of the 16g sheet metal I was using.
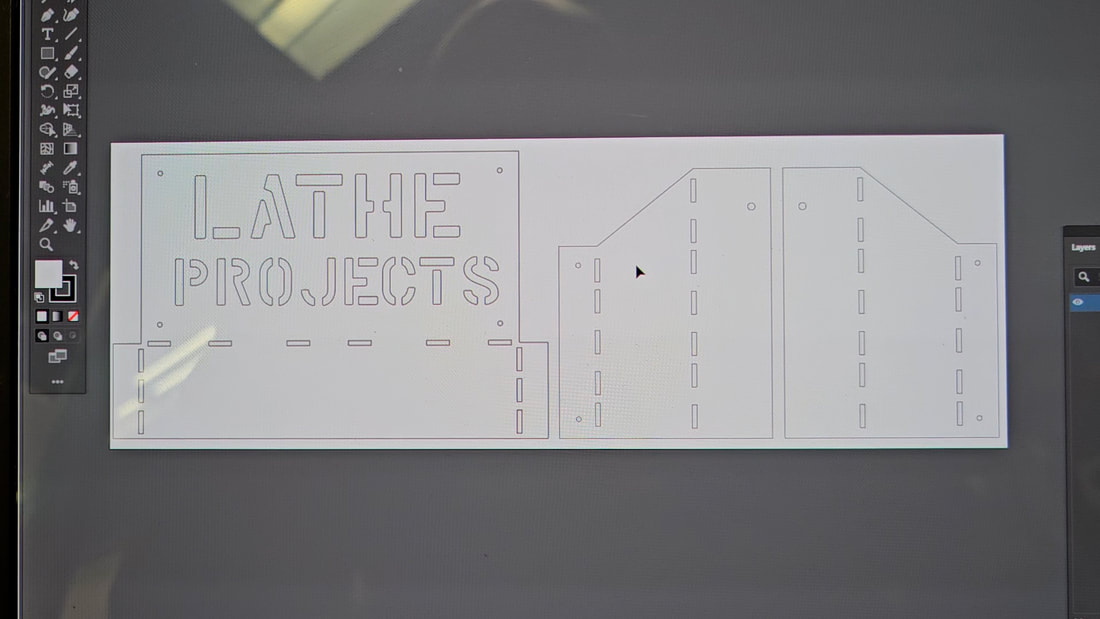
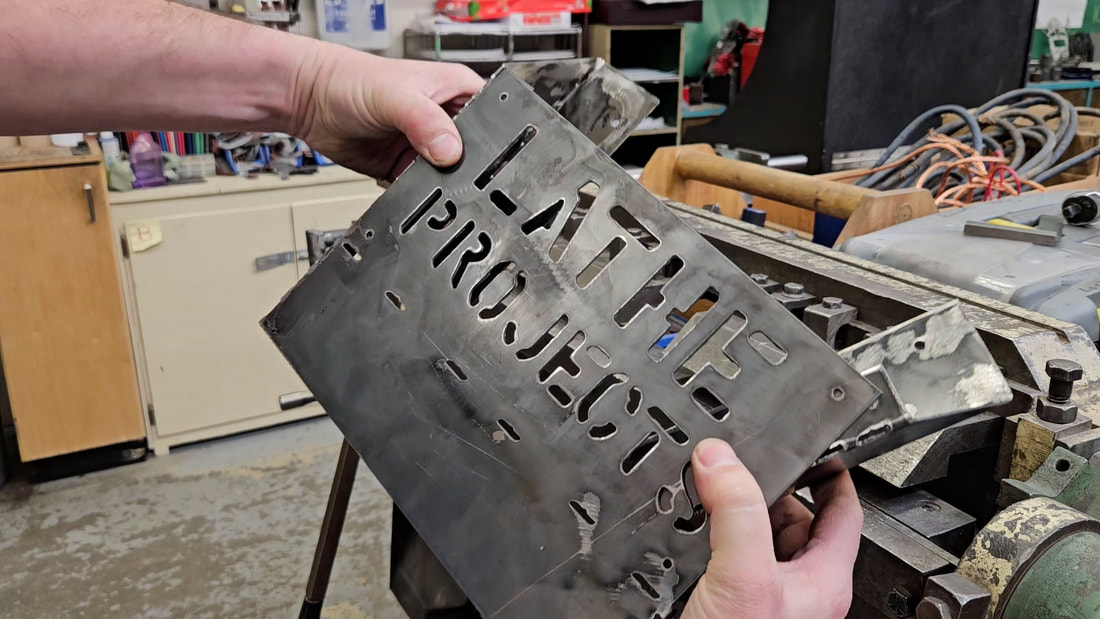
In Adobe Illustrator I made sure all the "polylines" were joined together and added a stencil style text. I then exported this into a DXF file that the CNC software can read.
|

I generated G-Code pathways using Sheet Cam and exported a TAP file.
|
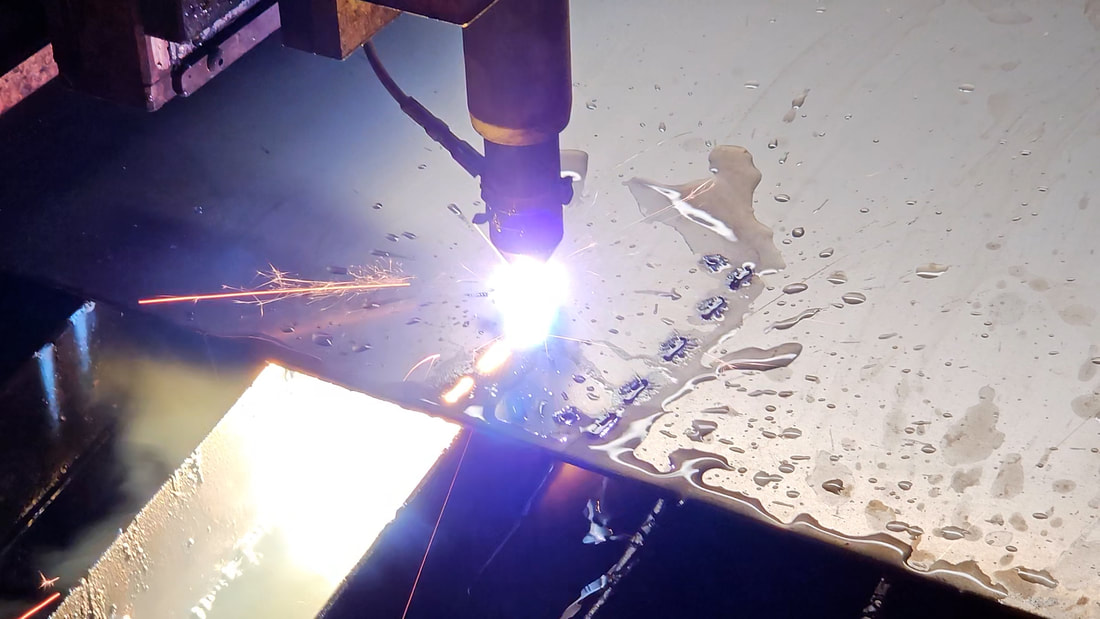
The G-code gets read by MACH 3 and after doing a dry-run test on the FastcutCNC Plasma Table and then turned on the plasma cutter to get the gcut started
|
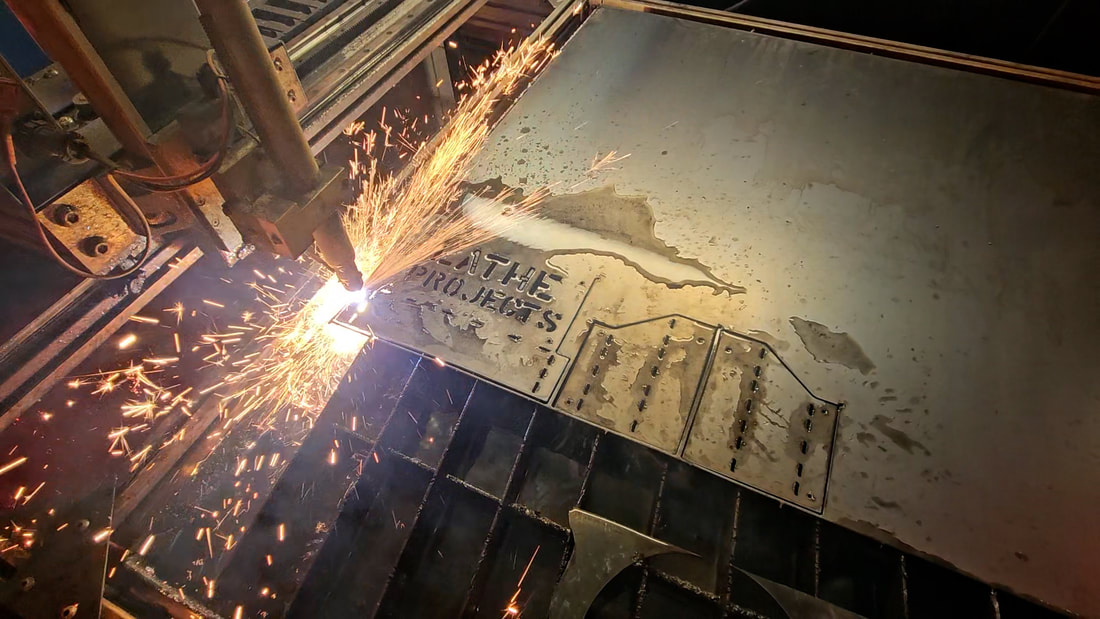
The cut worked out perfect! This used up 24" x 7" of 16g sheet metal
|
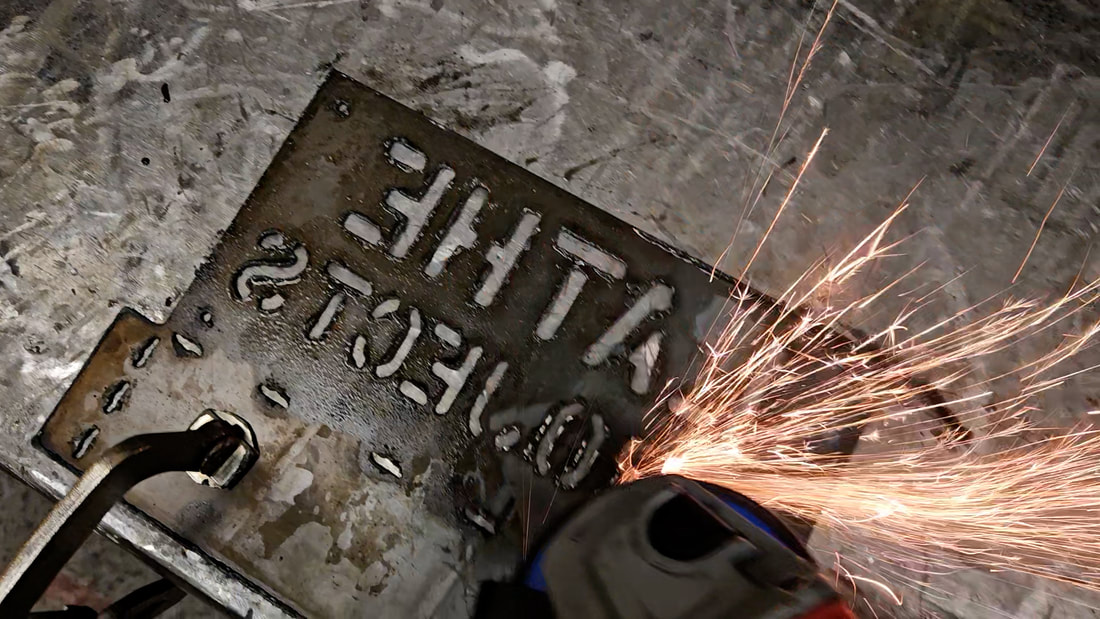
Grind off any Dross left behind from the plasma cut
|
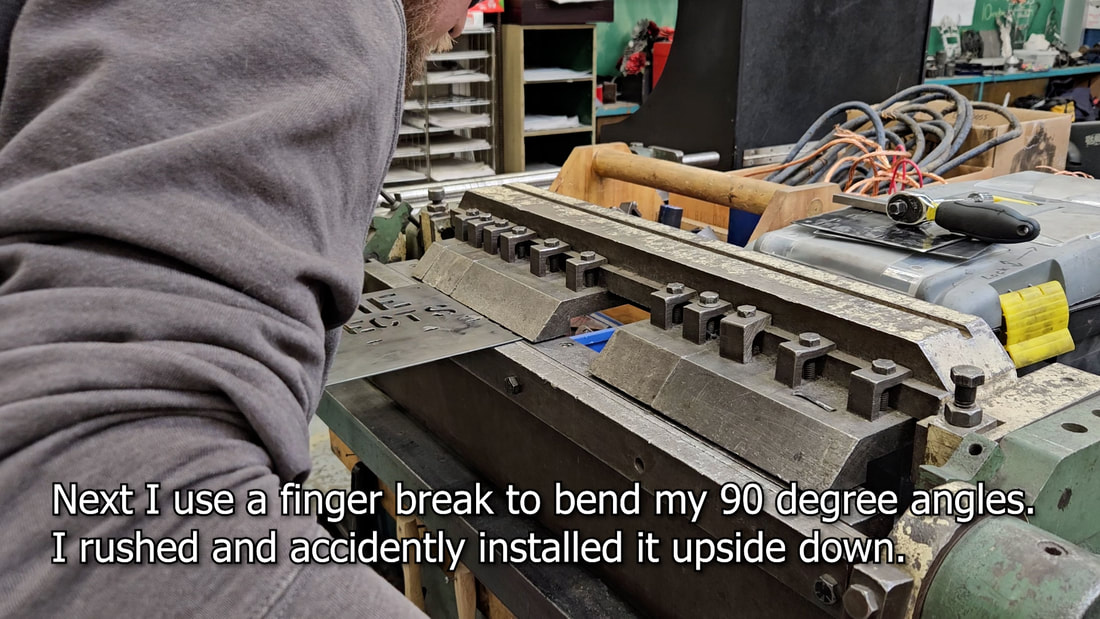
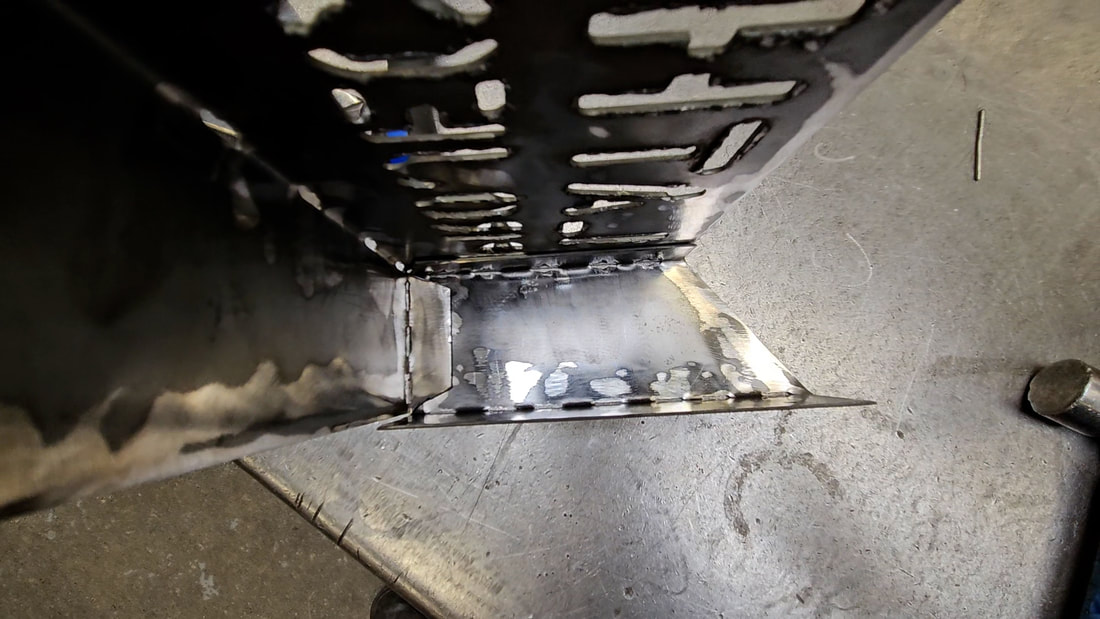
I used a scribe and drew easy to see lines for bending. I ended up bending it wrong the first time (i put the piece in the wrong way up) and had to bend it back, make it flat, and rebend. You wouldn't know by looking at the end product though.
|
|
|

I drilled out a 9/64 hole (despite there being holes) just to make the rivets go in easier
|
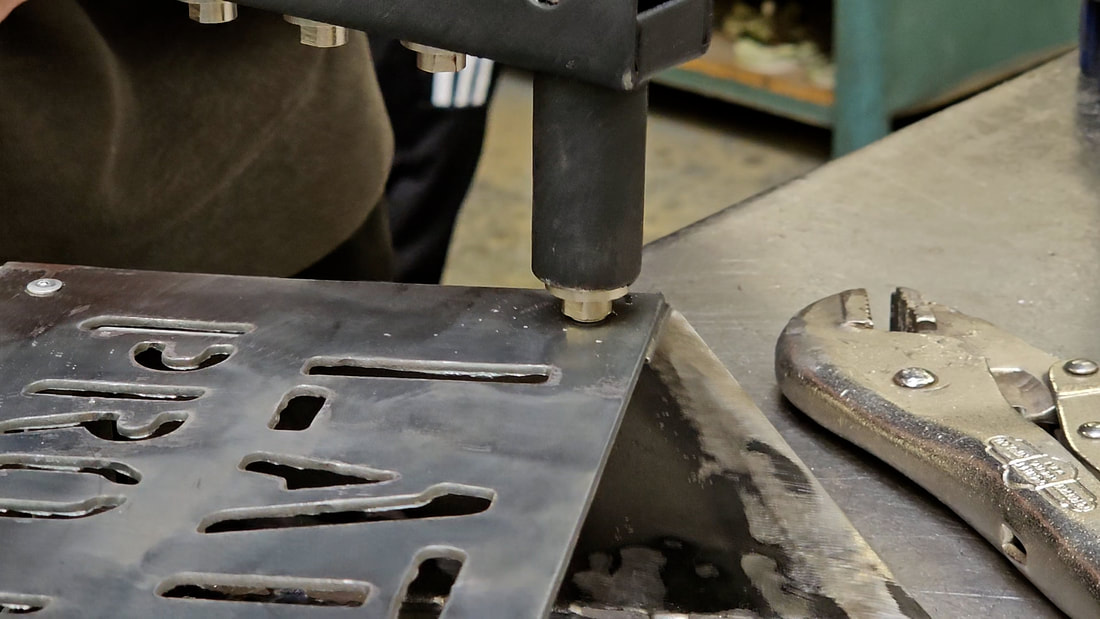
I'm using 1/8" Rivets
|
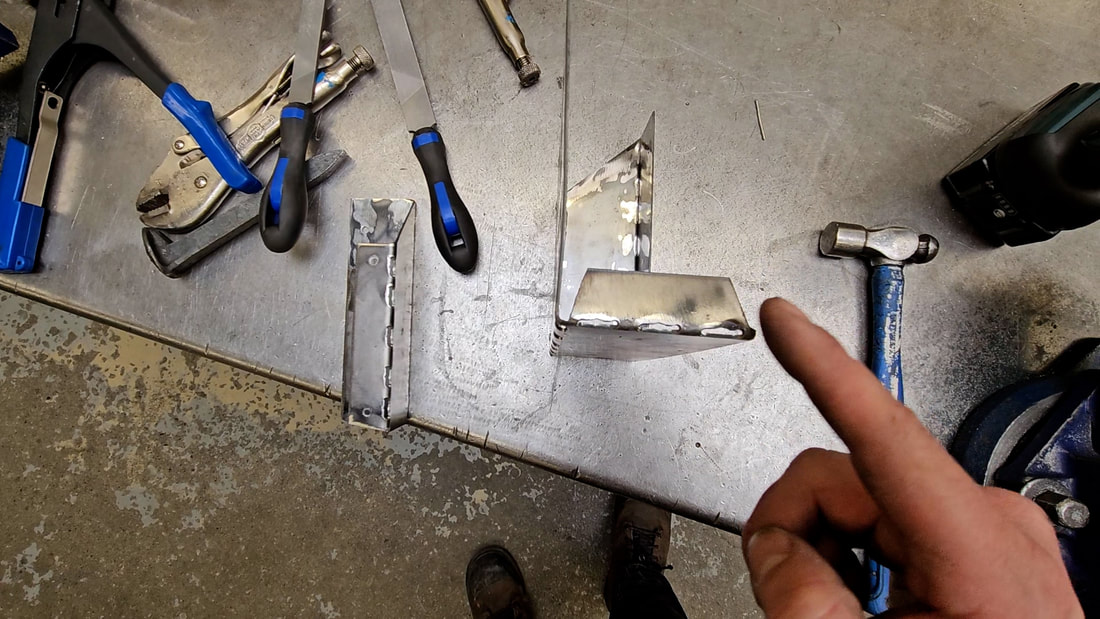
I should have programmed this into my CNC design but instead I had to do with an angle grinder. Silly me.
|
I sneakily trimmed metal that showed behind the words using a grinder. That happened off-camera.
|
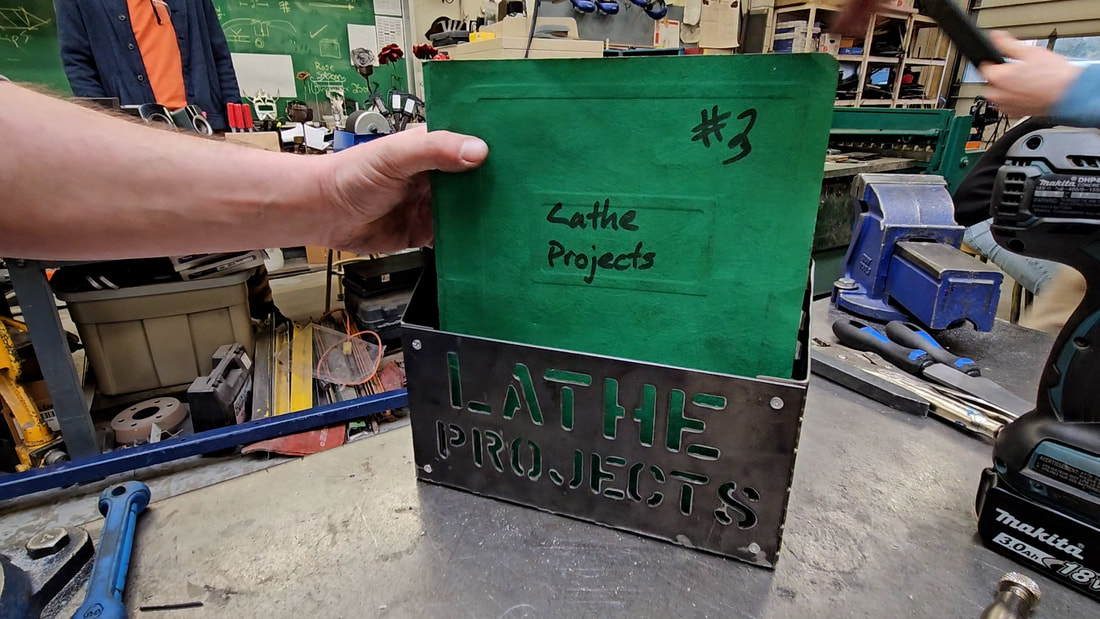
The duotangs fit perfectly!
|
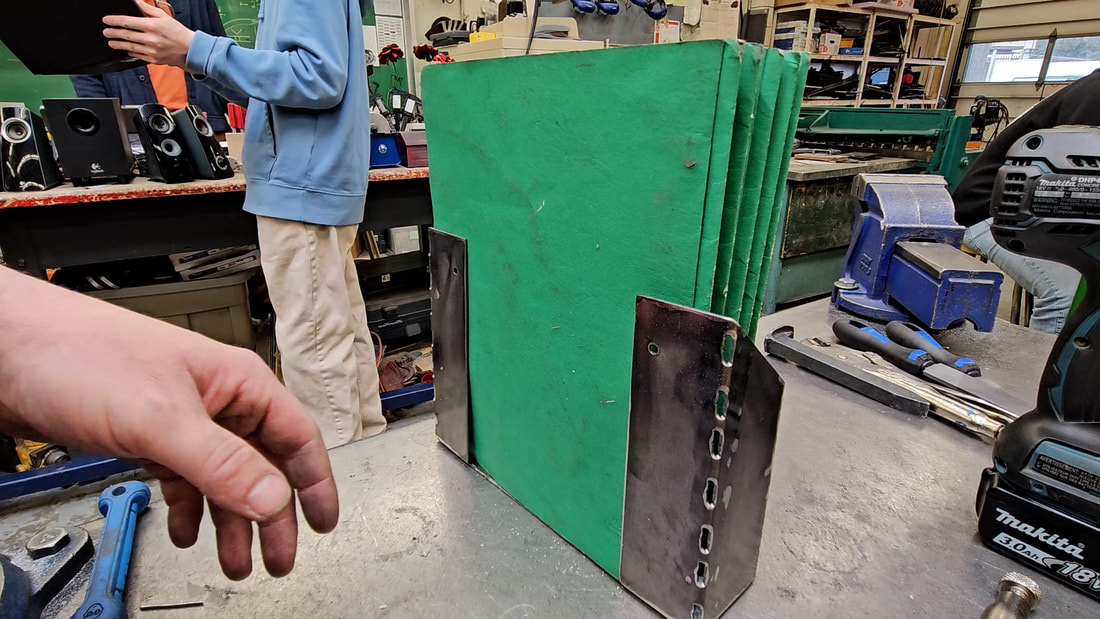
This could have been designed to have a closed back but since it is being mounted on a wall I thought this design would save material.
|

It was important that you could still retrieve tools from the tool board without them bumping into the wall mounted holder.
|
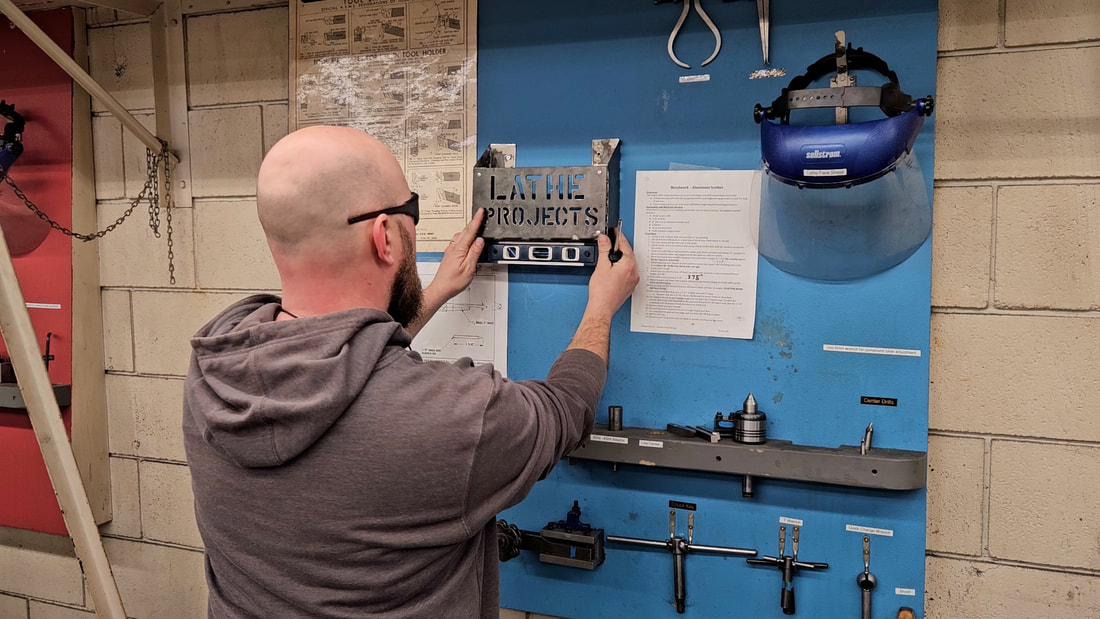
Little details like making it level matters!
|
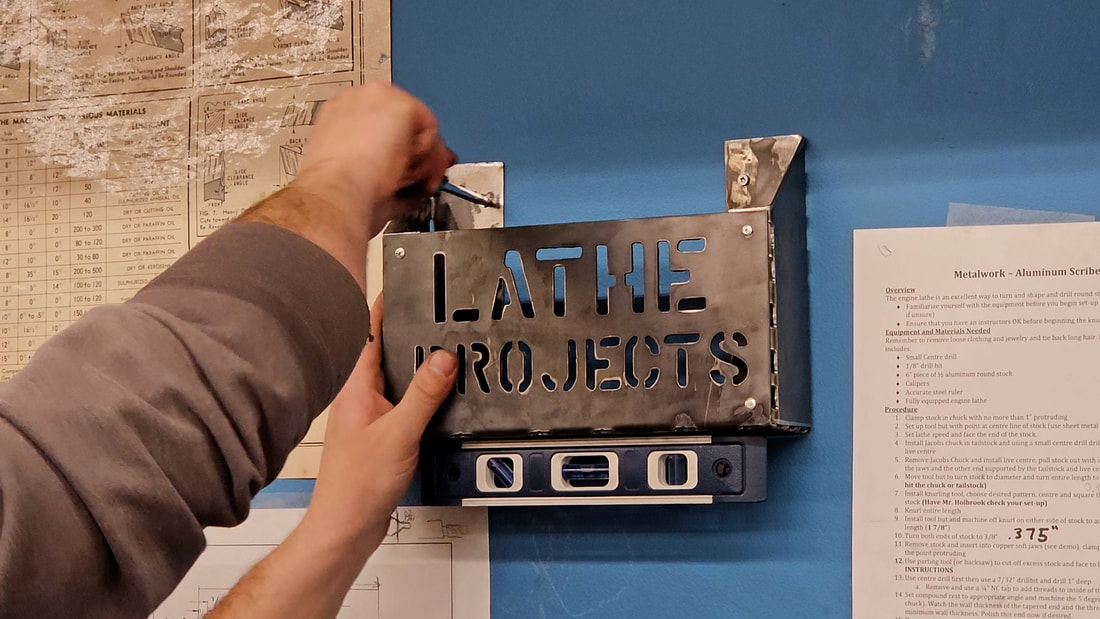
Held to the wall with two short screws
|
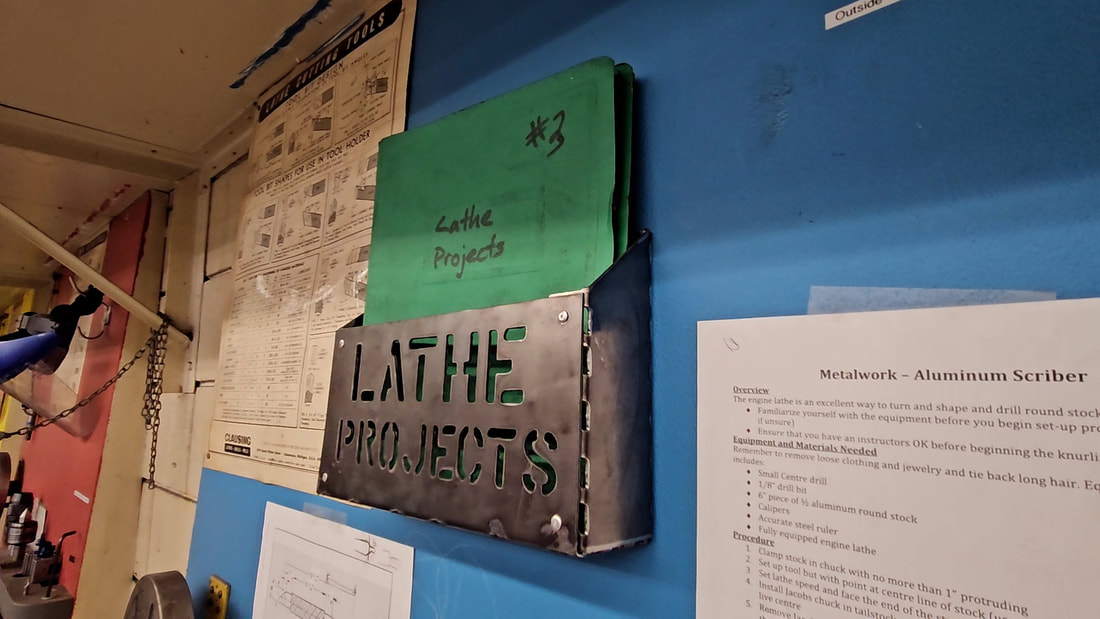
I can fit a bunch of duotang project booklets easily here
|
I hope this walkthough is helpful to anyone else who might need a design like this. Feel free to modify the plans to work for you but don't sell or distribute them. Please link back to my website.
