Rings on a metal lathe - "Updated 2024 Version"
This PDF file shows my updated process (2024) for making rings on the lathe with students
| HOLBROOK_rings_on_the_lathe_student_handout.pdf |
|
|
Rings on the lathe - see below for an older procedure (2021) that I don't use anymore.
This procedure and tutorial is a work in progress at the moment. Here are some build log photographs of some quick class prototypes.
Procedure as shown in class:
|
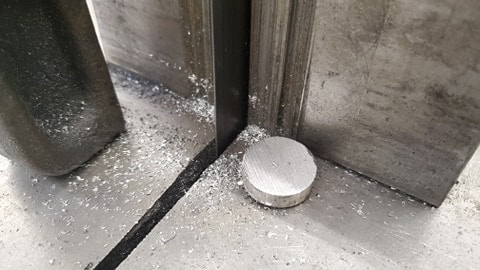
Use the bandsaw to cut a piece of solid aluminum 1/4"-3/8" long.
Using a hacksaw will work but will rarely be a straight cut. The diameter of the material shown is 1 inch because that is what we have. |
|
|
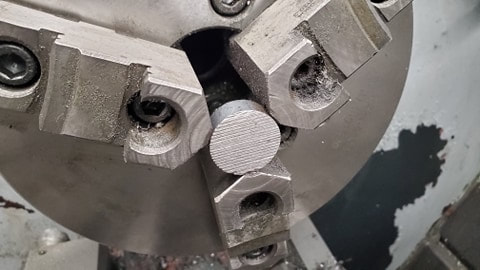
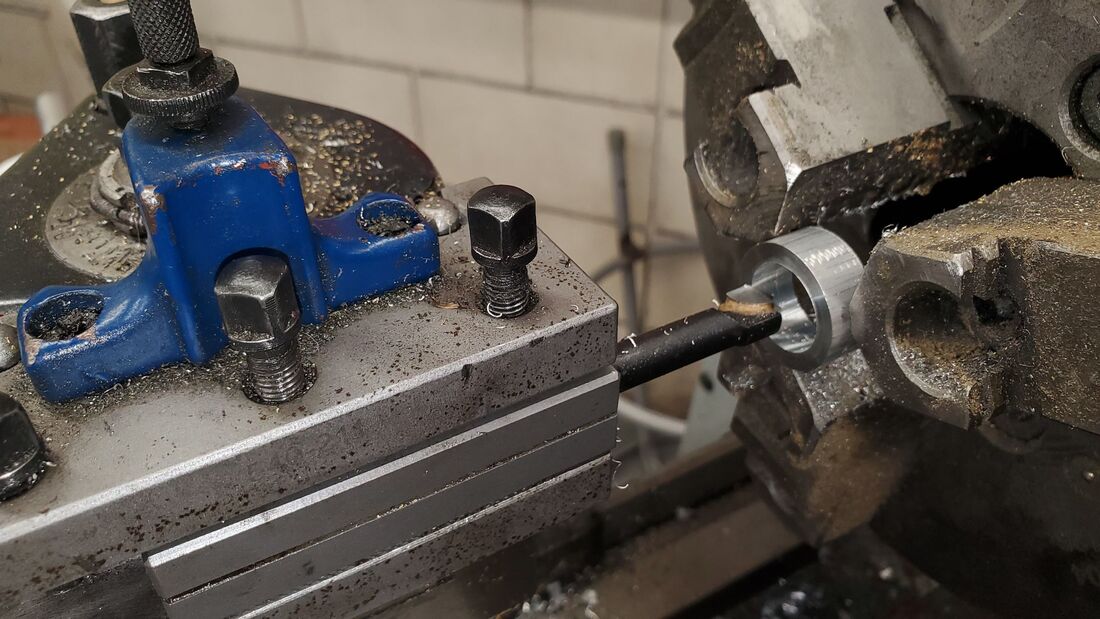
Install in the lathe chuck so the material lines up with the front of the jaws. This will give a lot of clamping power for when we drill if we are not facing the piece. If facing we would have half of the material extended out.
|
|
|
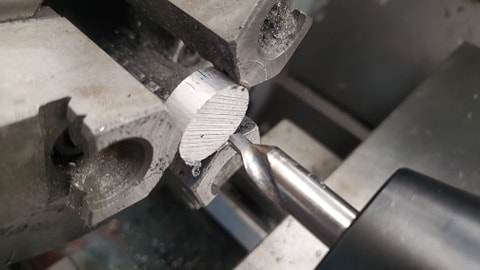
If your material is mostly flat and installed straight in the chuck you can sometimes get away with drilling right away and skipping the facing step. Have the teacher check your setup to see if it is required.
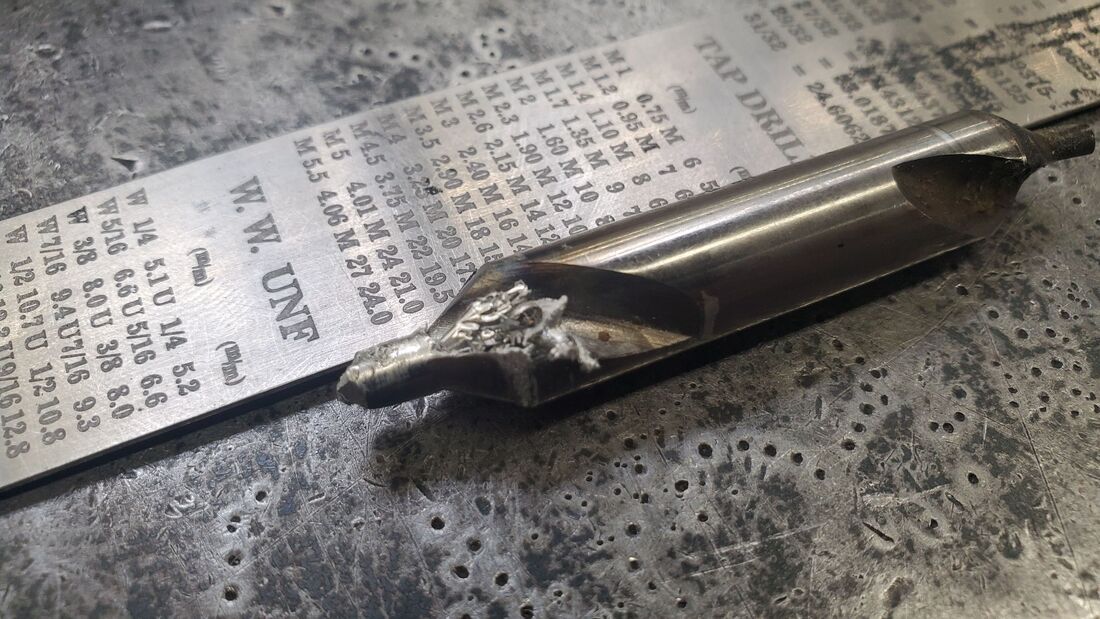
You can see a center drill installed in the tailstock of the lathe. Just like hand tool projects that require a center punch before drilling we use a center drill to allow a drill bit to align nicely and get a hold in the center. |
|
|
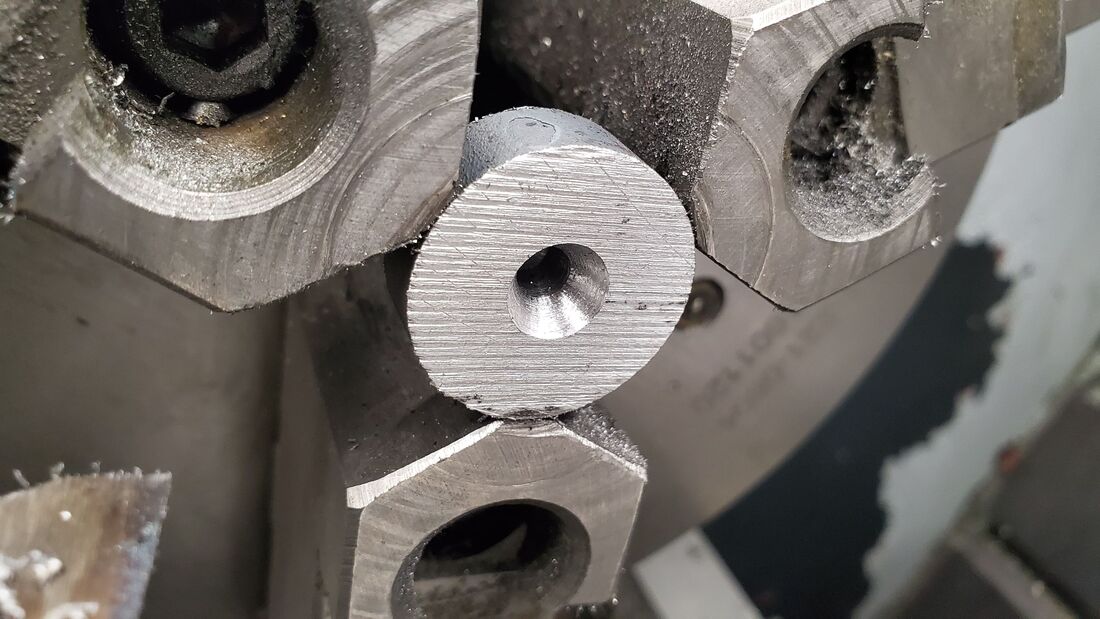
This one was made from steel but it is showing the depth you can drill with the center drill prior to making a BIGGER hole. We will drill halfway up the "slope" of the center drill. This leaves us with a crater or valley shape which should have a similar angle to the tip of a drill bit.
|
|
|
If the aluminum "melts" and gets stuck to your drill bits or cutting tools please clean them up so they can continue to function properly. You may need a wire brush or something "pokey" to get rid of the aluminum stuck to the bit.
|
|
|
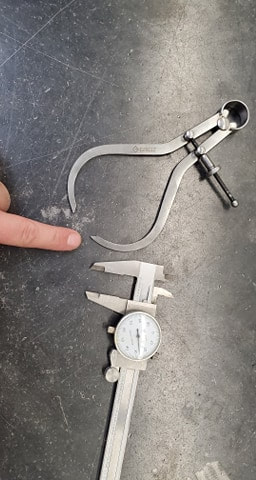
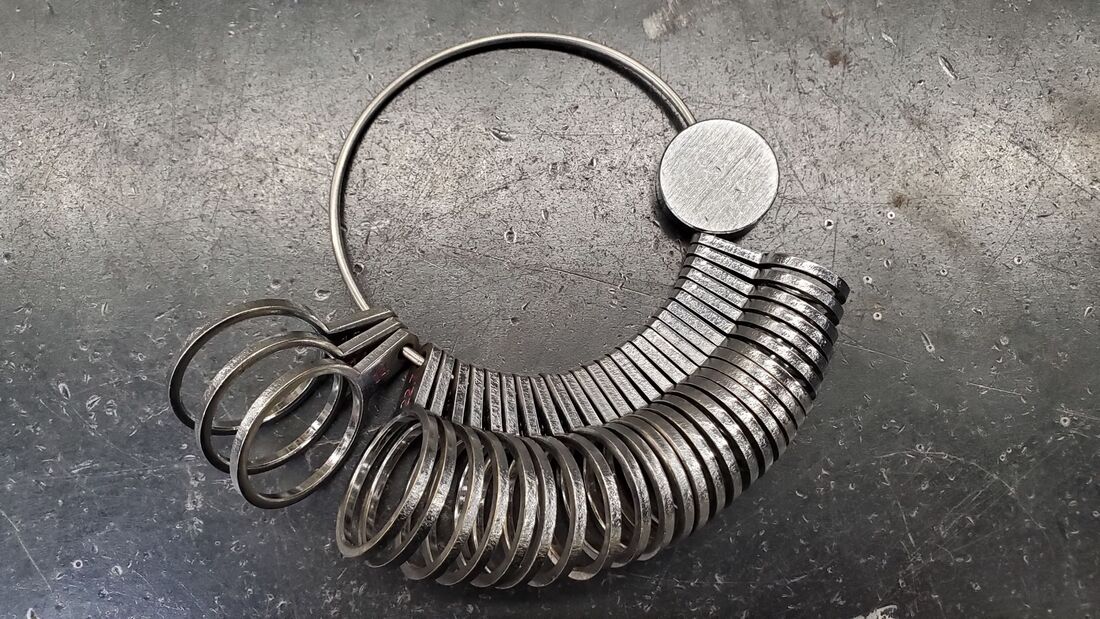
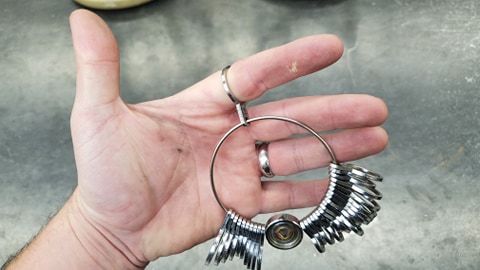
Use some sort of measuring tool to figure out how big of a hole we need to drill to fit your finger. Shown here are two options.
|
|
|
If your finger bleeds during this step you are doing something wrong. Pick a size that is comfortable and can make it over your knuckle without pain or blood.
|
|
|
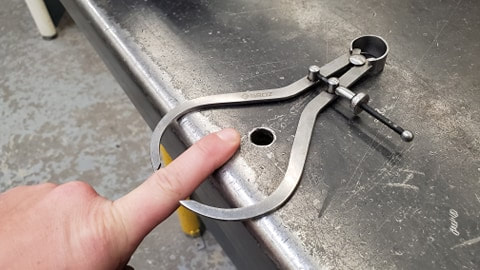
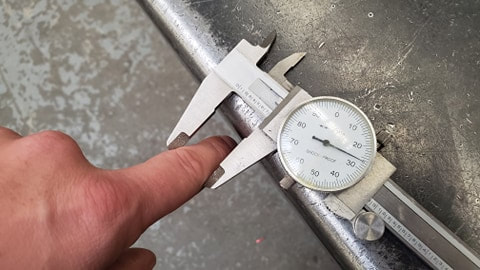
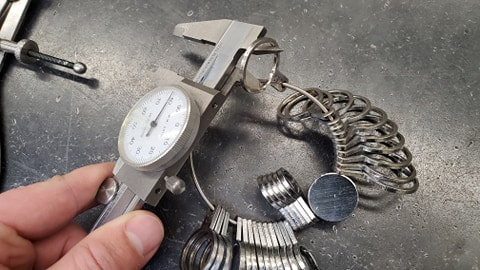
We can also use a ring sizer and then measure the inner diameter with a caliper to get our size.
|
|
|
|
|
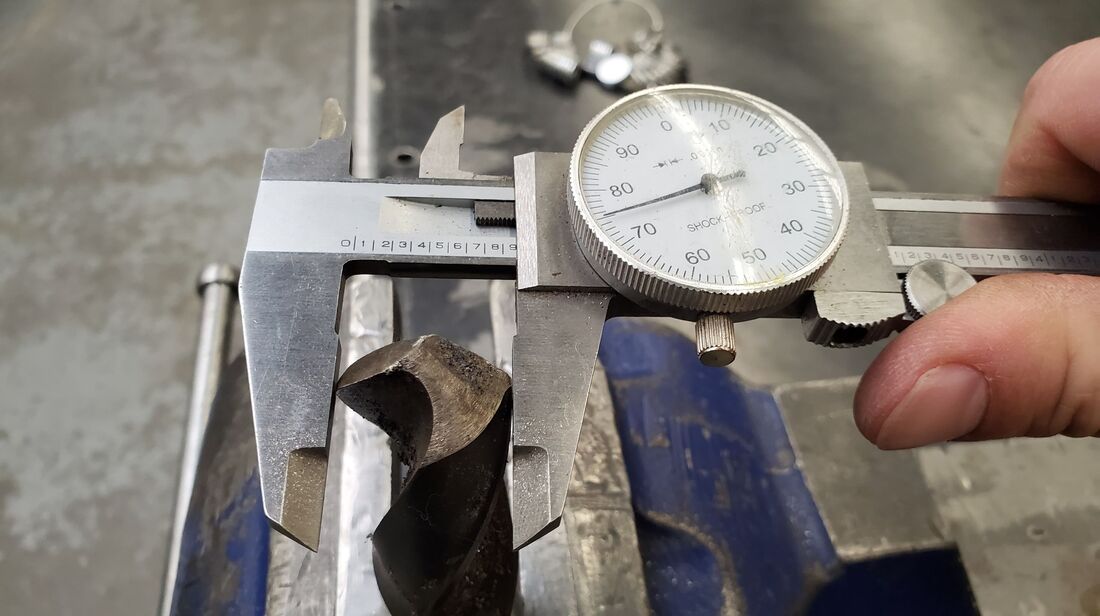
Find a drill bit that closely matches the measurement for your finger. We will be filing and "customizing" the hole after your drill so it is ok if we do not have the "exact" size you measured.
|
|
STOP!
|
|
Below are two images showing our basic boring bar setup
|
|
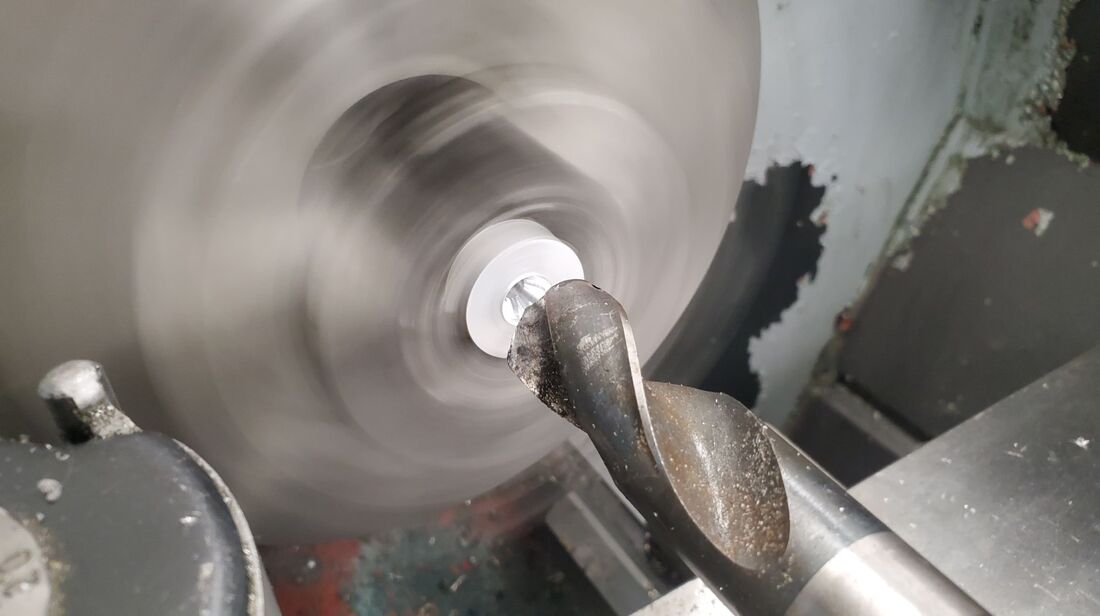
If the drill bit is almost as big in diameter than the outer diameter of your ring there is a chance the aluminum will warp/melt. Pick a smaller drill bit and bore the hole afterwards
|
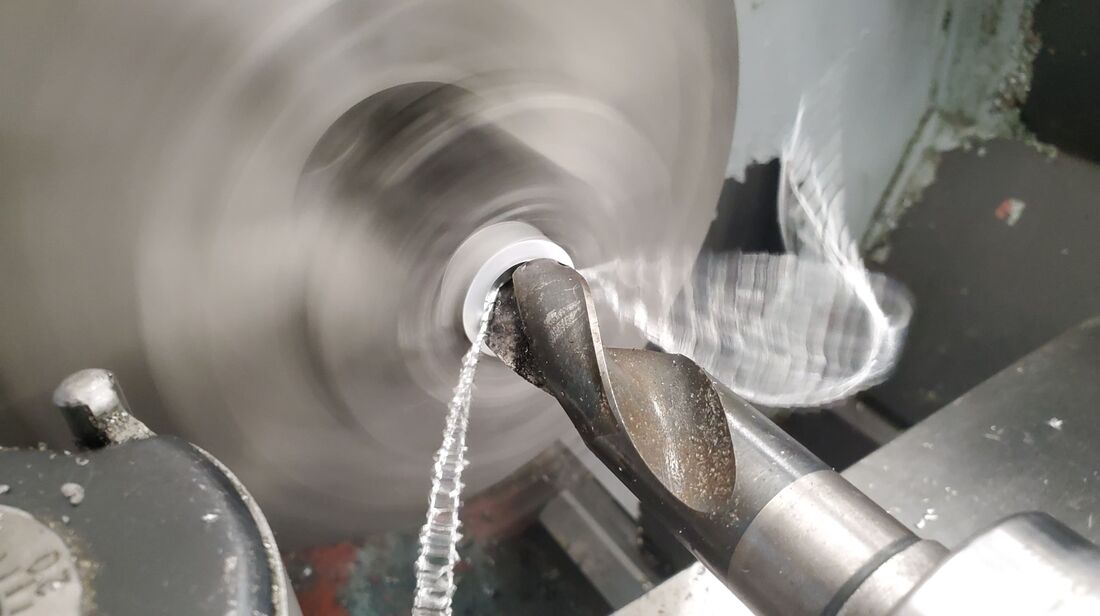
Install the selected drill bit into the lathe tail stock. Some drill bits have a taper and will need to be installed directly into the tailstock without a drill chuck. Please have the teacher check your setup. Smaller tapers will require the #2-#3 adaptor
You may also need to change the speed of the lathe depending on the size of the drill bit you are using. Pay attention to the sounds and the chips coming off when you drill. We don't want to see sparks! We want to see chips coming off without squealing noises! Hot-tip: This is a good time to ensure you have a full facemask and/or keep your mouth closed. Hot flying chips should not be ingested or be allowed to embed anywhere on your body. |
|
|
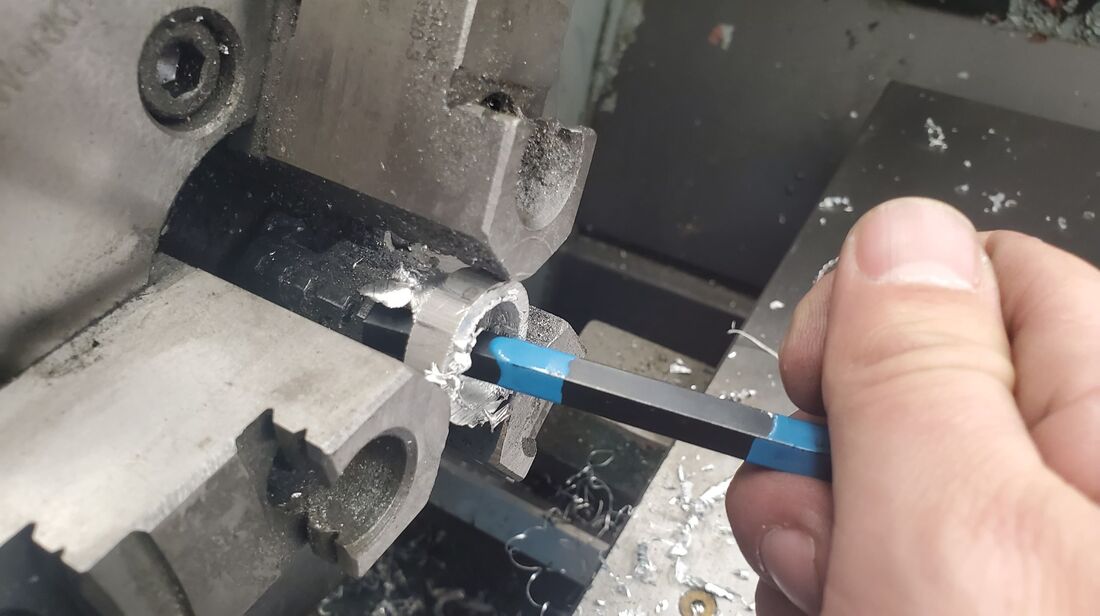
Don't touch hot metal with your hands. Use something else to hold or move it. Pliers, a pencil, or another tool can do the job. This would also be the only time it is appropriate to wear leather gloves when near a lathe.
Friction between the drill bit and your project material WILL cause heat. Touching it will not make you cool. It usually does the opposite. |
|
|
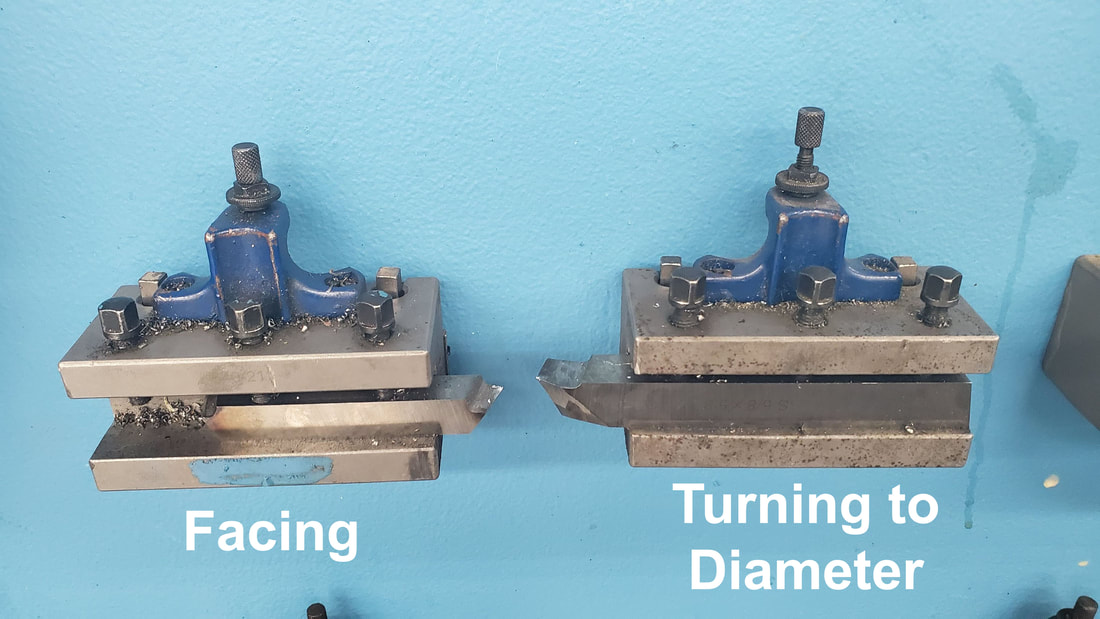
Coming up next: I try and have two quick change tool holders setup for each lathe when possible. This saves having to switch cutting tools back and forth. Use the correct one for the correct procedure. Always use the right tool for the job.
|
|
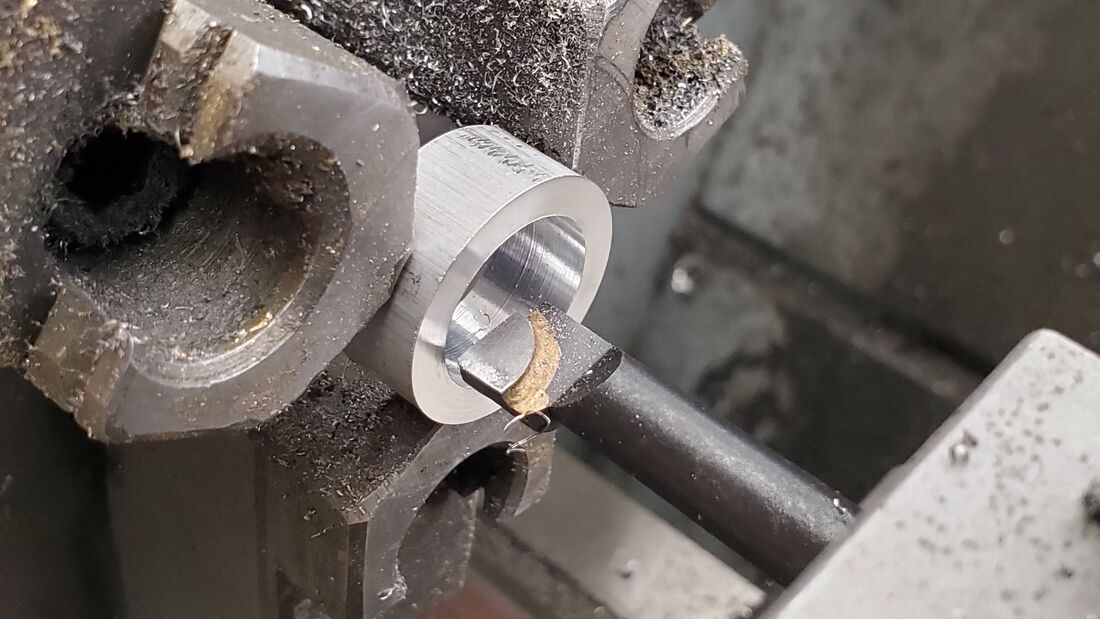
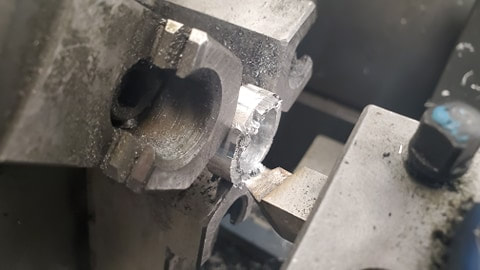
Move your piece so it is sticking out halfway from the chuck (shown below). DO NOT STICK YOUR FINGER IN THE HOLE!
Setup your tool holder to do a FACING operation.
I recommend doing light passes since the material is not held in by much. You don't want to take a heavy cut and have things fly out and break!
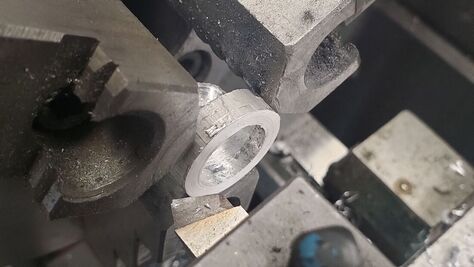
Keep facing until you have the desired width. Please do not use the machine to cut the machine. Keep a very close eye on what you are doing
Setup your tool holder to do a FACING operation.
I recommend doing light passes since the material is not held in by much. You don't want to take a heavy cut and have things fly out and break!
Keep facing until you have the desired width. Please do not use the machine to cut the machine. Keep a very close eye on what you are doing
|
eww. This one looks pretty rough. But we can fix that with a facing procedure as shown below. A one-on-one demo is required before you do new operations on the lathe.
|
|
|
|
|
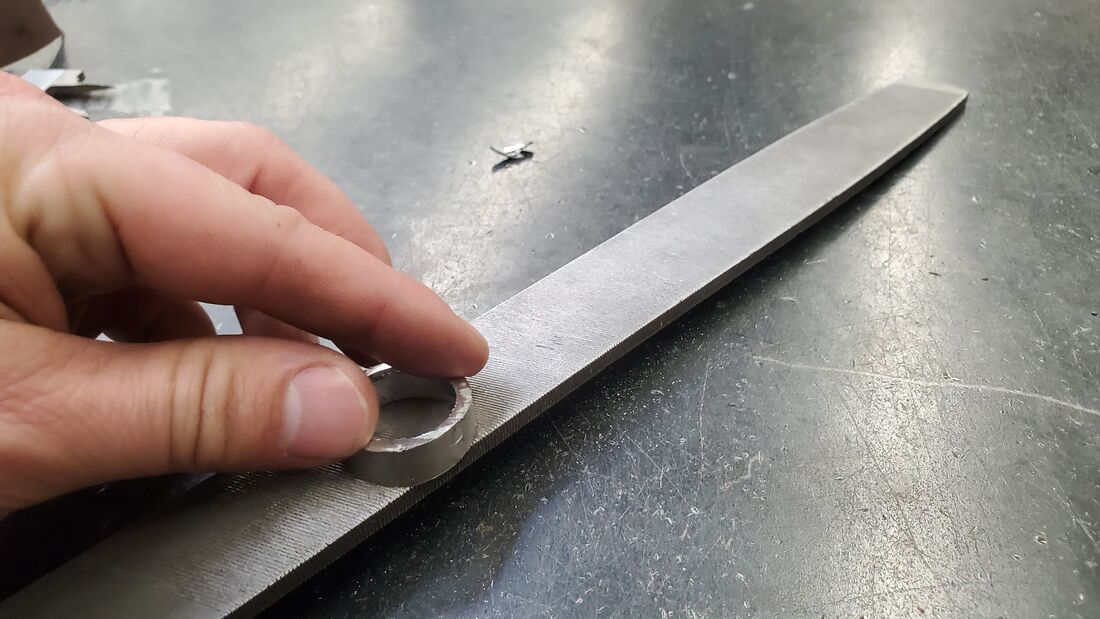
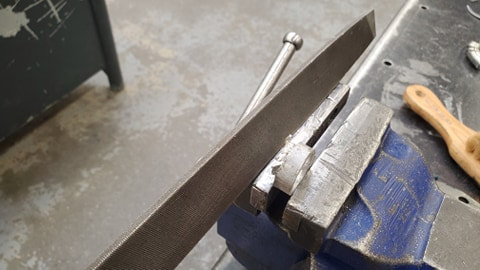
If you didn't want to face on the lathe in order to make it thinner or smooth use a file. Don't forget to clean the file as you go to prevent it getting clogged with material. You may need to get creative in how you hold it in order to file or sand to shape. If your final ring will have designs or odd shapes you can use hand tools for the remainder of the project.
|
|
|
|
|
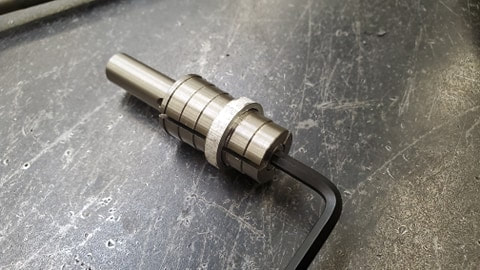
Expandable Ring Mandrel:
This is one of my personal tools that is helpful for finishing the outside and getting the outer diameter where you want it. If you loose or break any part of this specialty tool I expect $70 cash and a McDonalds Jr. Chicken (price + shipping + eating my feelings) within 24 hours in order to replace it. |
|
|
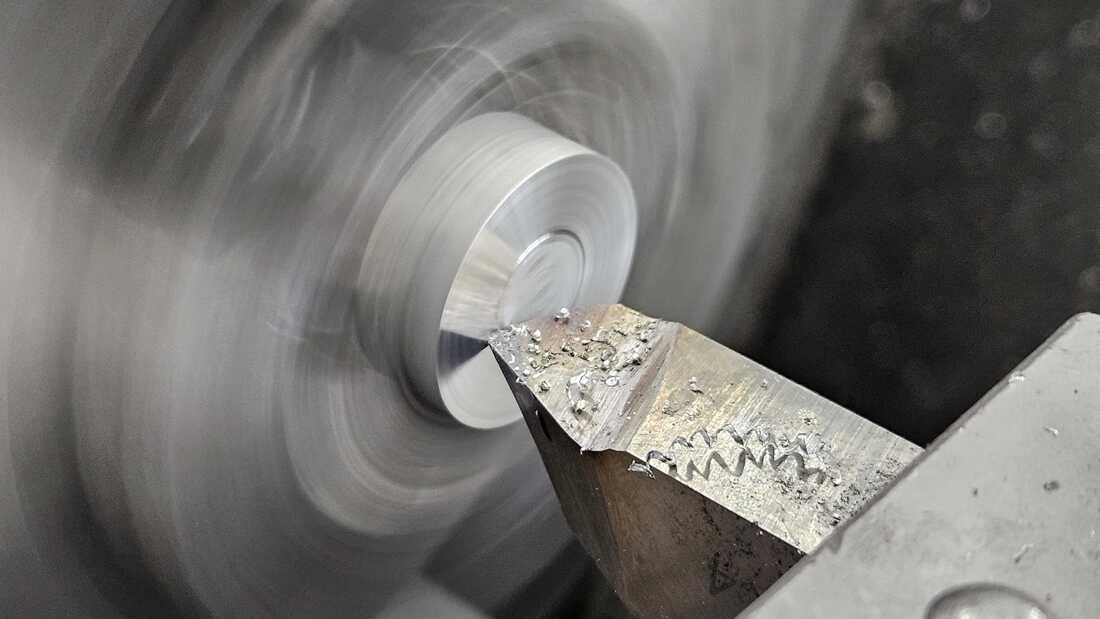
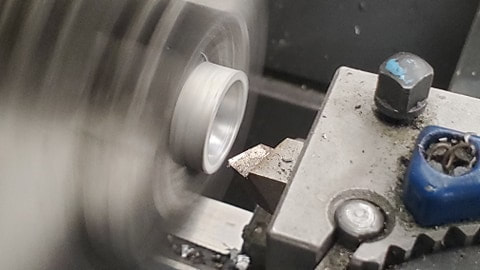
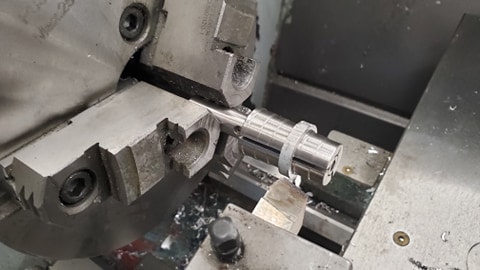
We can now use another lathe tool bit to turn to our desired diameter. Go slow and always cut from right to left to avoid the ring being pushed left and falling off of the mandrel. It will hold it tight but there can still be slipping issues.
Double check that the ring is snug against the shoulder of the mandrel steps. That will help keep it straight. Do not loose the allen key that comes with the mandrel. |
|
|
Things are getting tight so be careful not to go forward into the workpiece when you mean to go left or right.
It is smart to "air practice" with the tool bits and carriage away from the workpiece before you make contact with your piece. Having your eyes, mind, and hands all work together can take some practice for many students. |

|

|
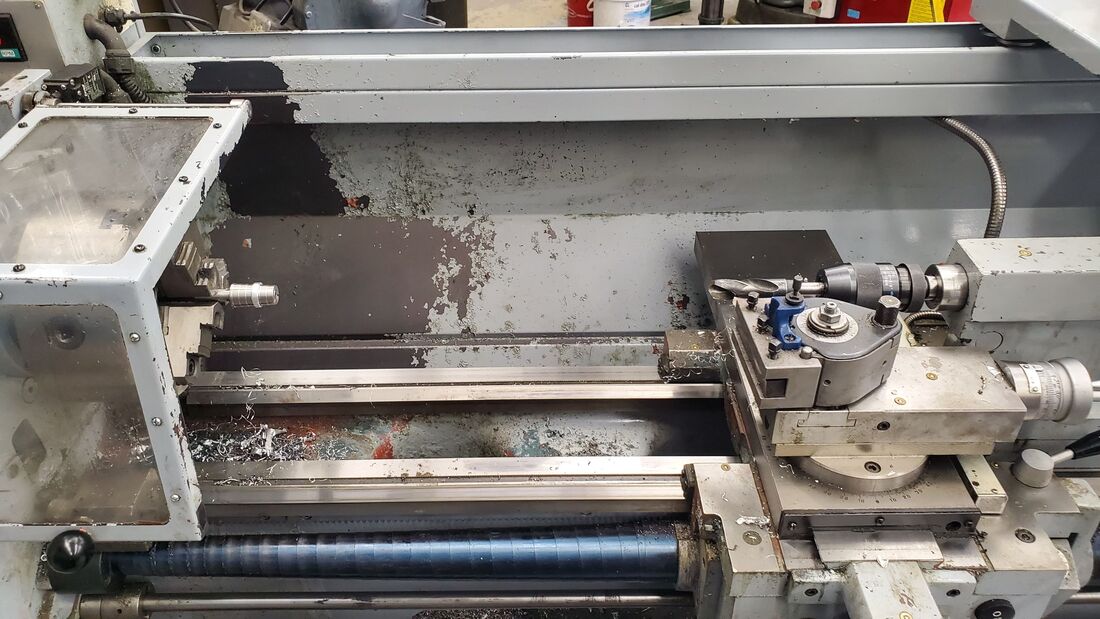
Move things like drill/tailstock and the carriage/tool holders out of the way if you are working with sand paper/emery cloth/file by hand on the lathe. You don't want to be bumping your elbows or body against other sharp objects on the lathe or get your clothing caught.
|
|
|
You can use sand paper or emery cloth to get it smooth by hand our while on the lathe (not shown). If you are sanding while on the lathe you must get a one-on-one demo from the teacher for safe operation.
|
|
|
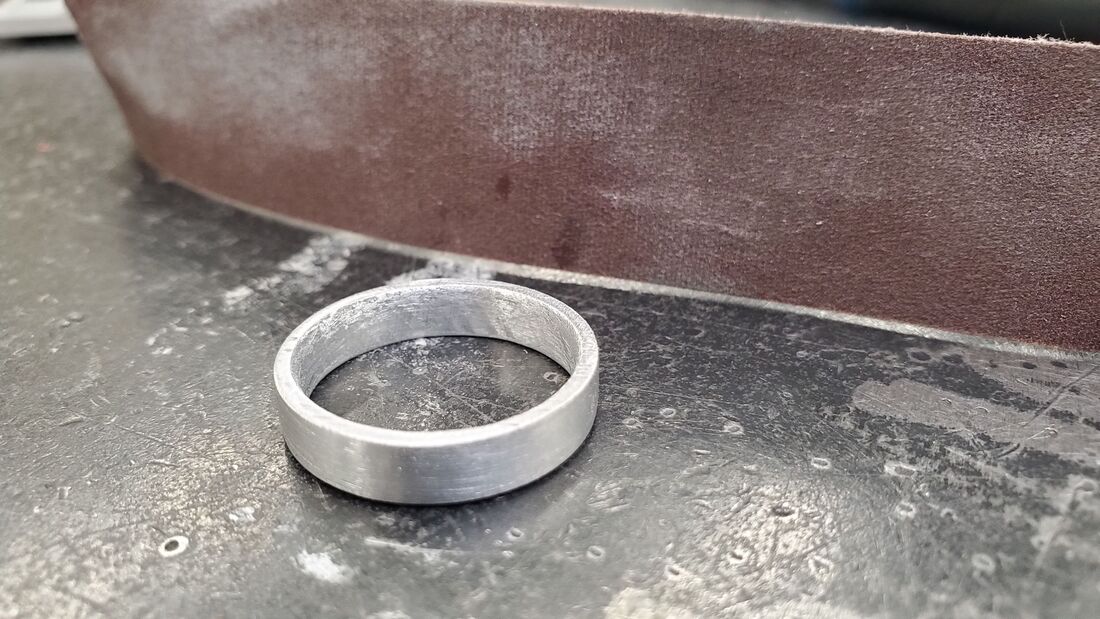
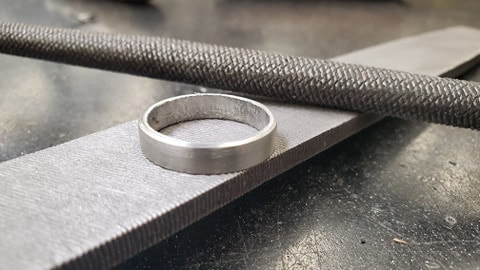
I added a slight chamfer to both sides of the ring and will smooth it out with sandpaper. Don't forget to smooth out the area that makes contact with your finger to avoid your blood ending up outside your body.
|
|
|
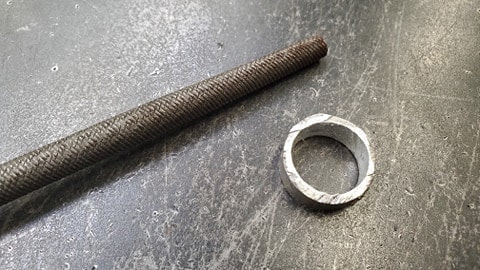
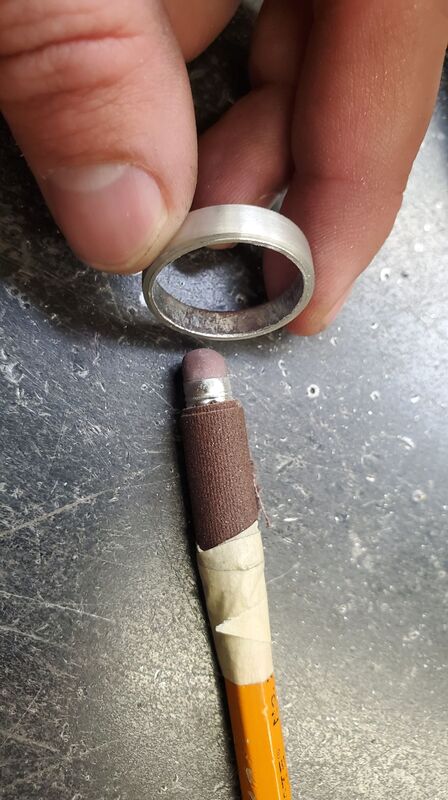
There are many ways to smooth out the inside. Taping some sandpaper or emery cloth to the end of pencil or round piece of metal is a handy way to work on the inside of the ring if you don't have a round or smooth enough file.
|
|
|
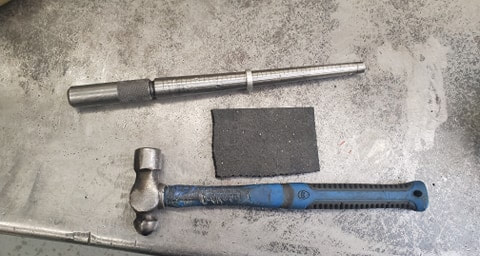
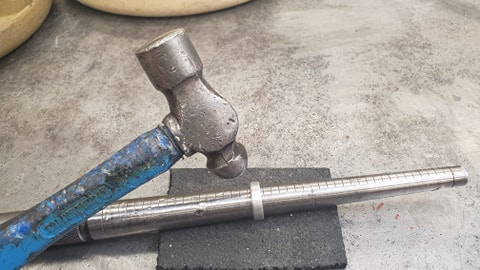
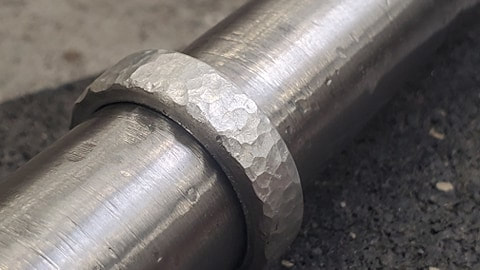
If you want to texture your ring you can add a peen to it to give some nice reflection... and you also don't have to worry about hiding as many imperfections in your work. I am using a ball peen hammer, a bigger ring mandrel and some rubber as a base to protect my ring
|
|
Aluminum is soft so you don't need to hit hard. work your way around the outside of the ring added a texture to it. If you get some rough spots or metal that has squished out you can sand it down a bit to smooth things out. Once polished this ring will reflect very nicely.
|
|
|
Once all sanding has been completed you can use the polishing wheel to shine up your project. Use a bit of red polishing compound on the wheel if needed.
Use two hands to hold the ring mandrel and make sure when you contact the wheel that your work is below the middle point of the wheel to prevent accidents. If the wheel is like a clock you can usually work between 3-6 o'clock. This operation requires a one-on-one demonstration for your first time (or if you need a reminder) |
|
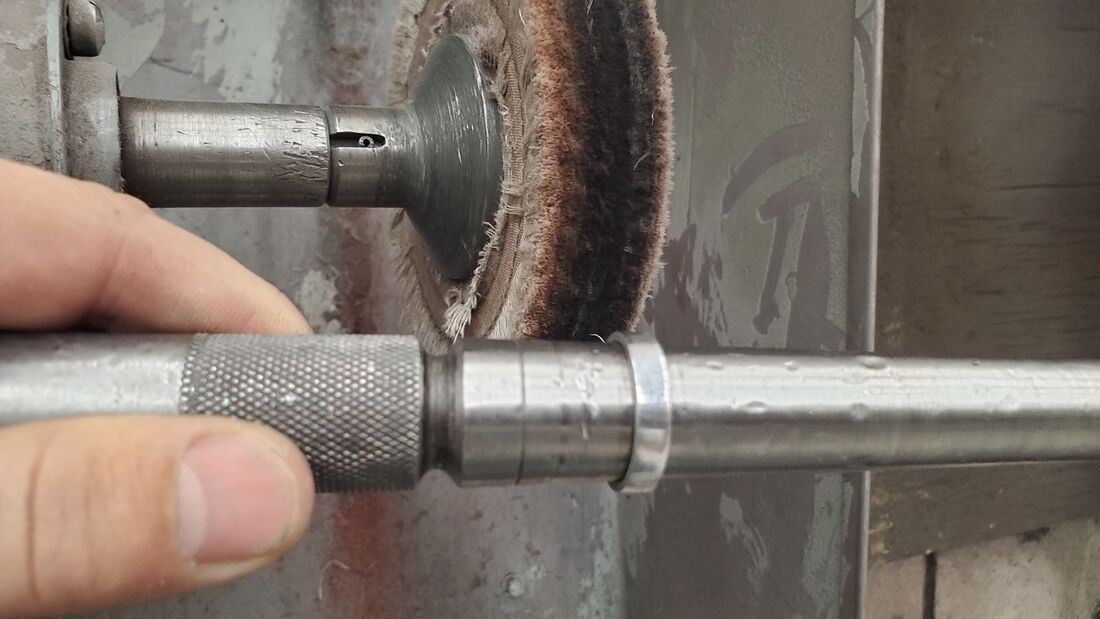
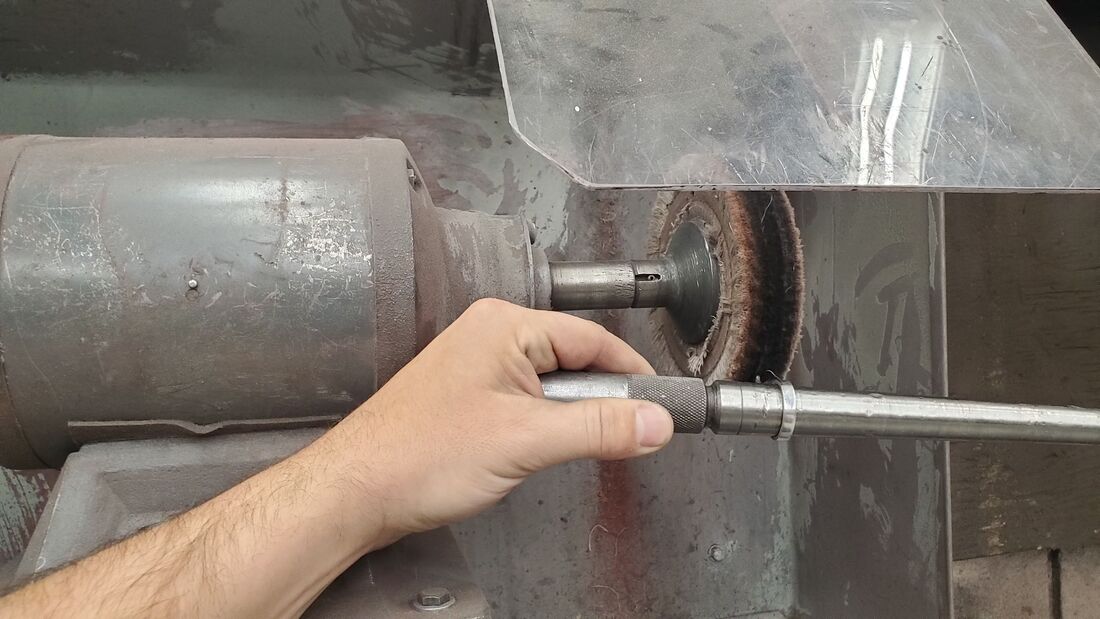
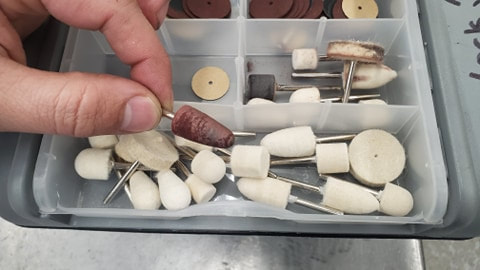
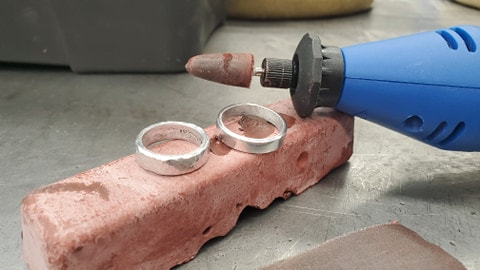
Use a Dremel or rotary tool with a polishing bit to polish the inside and edges of the ring. Do not rush these steps. If you are still seeing lines and scratches after polishing it means you did not sand enough or with a high enough grit sandpaper. Add red polishing compound to the polishing bit if needed.
|
|
Final thoughts:
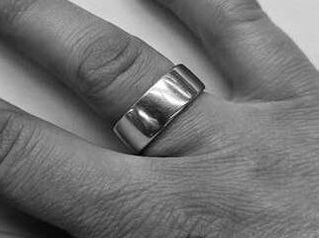
These rings were just quick prototypes to show the basic operations and get some photos onto this instruction page. I would normally spend more time to get them perfect and remove imperfections that should be sanded or filed away. Use this page as a starting point for your ideas.
There are many different materials you can use with a little tweaking to the steps but the end goal is usually the same.

Unfinished samples shown above. These both still require some attention to detail and proper sanding.
https://www.facebook.com/cumberlandwoodworks for some amazing inspiration
