Pop Can Art Project
Safety:
Tools required: You may be able to get away with different "tools"
- Edges can get very sharp after being cut. Watch your fingers or temporarily put some tape on the edge so the metal burrs do not get you! I cut myself twice getting the can cut apart.
- Do not run with scissors.
- Warn those around you that you will be working with heavy duty tools.
Tools required: You may be able to get away with different "tools"
- Tall drink can but regular size (355ml) works for smaller "art"
- Sandpaper or Steel wool (something abrasive to pull the paint off)
- Ruler
- Semi-Sharpened chopstick or wood Skewer works better than a Pen. Pens leave ink marks!
- Scissors
- maybe some other stuff (watch the video).
Project:
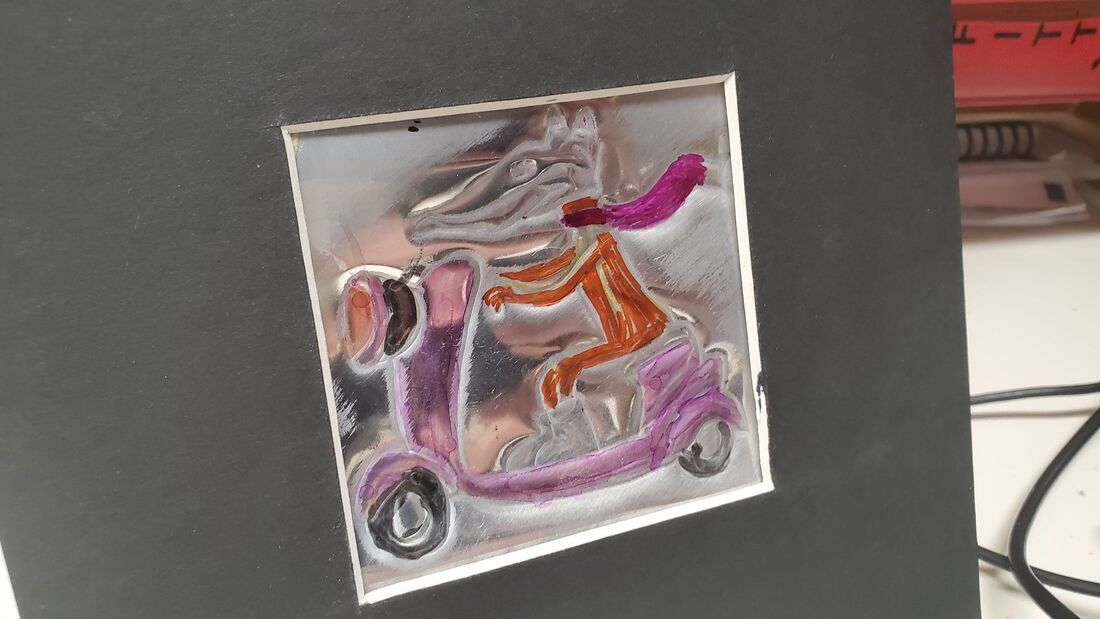
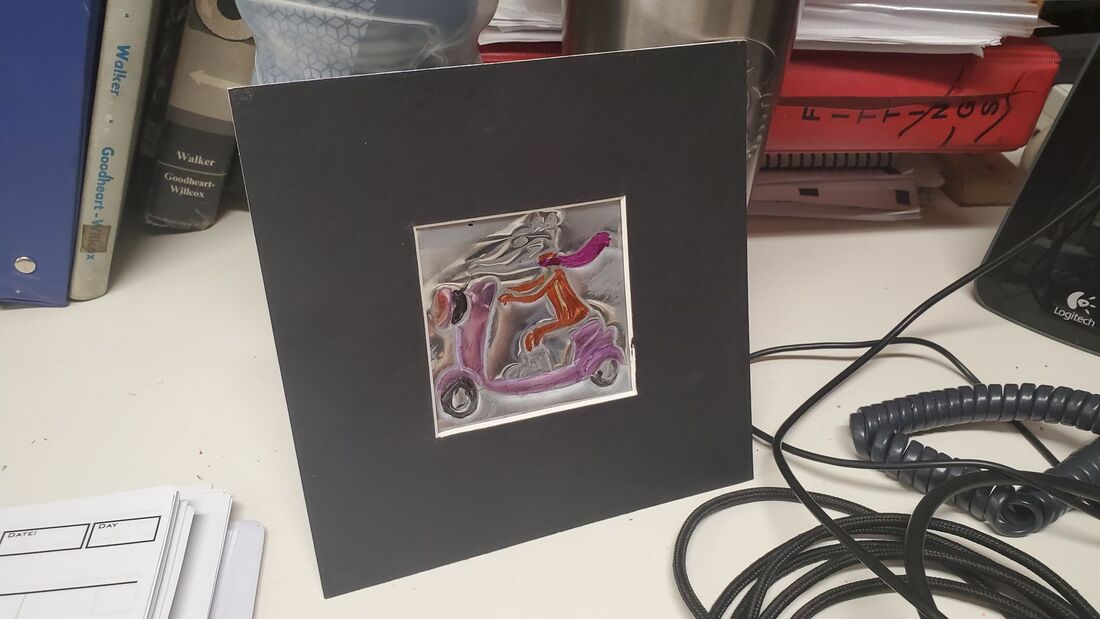
Our goal is to create a small art piece using line art, a popcan, and some cardstock.
|
|
|
|
Procedure/Guidelines
- Start by figuring out what design you want to try creating.
- The above design "fox on a scooter" made by Mr. P next door was done by typing in "Fox on a scooter line art" into google images
- You will download, save, draw, bookmark, etc your image according to how big your popcan material and provided cardstock is
- The cardstock I have measures at 4"x4" so I recommend your final design fit into a 2"x2" square or 3"x3" maximum
- The small size of this project is good for introducing the idea of embossing
- BUILD UP FROM SIMPLE SHAPES AND LINES, FORMING INTRICATE EMBOSSED PIECES. Don't get too complicated for your first try
3 surfaces:
Hard surface - table
Medium Surface - cardboard
Soft Surface - foam
Goal today:
Prep can into flat material. Split into three sections to get 3 practice/finished pieces
1) sand your can if you want two sided shiny
2) Make small hole with scissors or a scribe near the top of the can where the straight part becomes curved
3) Using scissors cut around the outside diameter of the can
4) Once the top is off cut verticle along the length of the can towards the bottom
5) Turn 90 degrees and cut off the bottom of the can. You can sometimes use the can's artwork as a guide
6) If you have sharp edges due to your "scissor technique" be extra careful not to cut yourself
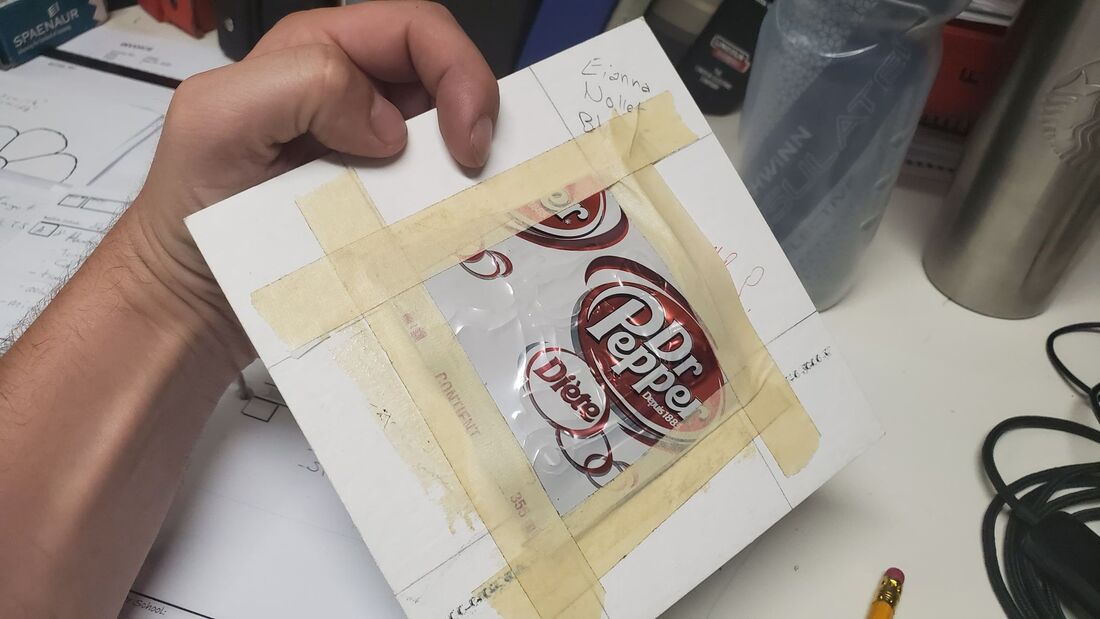
7) use Cardboard under your can with a shiny side facing up. You can use a bit of tape to hold down to a table if you like
8) Cut out and tape your line art design to the can with one piece of tape at the top. This allows you to flip the paper up and see how your lines are looking once you begin the transfer.
9) Use a BBQ squewer to trace the outline of your design
10) Once the outline is on you can switch from cardboard to the thin foam. We only have a few of these so please do not destory them.
11) Use the foam to begin adding some depth and 3D style to your piece as shown in the demo and below videos
12) Switch back to cardboard or the hard table surface
TO BE CONTINUED>>>>>>>>>
Tips from another teacher:
Mr. K:
This is a cool project. I have done this technique with kids before successfully. I would replace the pen with a pencil sharpened disposable chop stick if one is available. That way no pen marks. Also if you shape the other end into a blade like paddle you get a great double ended tool. Next I suggest you have kids work out their designs on paper first. Then tape the design onto the blank and from the good side (outside) go over the outlines of the design. You will need 3 types of surfaces. A dead hard surface. We used out laminate classroom desks. A slightly resilient surface achieved by putting 3 or 4 sheets of paper onto the hard surface and working on top of this. And a soft surface. Cork works. We used thin sheets of fun foam from a loonie store which works great. Perform your outline from the outside on the mid soft surface. Remove your paper design. Flip it over and slowly work out the surface inside your likes on the Soft surface. Flip over on the hard surface and go around the outside of all the shapes. This makes them crisp and defined. repeat as needed to achieve the desired result. You can get a very 3d surface this way. I used this idea to make small night lights so we also perforated them outside in with pin pricks. Also once a mark is made it cannot really be unmade. And you must work slowly back and forth so as to not unduly distort the metal.
Links
https://feltmagnet.com/crafts/beer-can-appreciation-day-crafts
|
|
|
